Configure a New Schedule Control
The Schedule control allows a user to define schedules within a route. It is commonly used for the following types of scenarios:
- Set a schedule for normal hours-of-operation
- Set schedule exceptions for special events or holiday hours-of-operation
This topic covers how to configure a new Schedule control after creating.
Creating a Schedule Control
To add a new Schedule control, refer to the Create a Routing Control topic. Follow the instructions in that topic to add a new Schedule control.
Using the Create New Schedule Control Interface
Configure the new control by completing each section below:
Enter Control Details
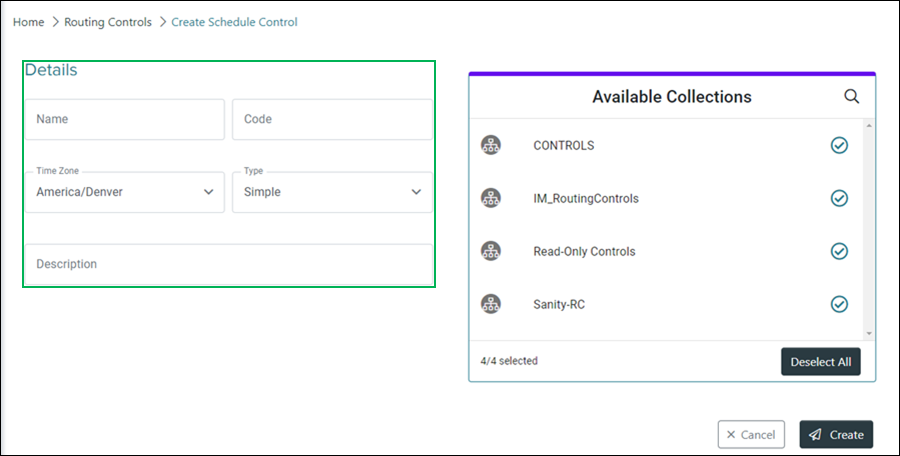
Name – Enter a name for the control in this field.
Code – Enter a unique code to represent the control in this field.
NOTE:
The Code field can no longer be edited after initially adding the control.
Time Zone – Drop-down menu for selecting the time zone for the control.
Type – Drop-down menu for selecting the type of schedule control to create.
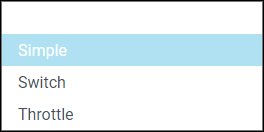
- Simple – Allows for a value entry of 0 - 10,000,000 when editing shift schedules or adding an off-shift value for schedule exceptions.
- Switch – Allows for a value entry of 0 - 1 when editing shift schedules or adding an off-shift value for schedule exceptions.
- Throttle – Allows for a value entry of 0 - 200 when editing shift schedules or adding an off-shift value for schedule exceptions.
Description – Enter a brief description to help identify the purpose or intent of the control.
Assign Collections
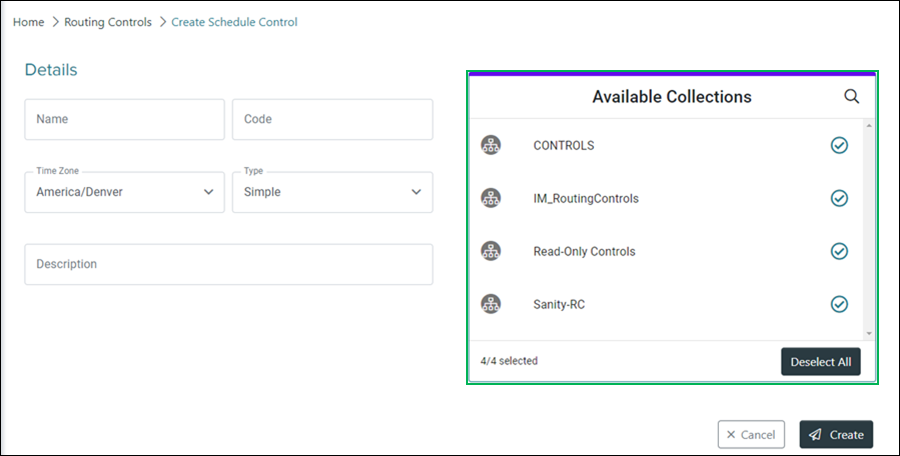
Search Icon – Clicking the magnifying glass icon displays the Search field. Enter text in this field and click the Magnifying Glass icon to search for a specific collection or collections that are available for assignment to the control.

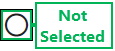
Selection Indicators – When a collection is selected for assignment, this circle displays a check.

Select/Deselect All – Clicking this button either selects or deselects all available collections.
NOTE:
Collections can only be assigned during the initial creation of the control. If changes are needed to collection assignment, you must create a new control.
Completing the Control Creation
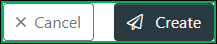
Finish creating the new control by clicking the Create button, or click the Cancel button to cancel the operation.
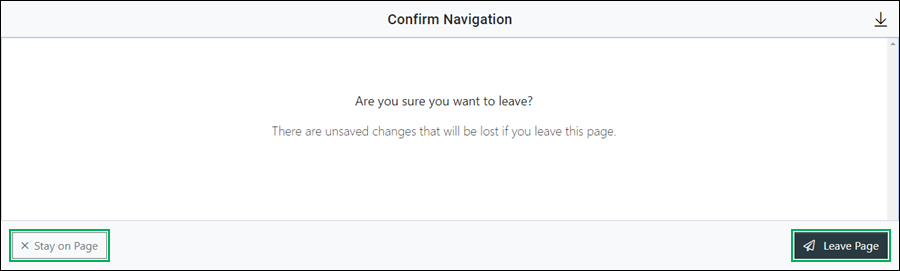
NOTE:
If canceling the operation, a Confirm Navigation panel displays. Click Leave Page to confirm canceling. To close the panel and return to the previous task, click Stay on Page.
Managing the New Schedule Control
Upon clicking the Create button, the Manage Control interface opens allowing you to edit the control details, create and edit shift schedules, and create and edit schedule exceptions. To learn more about the Mange Control interface, refer to the Manage a Schedule Control topic.