Manage a Schedule Control
The Schedule control allows a user to define schedules within a route. It is commonly used for the following types of scenarios:
- Set a schedule for normal hours-of-operation
- Edit schedule exceptions for special events or holiday hours-of-operation
This topic covers how to manage a Schedule control.
Updating a Control
To learn how to access the Manage Control interface for updating an existing Schedule control, refer to the Manage a Routing Control topic.
Using the Manage Control Interface
Update a Schedule control from the Manage Control interface by doing the following:
Update Control Details
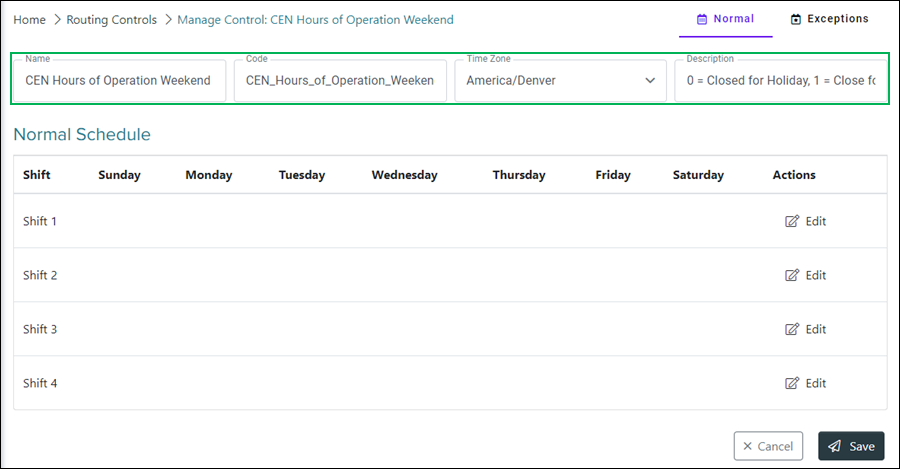
Name – Replace the text in this field to change the control's name.
Code – Code used to represent the control.
NOTE:
The Code field can no longer be edited after initially adding the control.
Time Zone – Use this drop-down menu to select a new time zone for the control.
Description – Change the description used to help identify the purpose or intent of the control by replacing the text in this field.
Select the Normal Schedule or Schedule Exceptions Tabs
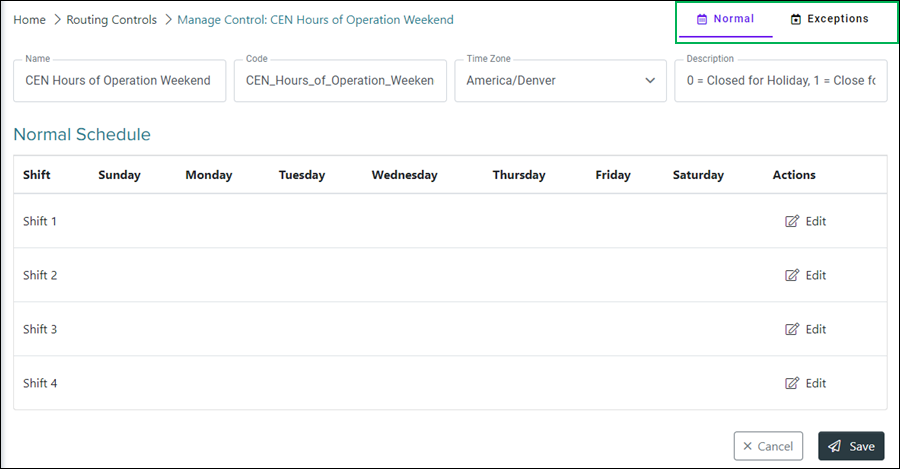
Normal – Select this tab to create and edit the normal shift schedules.

Exceptions – Select this tab to create or edit schedule exceptions.

Creating or Editing a Normal Schedule
A normal schedule consists of four shifts for each day of the week. You can edit each shift individually allowing you to define a schedule for each day.
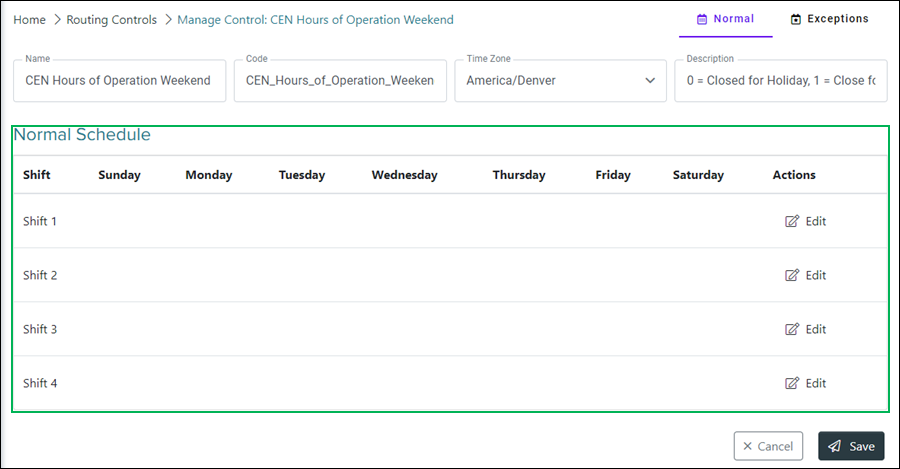
Edit – Click this button to create or edit the schedule for a specific shift.

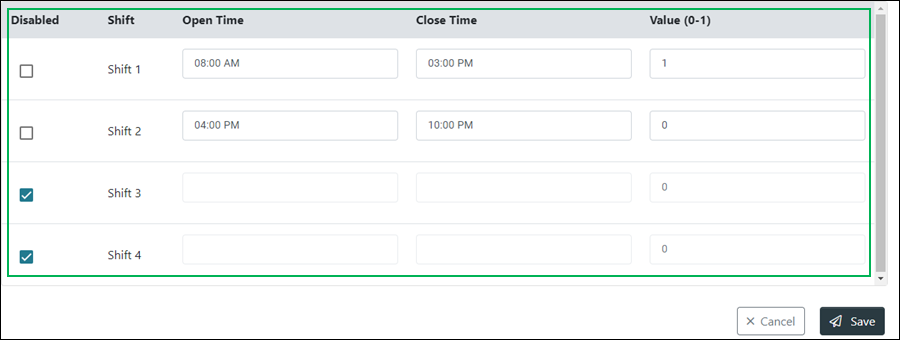
Edit Shift
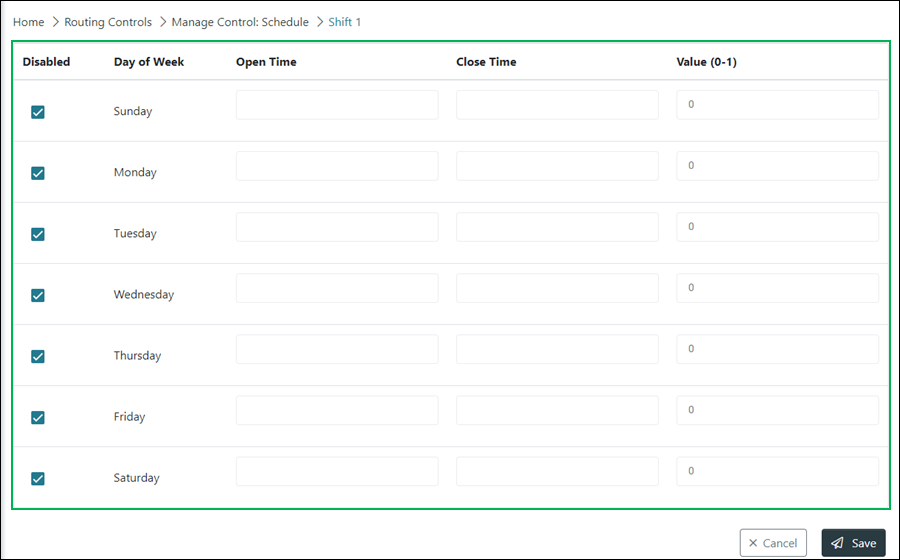
Disabled – This column allows you to enable or disable the days within the shift schedule. Remove the check from this box to enable days you want to include on the shift schedule. Leave the box checked if you want to exclude the day from the shift schedule.

Day of Week Disabled

Day of Week Enabled
NOTE:
To edit the additional fields for a day, you must remove the check for that specific day.
Day of Week – This column displays the days of the week available for the shift.
Open Time – Enter or select the time for when the shift opens on each enabled day. Selecting this field displays the Time Selection Menu.
Close Time – Enter or select the time for when the shift closes on each enabled day. Selecting this field displays the Time Selection Menu.
NOTE:
Use the Time Selection Menu to select or enter the shift open and close times:
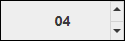
Hour Selector – Enter or select the hour. Use the up and down arrows to select the previous or next hour.
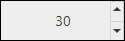
Minute Selector – Enter or select the minute. Use the up and down arrows to select the previous or next minute.
AM / PM Selector – Select PM or AM for the time of day.

Value – Enter or change the value as needed based on the type of schedule control. These fields allow for entry of different values based on the schedule control's selected type as described below:
- Simple – Allows for a value entry within the range of 0 - 10,000,000.
- Switch – Allows for a value entry within the range of 0 - 1.
- Throttle – Allows for a value entry within the range of 0 - 200.
Saving Changes
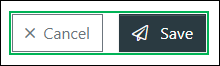
Save any changes by clicking Save, or click Cancel to cancel the operation. This returns to the Manage Control interface.
NOTE:
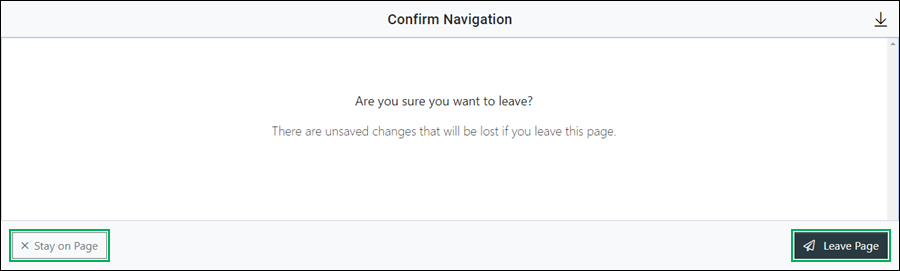
If canceling the operation, a Confirm Navigation panel displays. Click Leave Page to confirm canceling. To close the panel and return to the previous task, click Stay on Page.
Adding or Editing Schedule Exceptions
Schedule exceptions allow you to modify a normal schedule for occurrences that may happen during a normal shift or shifts, such as special events or holidays.
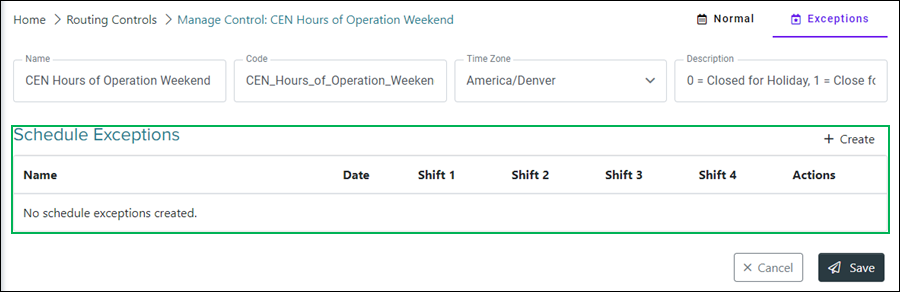
Create – Click this button to create a new schedule exception. To learn more, see Create a Schedule Exception.
Actions Button – Click this button to access the Actions menu which displays additional actions for the schedule exception.
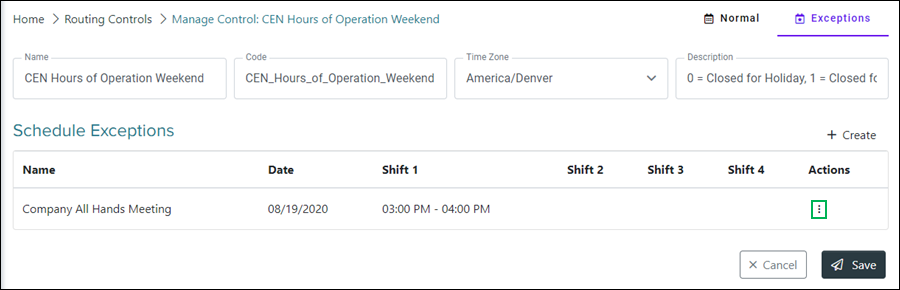
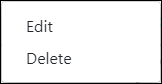
Actions Menu
- Edit – Click this option make changes to the existing schedule exception. To learn more, seeEdit a Schedule Exception.
- Delete – Click this option to delete the schedule exception. To learn more, see Delete a Schedule Exception.
Create a Schedule Exception
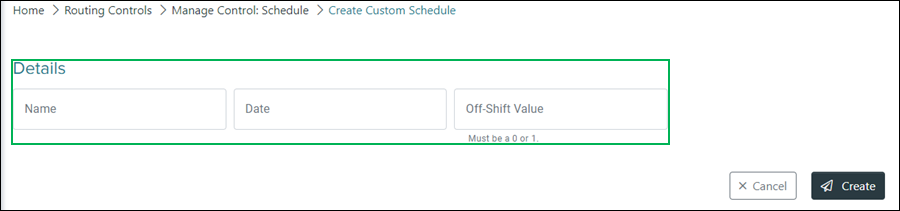
Name – Enter a name for the schedule exception in this field.
Date – Allows for the selection of a date for the schedule exception. Selecting this field displays the Date Selection Menu.
NOTE:
Use the Date Selection Menu to select a date:
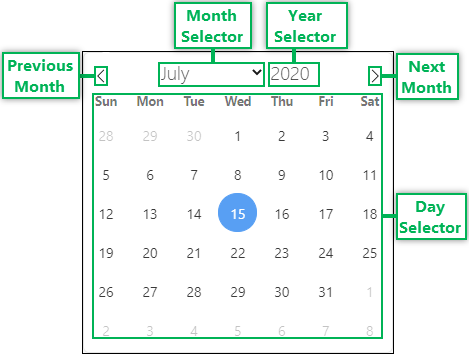
Date Selection Menu
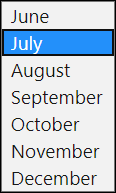
Month Selector – Click to select a month.
Year Selector – Click to enter or select a year. Use the up and down arrows to select the previous or next year.

Next Month – Arrow used to navigate to the next month.
Previous Month – Arrow used to navigate to the previous month.
Day Selector – Allows for the selection of the day. A selected day is highlighted in blue, and the current day is outlined in a gray circle.
Off-Shift Value – Enter a value as needed based on the type of schedule control. These fields allow for entry of different values based on the schedule control's selected type as described below:
- Simple – Allows for a value entry within the range of 0 - 10,000,000.
- Switch – Allows for a value entry within the range of 0 - 1.
- Throttle – Allows for a value entry within the range of 0 - 200.
Click the Create button to finish, or click the Cancel button to cancel the operation.
NOTE:
If canceling the operation, a Confirm Navigation panel displays. Click Leave Page to confirm canceling. To close the panel and return to the previous task, click Stay on Page.
Edit a Schedule Exception
Disabled – This column allows you to enable or disable the shifts for the schedule exception. Remove the check from this box to enable shifts for the exception. Leave the box checked if you want to exclude the during the schedule exception.
Shift Disabled
Shift Enabled
Open Time – Enter or select the time for when the shift opens during this schedule exception. Selecting this field displays the Time Selection Menu.
Close Time – Enter or select the time for when the shift closes during this schedule exception. Selecting this field displays the Time Selection Menu.
NOTE:
Use the Time Selection Menu to select or enter the shift open and close times:
Hour Selector – Enter or select the hour. Use the up and down arrows to select the previous or next hour.
Minute Selector – Enter or select the minute. Use the up and down arrows to select the previous or next minute.
AM / PM Selector – Select PM or AM for the time of day.
Value – Enter or change the value as needed based on the type of schedule control. These fields allow for entry of different values based on the schedule control's selected type as described below:
- Simple – Allows for a value entry within the range of 0 - 10,000,000.
- Switch – Allows for a value entry within the range of 0 - 1.
- Throttle – Allows for a value entry within the range of 0 - 200.
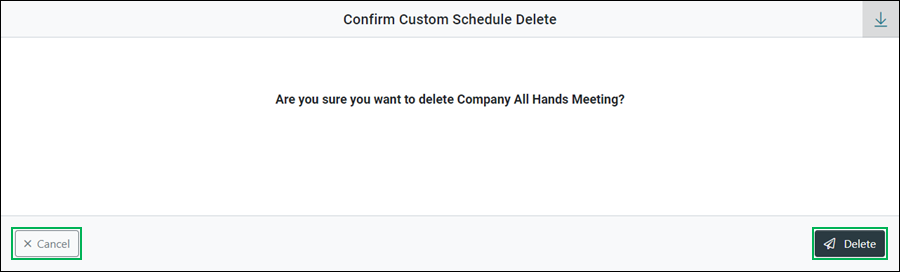
Delete a Schedule Exception
Confirm deleting the schedule exception by clicking the Delete button, or click Cancel to cancel the operation.
Saving Changes
Save any changes by clicking Save, or click Cancel to cancel the operation.
NOTE:
If canceling the operation, a Confirm Navigation panel displays. Click Leave Page to confirm canceling. To close the panel and return to the previous task, click Stay on Page.