Topic Updated: April 01, 2025
Create a New Bulk Agent and Supervisor Import Request
This feature allows you to quickly access and import agents and supervisors from ICM. Follow the instructions below to create a new bulk agent and supervisor import request.
Accessing the Create Import Agents Request
Access the Create Import Agents Request dialog to begin creating a new import request.
- Click on one of the following options:
- Create New Request Icon
- Create New Request Button

- Alternatively, you can click on the Actions Button and select Create Import Request.

The Create Import Agents Request dialog opens.

Importing Agents and Supervisors
Follow the steps below to import agents and supervisors from ICM.
- Select the users you would like to import. Click the Select All selection indicator to quickly select all users, or select them individually by placing a check next to the Selection Indicators on the same row as the user.

NOTE:
Standard search and filter features found throughout Humanify Portal are also available on this dialog. To learn more about using the search and filter features, see .
- Click the Next button to proceed, or click the Cancel button to cancel the operation.

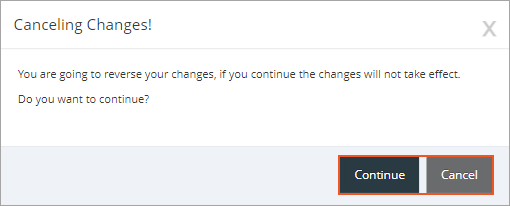
NOTE:
If canceling the operation, confirm by clicking the Continue button on the Canceling Changes dialog. Click the Cancel button to return to the operation.
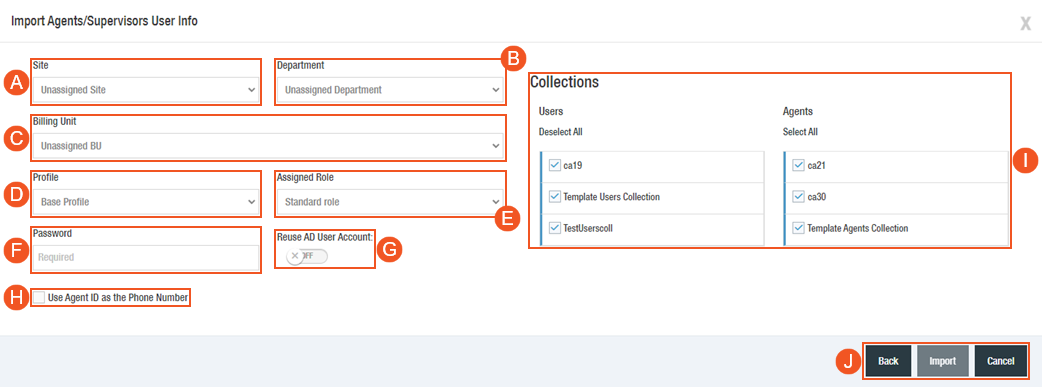
- Complete the following on the Import Agents/Supervisors User Info dialog:
- Select a Site to assign to the imported agents/supervisors.
- Select a Department to assign to the imported agents/supervisors.
- Select a Billing Unit to assign to the imported agents/supervisors.
- Select a Profile to assign to the imported agents/supervisors.
- Select an Assigned Role for the imported agents/supervisors.
- Enter a Password to assign to the imported agents/supervisors.
- Enable Reuse AD User Account to allow the re-use of agent or supervisor accounts already existing in Active Directory. This prevents any potential errors if the accounts already exist in Active Directory.
- Enable Use Agent ID as the Phone Number to have the Bulk Request User Load use the Agent ID field as the phone number and update in both the Portal database and in Active Directory.
Select any Users or Agents collections to assign to the imported agents/supervisors. Use the Select All and Deslect All options to quickly select or deselect the collections.
- Click the Import button to complete the import process, or click the Back button to return to the Create Import Agents Request. Cancel the operation by clicking the Cancel button.
NOTE:
If canceling the operation, confirm by clicking the Continue button on the Canceling Changes dialog. Click the Cancel button to return to the operation.
See Also
Please let us know how we can improve this topic by clicking the link below:
© TTEC Digital 2025
![]()
![]()
![]()