Topic Updated: April 01, 2025
Edit a Contact Flow Application
When editing an existing application or creating a new one, the following changes can be made:
- Add nodes to the canvas
- Node creation
- Connecting / linking nodes
- Label node connections
- Delete a node connection / link
- Define / configure node properties
- Save contact flow application changes
Editing the Application
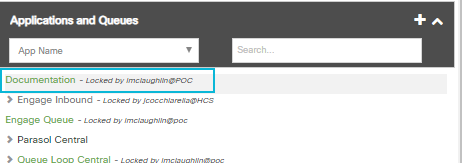
Applications display within the Applications and Queues panel. Double-click the application to open and edit it within the canvas.
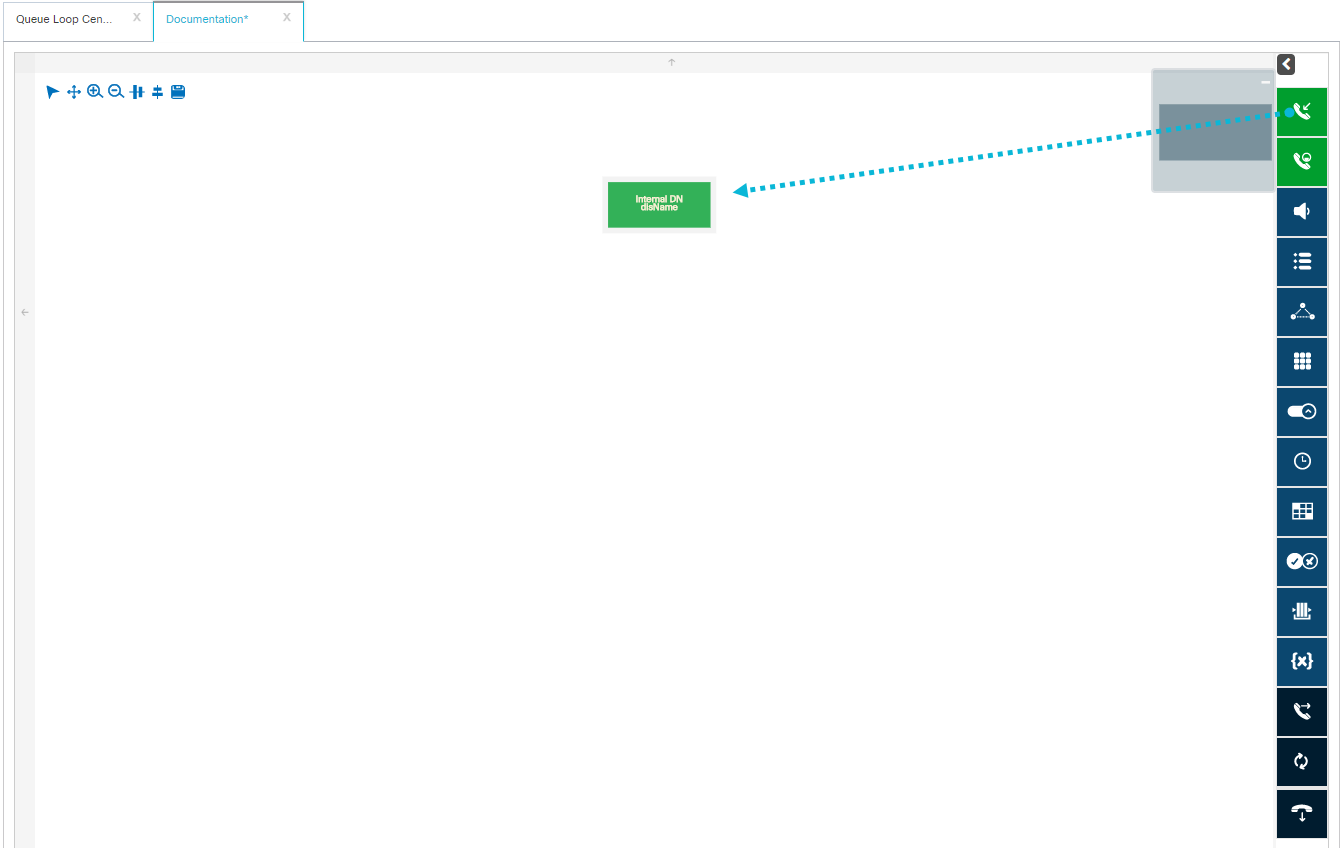
Adding Nodes to the Canvas
Begin creating a contact flow by dragging and dropping nodes on the canvas.
- Click the node and hold the left mouse button.
- Drag it onto the canvas and let go of the left mouse button.
Creating Nodes
When a node gets dropped onto the canvas, a Create Node dialog displays. This dialog differs for each node. Below is an explanation on how to create each node type, after dropping it onto the canvas.
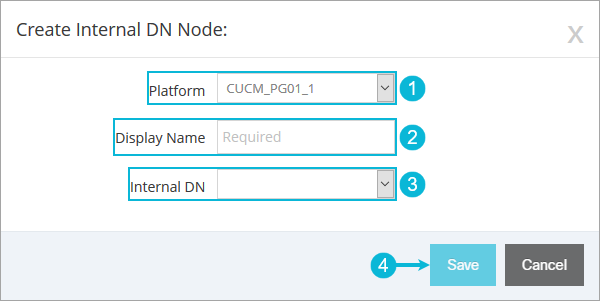
- Select which platform the Internal DN node will use by clicking the Platform drop-menu. (This option only displays for organizations that use platforms.)
- Enter a descriptive name for the node into the Display Name field (50-character limit). This name identifies the node within the contact flow.
- Click the DNS drop-menu to select a dial number to assign to the node.
- Click the Save button to finish.
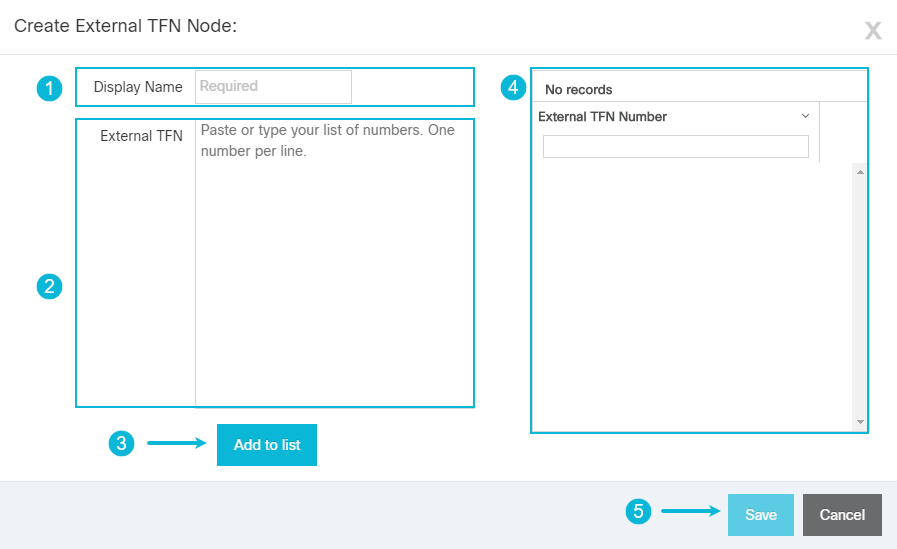
- Select which platform the External TFN node will use by clicking the Platform drop-menu. (This option only displays for organizations that use platforms.)
- Enter a descriptive name for the node into the Display Name field (50-character limit). This name identifies the node within the contact flow.
- Enter one or more numbers that will activate the contact flow into the External TFN field. When entering multiple numbers, enter each on a separate line within the field.
- Click the Add to list button to assign the numbers to the External TFN node.
- Numbers assigned to the External TFN node are listed here.
- Click the Save button to finish.
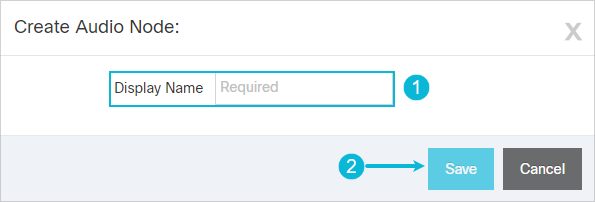
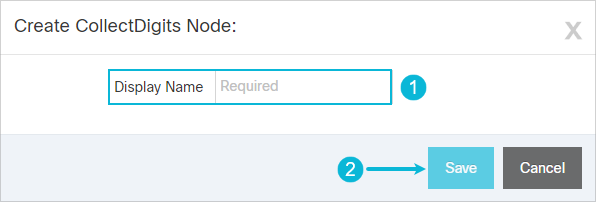
- Enter a descriptive name for the node into the Display Name field (50-character limit). This name identifies the node within the contact flow.
- Click the Save button to finish.
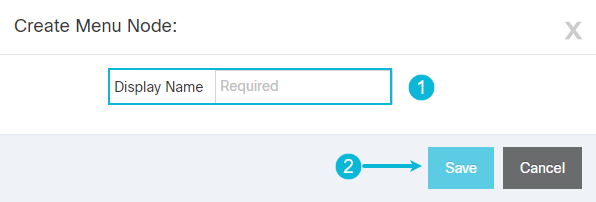
- Enter a descriptive name for the node into the Display Name field (50-character limit). This name identifies the node within the contact flow.
- Click the Save button to finish.
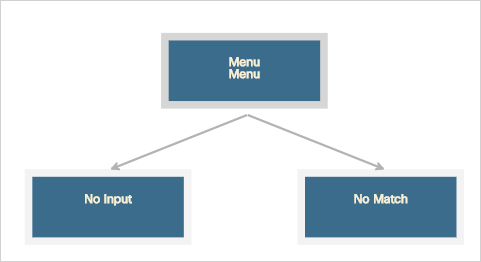
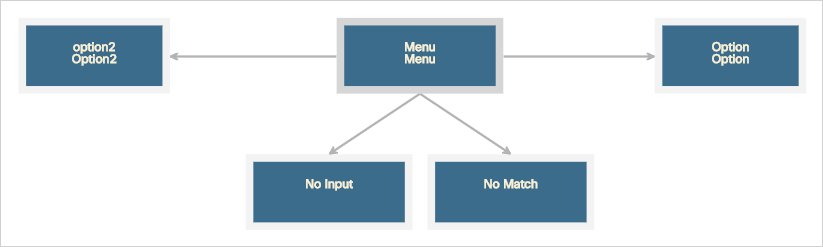
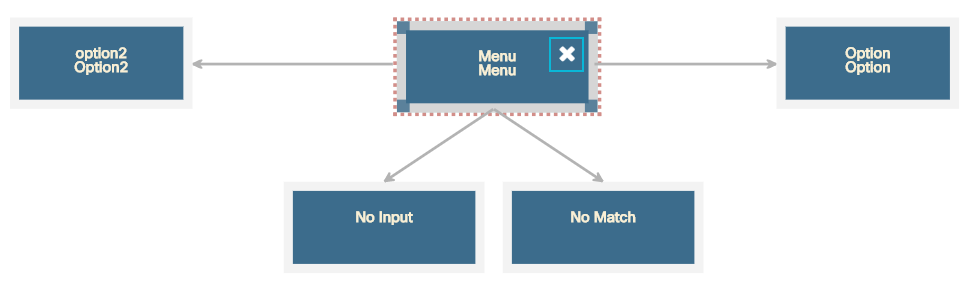
The Menu node appears on the canvas with two sub-nodes linked:
- No Match – Defines what happens when the caller's input does not match the available menu options.
- No Input – Defines what happens when the caller does not press a key for input.
- Enter a descriptive name for the node into the Display Name field (50-character limit). This name identifies the node within the contact flow.
- Enter a name in the Name field (10-character limit. Allowed characters: 0-9, a-z, A-Z, and _ "underscore"). This is the name used for the node within the database.
- Click the Menu drop-down and select the Menu node to link to the Option node.
- Click the Save button to finish.
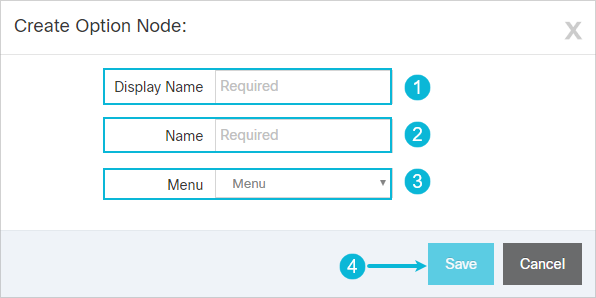
The Option node appears on the canvas and links to the Menu node selected. Add an Option node for each menu option available to the caller.
- Enter a descriptive name for the node into the Display Name field (50-character limit). This name identifies the node within the contact flow.
- Click the Save button to finish.
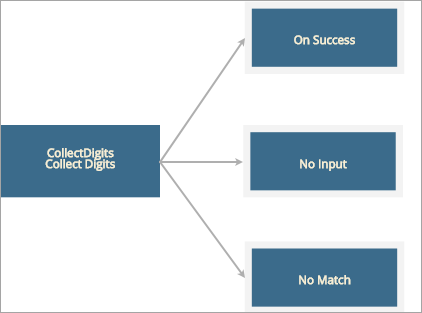
The Collect Digits node appears on the canvas with three sub-nodes linked:
- On Success – Defines what happens when the caller inputs the expected or correct digits.
- No Input – Defines what happens when the caller does not provide any input.
- No Match – Defines what happens when the caller's input does not match the expected input.
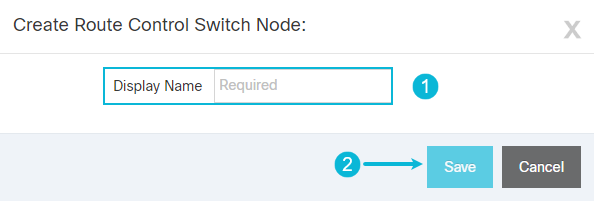
- Enter a descriptive name for the node into the Display Name field (50-character limit). This name identifies the node within the contact flow.
- Click the Save button to finish.
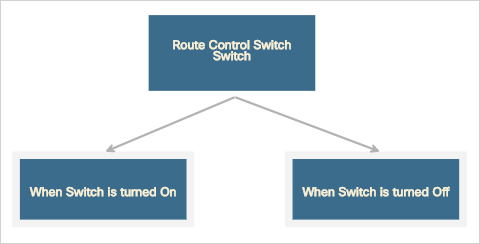
The Route Control Switch node appears on the canvas with two sub-nodes linked:
- When Switch is turned On – Defines what happens when the switch is on.
- When Switch is turned Off – Defines what happens when the switch is off.
- Enter a descriptive name for the node into the Display Name field (50-character limit). This name identifies the node within the contact flow.
- Click the Save button to finish.

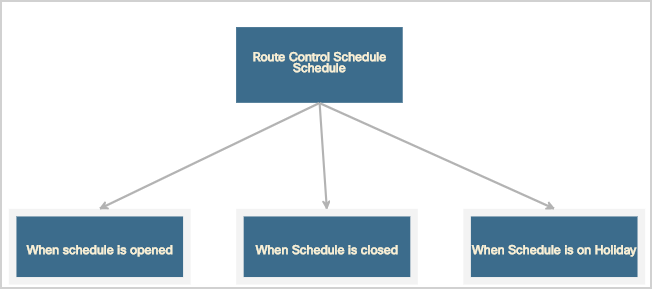
The Route Control Schedule node appears on the canvas with three sub-nodes linked:
- When Schedule is opened – Defines what happens when the schedule is opened.
- When Schedule is closed – Defines what happens when the schedule is closed.
- When Schedule is on Holiday – Defines what happens when the schedule is on Holiday.
- Enter a descriptive name for the node into the Display Name field (50-character limit). This name identifies the node within the contact flow.
- Click the Save button to finish.
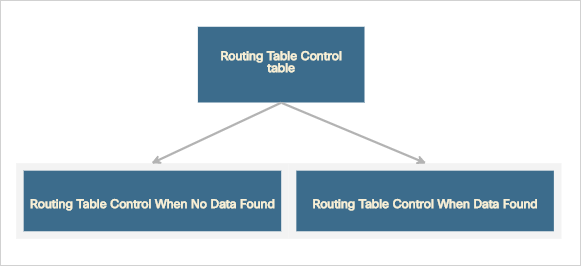
The Route Control Table node appears on the canvas with two sub-nodes linked:
- Routing Table Control When No Data Found – Defines what happens when no data is found.
- Routing Table Control When Data Found – Defines what happens when data is found.
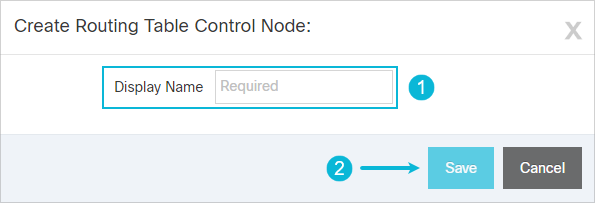
- Enter a descriptive name for the node into the Display Name field (50-character limit). This name identifies the node within the contact flow.
- Click the Save button to finish.
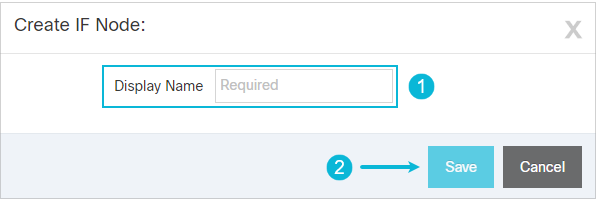
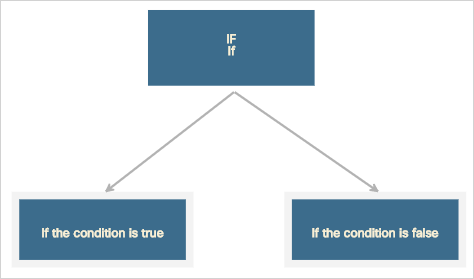
The IF Condition node appears on the canvas with two sub-nodes linked:
- If the condition is true – Defines what happens if the condition is true.
- If the condition is false – Defines what happens if the condition is false.
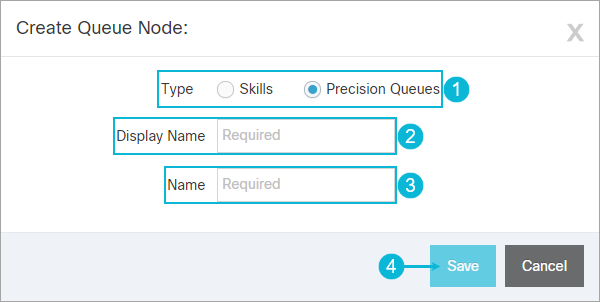
- For the Type, select either Skills or Precision Queues, depending on which type you want to use.
- Enter a descriptive name for the node into the Display Name field (50-character limit). This name identifies the node within the contact flow.
- Enter a name in the Name field (12-character limit. Allowed characters: 0-9, a-z, A-Z, and _ "underscore"). This is the name used for the node within the database.
- Click the Save button to finish.
- Enter a descriptive name for the node in the Display Name field. (50-character limit). This name identifies the node within the contact flow.
- Click the Save button to finish.
- Enter a descriptive name for the node into the Display Name field (50-character limit). This name identifies the node within the contact flow.
- Enter the number to transfer the caller to in the Transfer Number field.
- Click the Save button to finish.
![]()
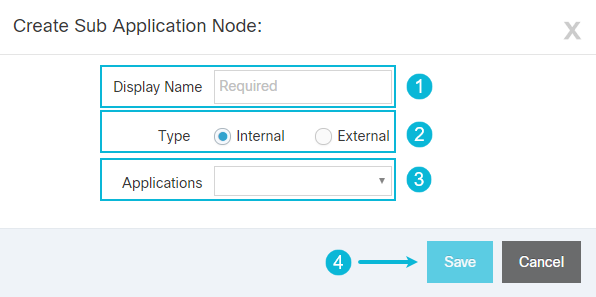
- Enter a descriptive name for the node into the Display Name field (50-character limit). This name identifies the node within the contact flow.
- Select the Type of application needed by choosing either Internal or External.
NOTES:
Selecting External or Internal changes the applications displayed within the Applications drop-down menu.
External applications are created by the professional services team in order to allow for more advanced actions within the contact flow application.
- Select an application from the Application drop-down menu.
- Click the Save button to finish.
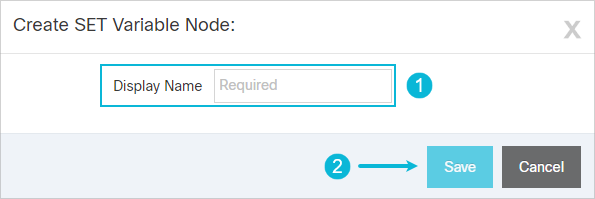
- Enter a descriptive name for the node into the Display Name field (50-character limit). This name identifies the node within the contact flow.
- Click the Save button to finish.

Connecting Nodes
Connect nodes together to define the next action to occur within the contact flow.
- Place the mouse cursor on the edge of the node. Click and hold the left mouse button.

- Continue holding the left mouse button and drag away from the node. A line with an arrow, called the node connector, follows the mouse pointer.

Release the left mouse button over the node to follow. The connection between the nodes is now established.

For information about which nodes can connect, see Node Compatibility.
Adding a Connection Label
Identify connections by adding a label to them. To add a label to a node connection, do the following:
- Place the mouse pointer in the center of the node connection as shown below. Left-click the connection to open the Edit Connection dialog box.

- Enter a label into the Label Text field, and then click the Save button.
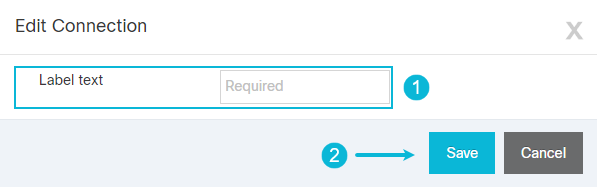
After saving, the label displays on the node connection line.

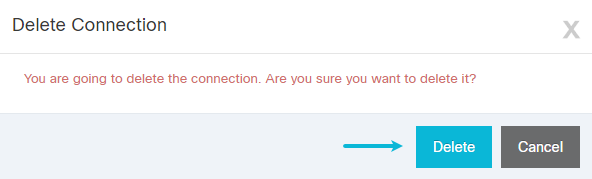
Deleting Node Connection
Remove a connection between nodes by doing the following:
- Place the mouse pointer in the center of the node connection as shown below and right-click the connection.

- Click the Delete button to delete the node connection when the Delete Connection dialog box displays.
Deleting a Node
To delete a node:
- Select the node to delete by clicking on it.
- Click the X that displays in the upper right corner of the selected node.
NOTE:
When deleting Menu, Menu Option, and Queue nodes, the objects still remain in ICM if the application is deployed to test or production.
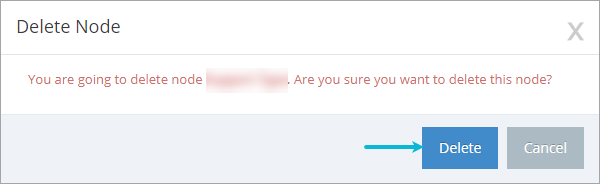
- Confirm the node deletion by clicking Delete when the Delete Node dialog displays.
NOTE:
When a parent node is deleted, their default child nodes are also deleted. Parent nodes include:
- Menu (also deletes No Input and No Match child nodes)
- Collect Digits (also deletes On Success, No Match and No Input child nodes)
- Route Switch (also deletes When Turned On and When Turned Off child nodes)
- Route Schedule (also deletes Opened, Closed, and On Holiday child nodes)
Defining Node Properties
To change the properties of a node:
- Select the node within the contact flow. The selected node's available properties display in the Properties panel.
- Review each of the properties and configure them in accordance to the need of the contact flow.
For more details about node properties, see Node Properties
Adding Audio Files to Compatible Nodes
Some nodes allow for the assignment of audio files. These nodes include:
- Audio
- Menu
- Collect Digits
- Queue
To add an audio file to any of these nodes, do the following:
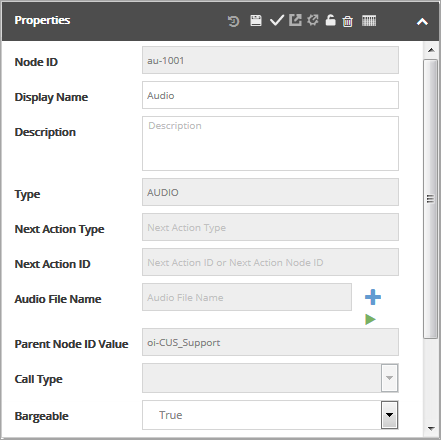
- On the canvas, select the node to have an audio file assigned.
- In the Properties panel, locate Audio File Name and click the Add Audio File icon.

NOTE:
If adding an audio file to a Queue node, locate the Whisper Audio File Name in the Properties Panel. Click the Add Whisper Audio File icon.

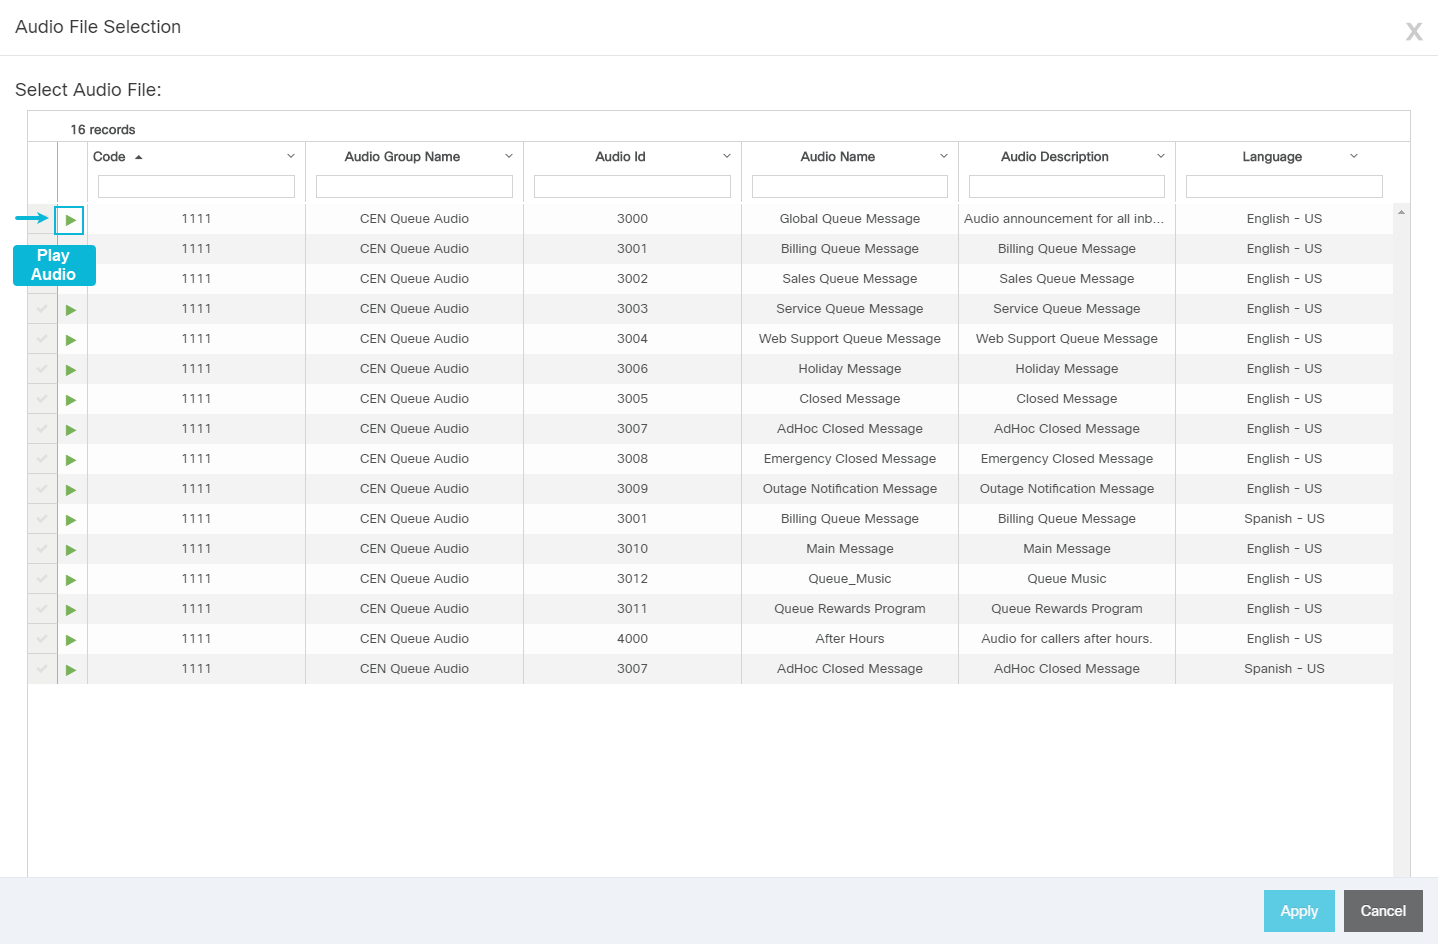
- On the Select Audio File dialog, locate the audio file to assign to the node.
- To sample a specific audio file, click the Play Audio icon from the same row.
- Select the desired audio file by placing a check in the Selection Indicator beside the audio file, and then click the Apply button.
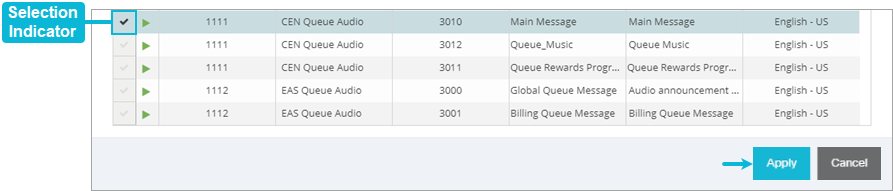
- The node's Properties panel now displays a Play Audio icon beside the Audio File Name or Whisper Audio File Name. Click this icon to sample the selected audio file.


Saving the Contact Flow Application
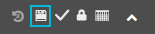
- Click the Save button located at the top of the canvas.
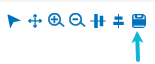
NOTE:
A Save button is also available at the top of the Properties panel.
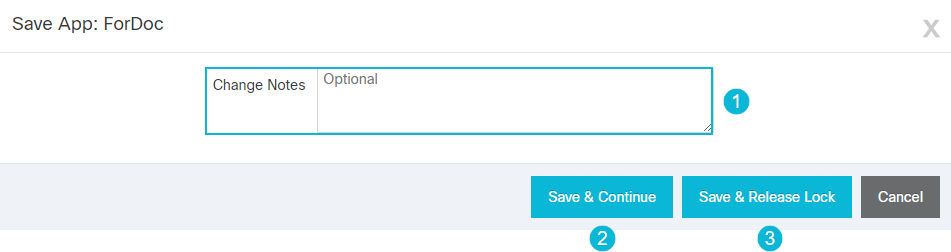
Enter any notes in the optional Change Notes field when the Save App dialog displays. Notes help track changes made to the application.
- Click Save & Continue to proceed with saving the contact flow application.
- Click the Save & Release Lock button to save the application and unlock it to allow other users to edit.
See Also
Copyright © 2025 Cisco. All rights reserved.
![]()
![]()
![]()