Manage a Table Control
The Table control is commonly used to for adding a list of contact numbers into a call flow.
This topic covers how to manage a Table control.
Updating a Control
To learn how to access the Manage Control interface for updating an existing Table control, refer to the Manage a Routing Control topic.
Using the Manage Control Interface
Update a Table control from the Manage Control interface by doing the following:
Update Control Details
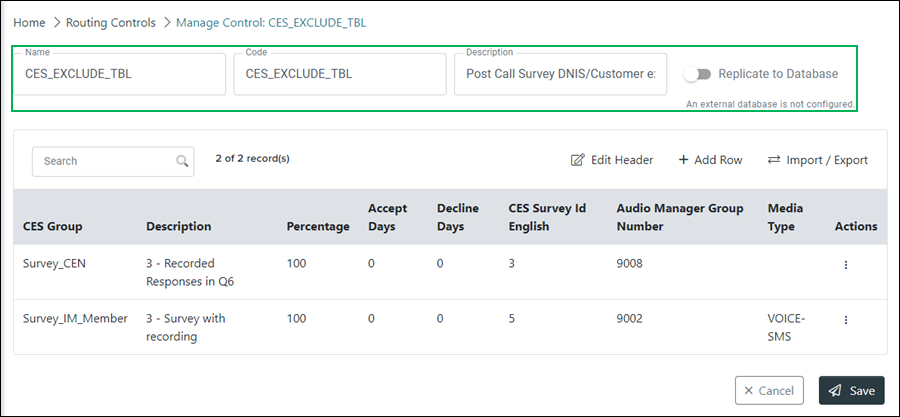
Name – Replace the text in this field to change the control's name.
Code – Code used to represent the control.
NOTE:
The Code field can no longer be edited after initially adding the control.
Description – Change the description used to help identify the purpose or intent of the control by replacing the text in this field.
Replicate to Database – Slider used to enable a replicate to database feature. Enable this option if you want the table replicated on an external database.
NOTE:
With the Replicate to Database option enabled, the routing control table is created on an external database instead of the Portal database. This allows the table control to function quicker in some cases.
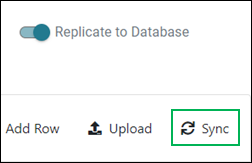
When enabled, a Sync button displays for Routing Control Administrator users. Clicking this button will manually sync the table control data to the external database.
If the Replicate to Database option is not available, a message appears below the option stating the following: "An external database is not configured."
Adding or Editing the Table
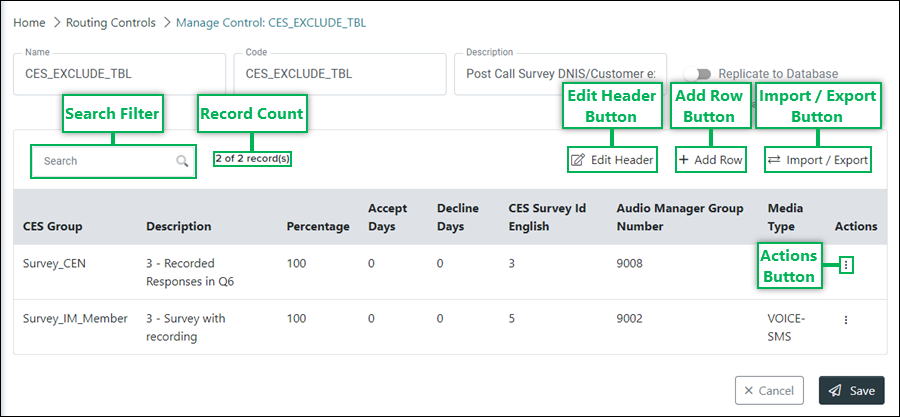
Search Filter – Enter text in this field and click the Magnifying Glass icon to search for specific table records. Clear the field by clicking the X that displays after entering text.

Record Count – Displays the total number of table entries currently displayed and available for the table control.
Edit Header Button – Click to add or edit the headers for each column within the table. See the Editing the Table Headers section below to learn more.
Add Row Button – Click to add a new row to the table. Rows allow for the entry or selection of data as described by the table headers. See the Adding Rows to the Table section below to learn more.
Import / Export Button – Click this button to access the Import / Export Table dialog. This allows you to import data into the table control, or export it for external editing. See the Importing or Exporting a Table section below to learn more.
Actions Button – Click to display the Actions menu. This menu provides the options to Edit or Delete a table row. See the Editing a Table Row or Deleting a Table Row sections below to learn more.

Configure and edit the table headers as needed to support and represent the data added to each of the table's rows.
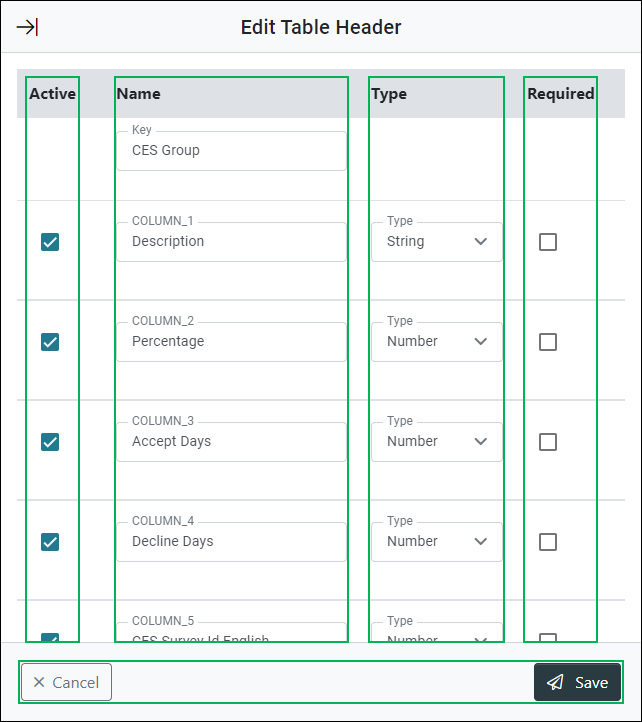
Active – Place a check in this box next to each column you want to be active and display on the table.

Column Active

Column Not Active
Name – Enter a name to display at the top of each column within the table.
- Key – This is the default first column within the table. It is commonly used for naming the first column of each of the table's rows.
Type – Select the type of data to be entered or selected for each column.
- Boolean – Allows for a Yes or No selection in the fields within this column.
- Date – Allows for the selection of a date in the fields within this column.
- Number – Allows for the entry of any number in the fields within this column. (40 characters maximum.)
- String – Allows for the entry of any character in the fields within this column. (40 characters maximum.)
Required – Place a check in these boxes set the entry or selection of column data as required. When set to required, data must be entered or selected in the column field.
Column Data Required
Column Data Not Required
NOTE:
Each table control can have a maximum of 10 columns.
Save – Click to save any changes. This saves the data entered and returns to the Manage Control interface.
Cancel – Click to cancel the operation. This cancels the entries and returns to the Manage Control interface.
Enter or select the data for each of the available fields.
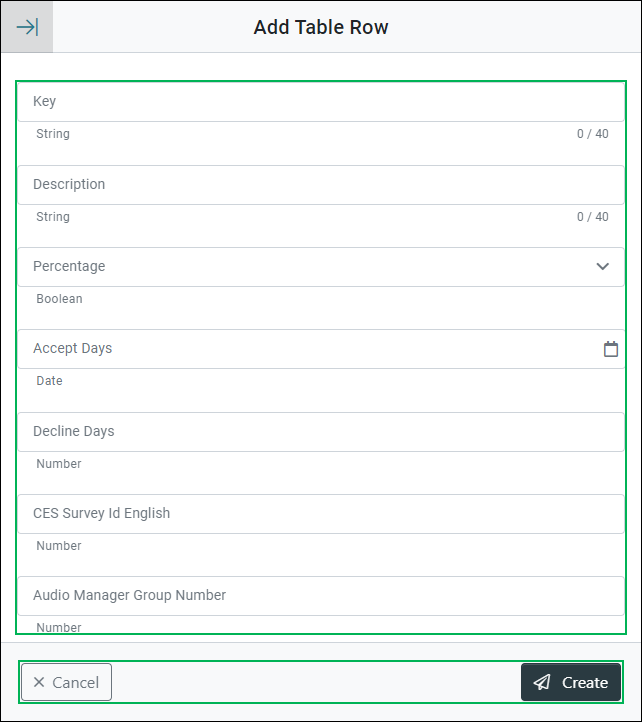
Create Button – Click to finish creating the row. This adds the row with the data entered and returns to the Manage Control interface.
Cancel Button – Click to cancel the operation. This cancels the entries and returns to the Manage Control interface.
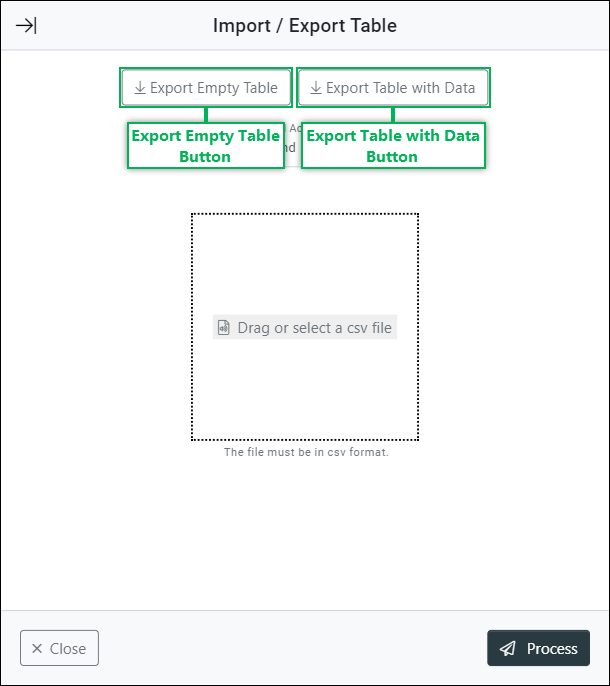
The Import / Export Table dialog allows you to both export the table with or without data as a CSV (Comma Separated Value) file type, or import a CSV file to apend, update, or replace table data.
Export Table
Exporting the table allows you to both add and edit table data using an external application such as Microsoft Excel. Some users prefer this method as it offers a quicker work-flow when entering large amounts of table data.
NOTE:
Exporting the CSV file may differ depending on which web browser you are using. Some browsers may prompt you to choose where to save the downloaded file. Other web browsers may save the file directly to a default downloads folder, or the most recently selected download location.
Export Empty Table Button – Click to export a copy of the table without data. This version of the exported file contains only headers.
![]()
Exported Empty CSV File
Export Table with Data Button – Click to export a copy of the table with data included. This version of the exported file contains both headers and data.

Exported CSV File with Data
Import Table
Importing table data allows you to quickly upload a previously exported table CSV file.
Selecting the Table CSV File
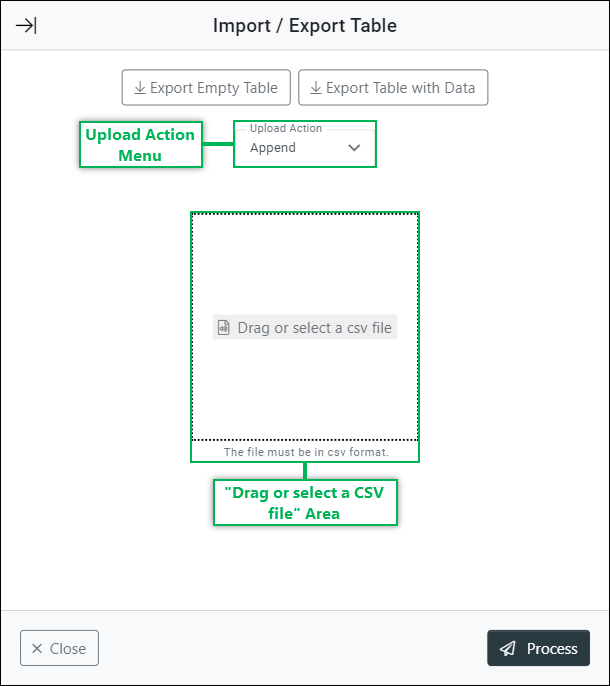
Upload Action – Click this menu to select an option for controlling how the table data is used or applied.
- Append – Adds new records from the CSV file to the existing table. Records where the Key field already exists are skipped. Skipped records are displayed in audit. For additional information about audit, refer to the topic Audit a Routing Control.
- Update – Updates records in the current table for every record where the Key field exists. Skipped records are displayed in audit. For additional information about audit, refer to the topic Audit a Routing Control.
- Replace – Replaces all records in the current table where the Key field already exists. Skipped records are displayed in audit. For additional information about audit, refer to the topic Audit a Routing Control.
"Drag or select a CSV file" Area – This area within the Import / Export Table dialog allows you to select the CSV file to import using one of the following two methods:
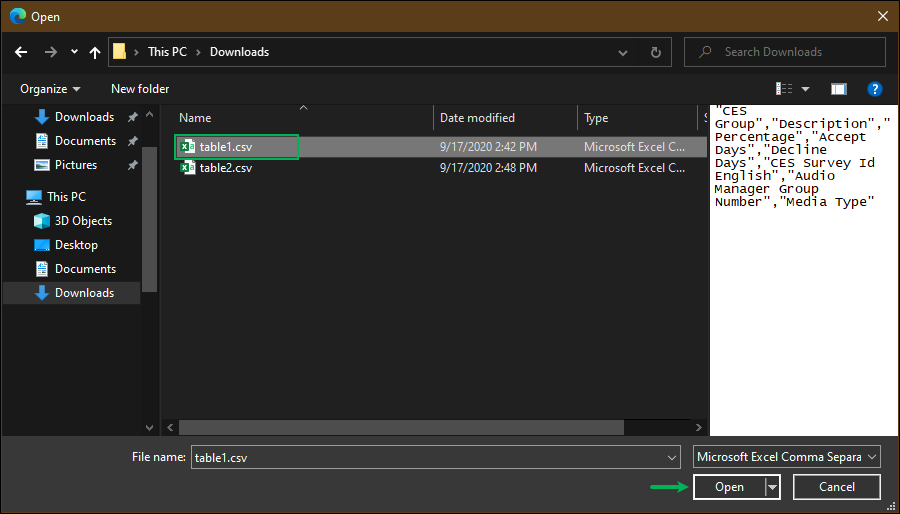
Method 1: Select CSV File
- Click the Drag or select a CSV file text.

- Locate and select the CSV file you want to add.
NOTE:
The interface used to locate and select a file may differ than the example used below, depending on which operating system or web browser you are using.
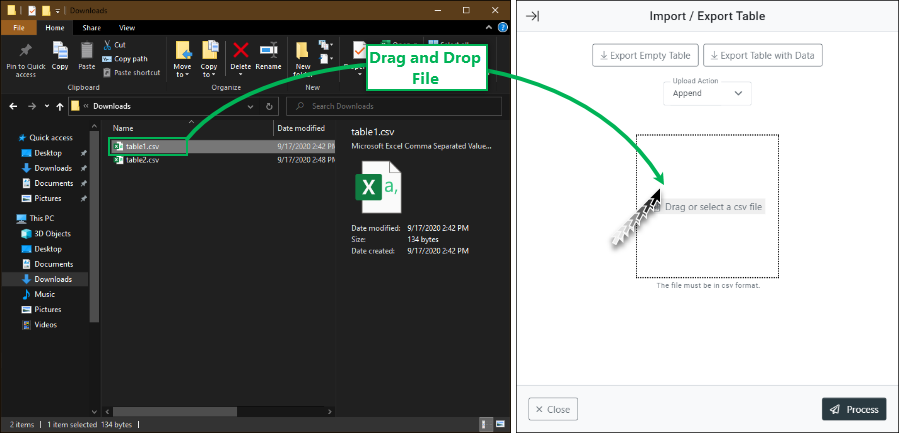
Method 2: Drag and Drop File
- Locate the file you want to add.
- Left-click and hold to drag the file into the specified area within the Import / Export Table dialog.
Finishing the CSV File Import
The added CSV file displays after using either of the methods above to select it. From here you can delete the file, cancel the operation, or process the file.
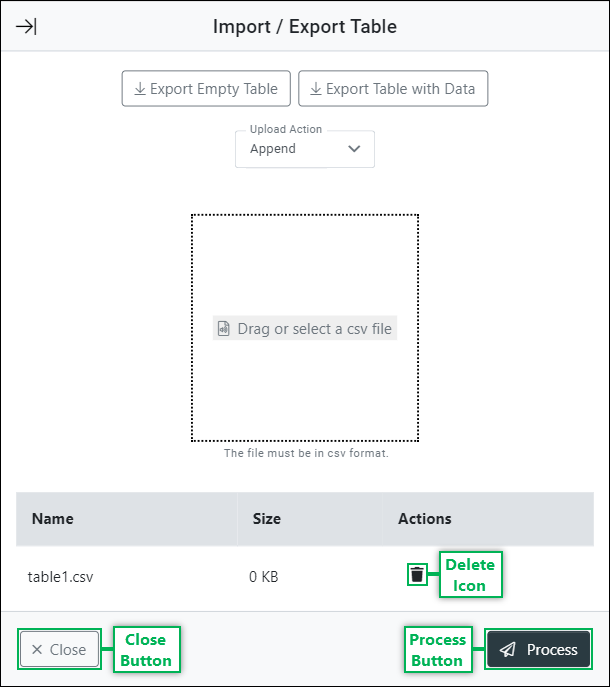
Delete Icon – Click to remove the selected CSV file.
Close Button – Closes the Import / Export Table dialog and returns the Manage Control interface.
Process Button – Processes the CSV file using the selected Upload Action.
CSV File Imported
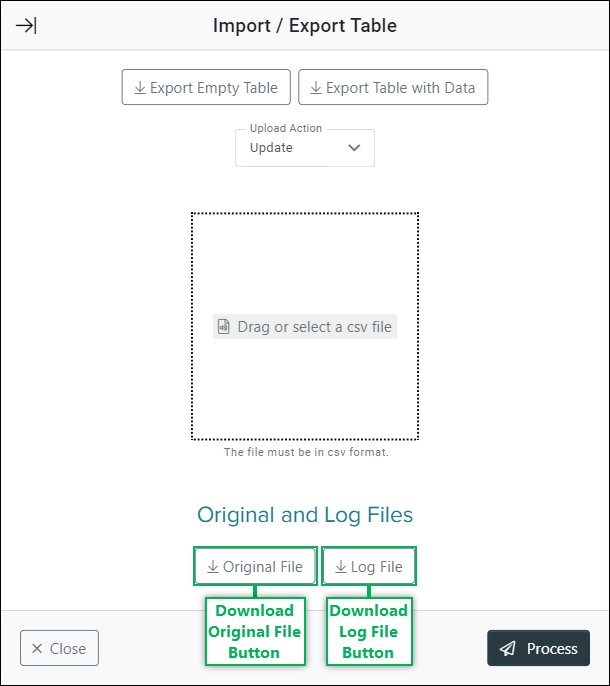
Download Original File Button – Click to download the original CSV file as it was before importing.
Download Log File Button – Click to download a log file which can be used to view the success or failure results from the import.

- Update the row by replacing or selecting the data for each of the available fields.
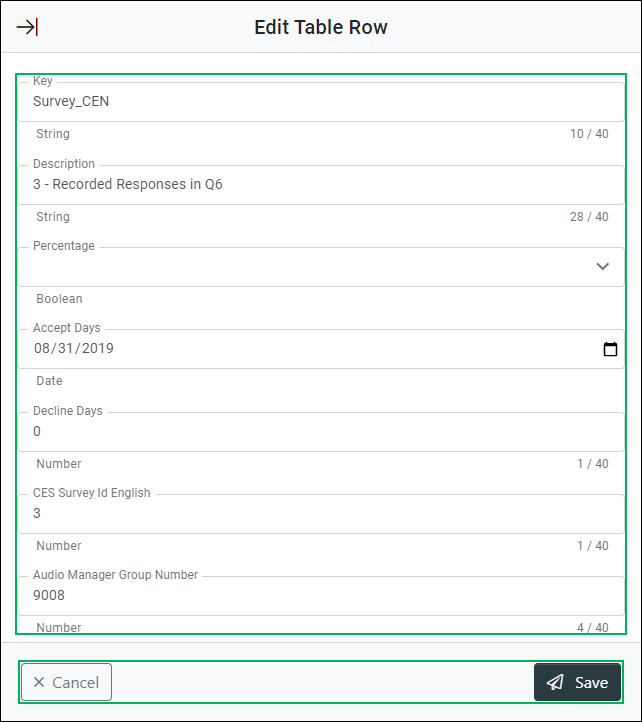
Saving Table Row Changes
Save the row changes by clicking Save, or click Cancel to cancel the operation.

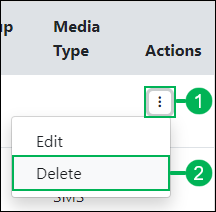
Remove any rows that are no longer needed by doing the following:
- Click the Actions button for the audio file you want to delete.
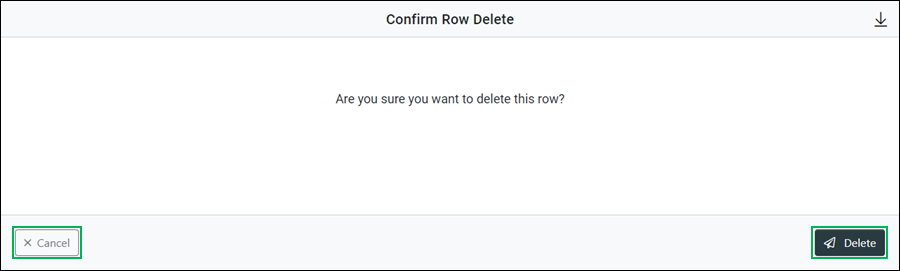
- Select Delete to access the Confirm Row Delete dialog.
- Confirm the deletion of the row by clicking the Delete button, or click the Cancel button to cancel the operation.
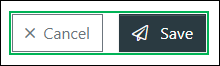
Saving Changes
Save any changes by clicking Save, or click Cancel to cancel the operation.
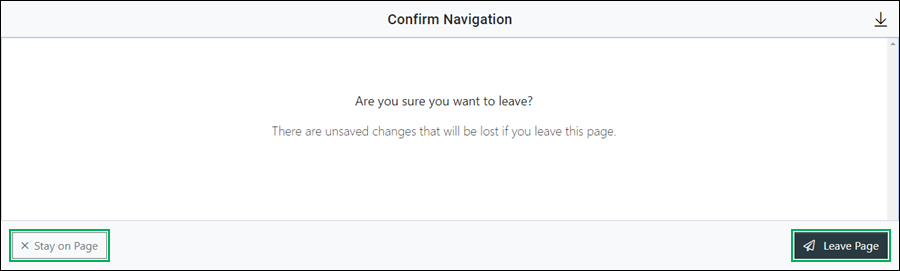
NOTE:
If canceling the operation, a Confirm Navigation panel displays. Click Leave Page to confirm canceling. To close the panel and return to the previous task, click Stay on Page.