Manage a Date/Time Control
The Date/Time control allows a user to set a specific date and time for a routing task to begin. It is commonly used for enabling planned messaging.
This topic covers how to update an existing Date/Time control.
Updating a Control
To learn how to access the Manage Control interface for updating an existing Date/Time control, refer to the Manage a Routing Control topic.
Using the Manage Control Interface
Update a Date/Time control from the Manage Control interface by doing the following:
Update Control Details
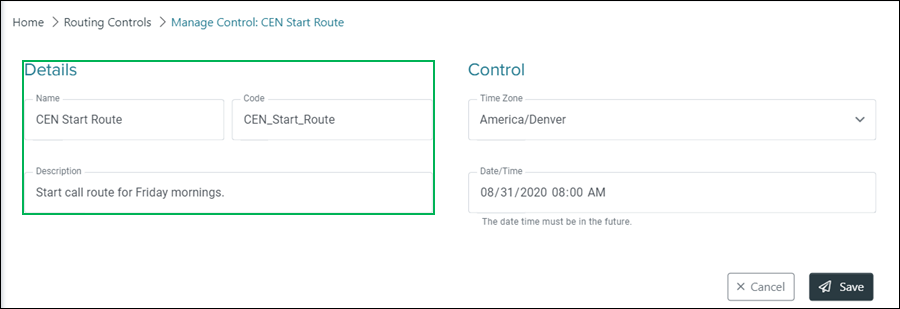
Name – Replace the text in this field to change the control's name.
Code – Code used to represent the control.
NOTE:
The Code field can no longer be edited after initially adding the control.
Description – Change the description used to help identify the purpose or intent of the control by replacing the text in this field.
Update Control Settings
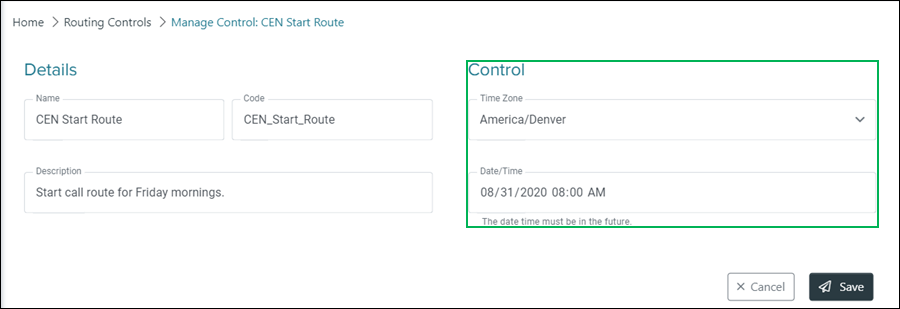
Time Zone – Click this drop-down menu to change the selected time zone for the control.
Date/Time – Allows for changing the selected date and time for the control. Selecting this field displays the Date / Time Selection Menu.
NOTE:
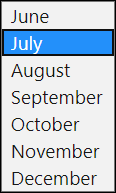
Use the Date / Time Selection Menu to select a date and time:

Date / Time Selection Menu
Month Selector – Click to select a month.
Year Selector – Click to enter or select a year. Use the up and down arrows to select the previous or next year.

Next Month – Arrow used to navigate to the next month.
Previous Month – Arrow used to navigate to the previous month.
Day Selector – Allows for the selection of the day. A selected day is highlighted in blue, and the current day is outlined in a gray circle.
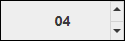
Hour Selector – Enter or select the hour. Use the up and down arrows to select the previous or next hour.
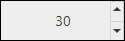
Minute Selector – Enter or select the minute. Use the up and down arrows to select the previous or next minute.
AM / PM Selector – Select PM or AM for the time of day.

Saving Changes
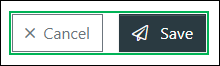
Save any changes by clicking Save, or click Cancel to cancel the operation.
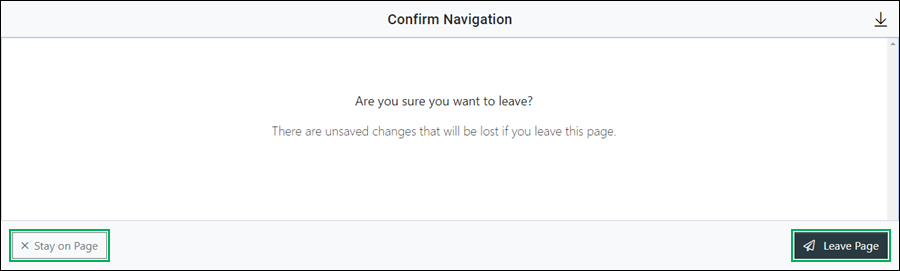
NOTE:
If canceling the operation, a Confirm Navigation panel displays. Click Leave Page to confirm canceling. To close the panel and return to the previous task, click Stay on Page.