Configure a New Date/Time Control
The Date/Time control allows you to set a specific date and time for a routing task to begin. It is commonly used for enabling planned messaging.
This topic covers how to configure a new Date/Time control after creating.
Creating a Date/Time Control
To add a new Date/Time control, refer to the Create a Routing Control topic. Follow the instructions in that topic to add a new Date/Time control.
Using the Create New Date/Time Control Interface
Configure the new control by completing each section below:
Enter Control Details
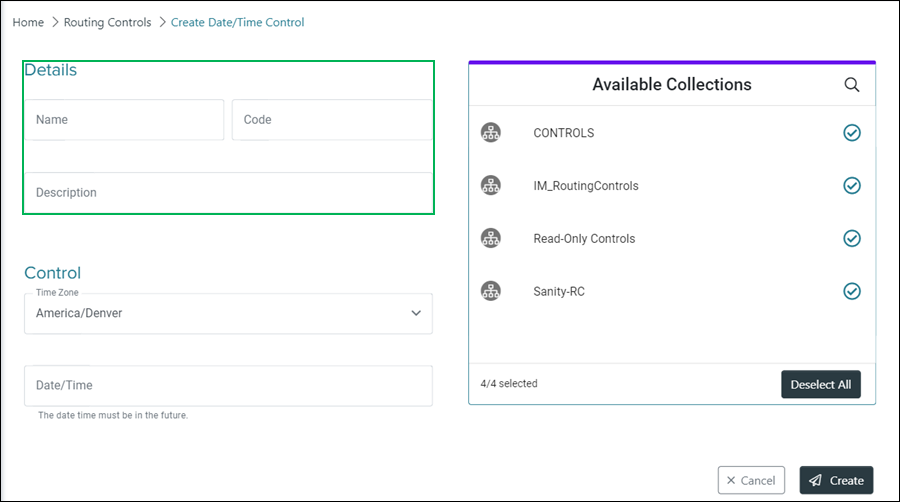
Name – Enter a name for the control in this field.
Code – Enter a unique code to represent the control in this field.
NOTE:
The Code field can no longer be edited after initially adding the control.
Description – Enter a brief description to help identify the purpose or intent of the control.
Configure Control Settings
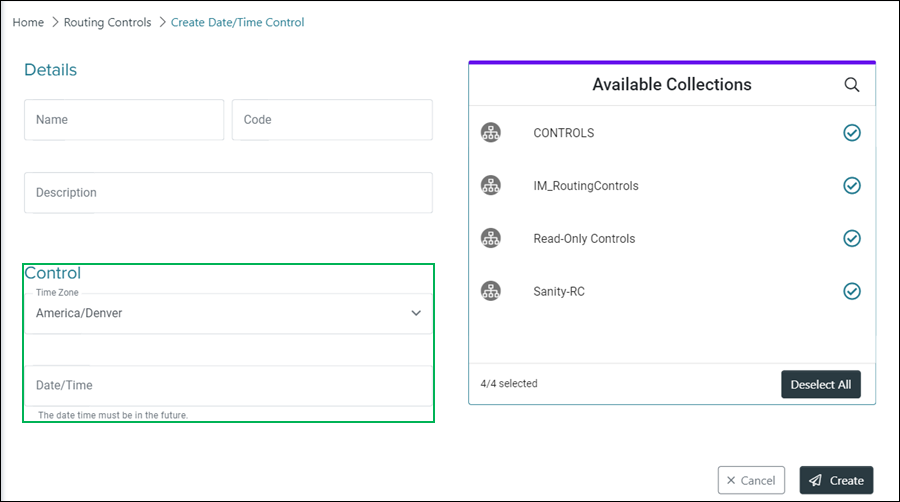
Time Zone – Drop-down menu for selecting the time zone for the control.
Date/Time – Allows for the selection of the date and time for the control. Selecting this field displays the Date / Time Selection Menu.
NOTE:
Use the Date / Time Selection Menu to select a date and time:

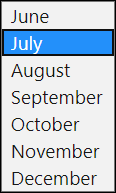
Date / Time Selection Menu
Month Selector – Click to select a month.
Year Selector – Click to enter or select a year. Use the up and down arrows to select the previous or next year.

Next Month – Arrow used to navigate to the next month.
Previous Month – Arrow used to navigate to the previous month.
Day Selector – Allows for the selection of the day. A selected day is highlighted in blue, and the current day is outlined in a gray circle.
Hour Selector – Enter or select the hour. Use the up and down arrows to select the previous or next hour.
Minute Selector – Enter or select the minute. Use the up and down arrows to select the previous or next minute.
AM / PM Selector – Select PM or AM for the time of day.

Assign Collections
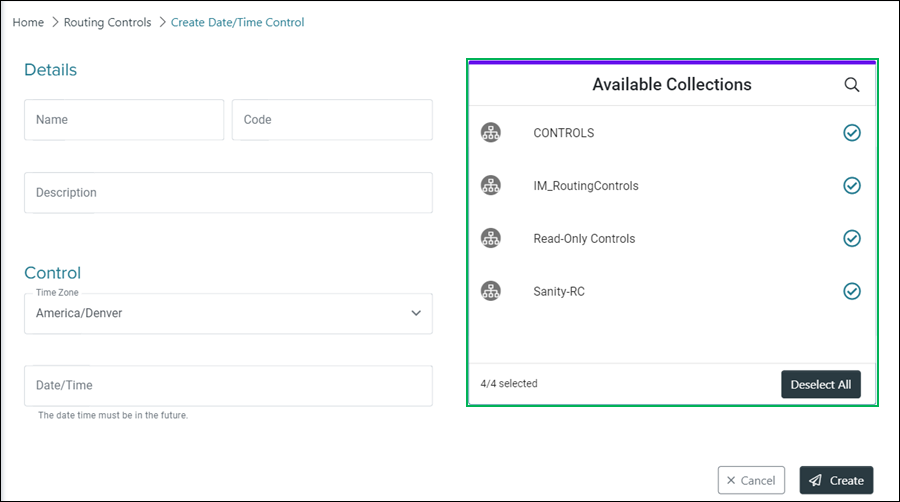
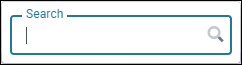
Search Icon – Clicking the magnifying glass icon displays the Search field. Enter text in this field and click the Magnifying Glass icon to search for a specific collection or collections that are available for assignment to the control.
Selection Indicators – When a collection is selected for assignment, this circle displays a check.

Select/Deselect All – Clicking this button either selects or deselects all available collections.
Completing the Control Creation
Finish creating the new control by clicking the Create button, or click the Cancel button to cancel the operation.
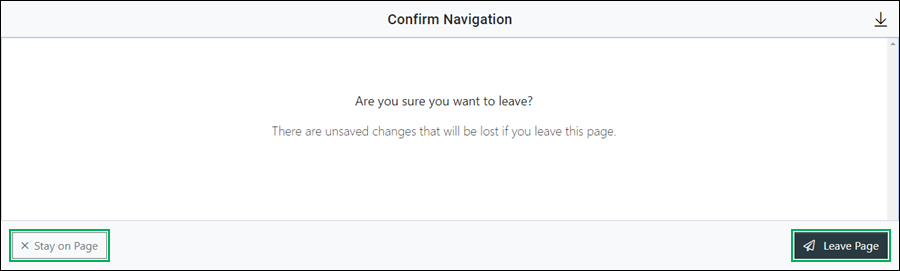
NOTE:
If canceling the operation, a Confirm Navigation panel displays. Click Leave Page to confirm canceling. To close the panel and return to the previous task, click Stay on Page.