Topic Updated: April 01, 2025
Using the Agent to Skill Feature
The Agent to Skill feature primarily places focus on assigning or unassigning agents to a select skill. It provides a quick way to manage agent assignment to a specific skill, which is useful during times of high call volume at a contact center. This topic covers how to use Agent to Skill.
Accessing Agent to Skill
To access the Agent to Skill assignment pane:
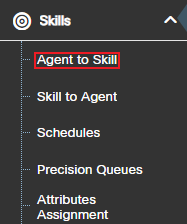
- Select Skills from the Portal navigation menu. The menu expands to reveal additional features.
- Click Agent to Skill to access the Agent to Skill assignment panes.
Understanding the Agent to Skill Interface
The Agent to Skill feature consists of the following three panes:
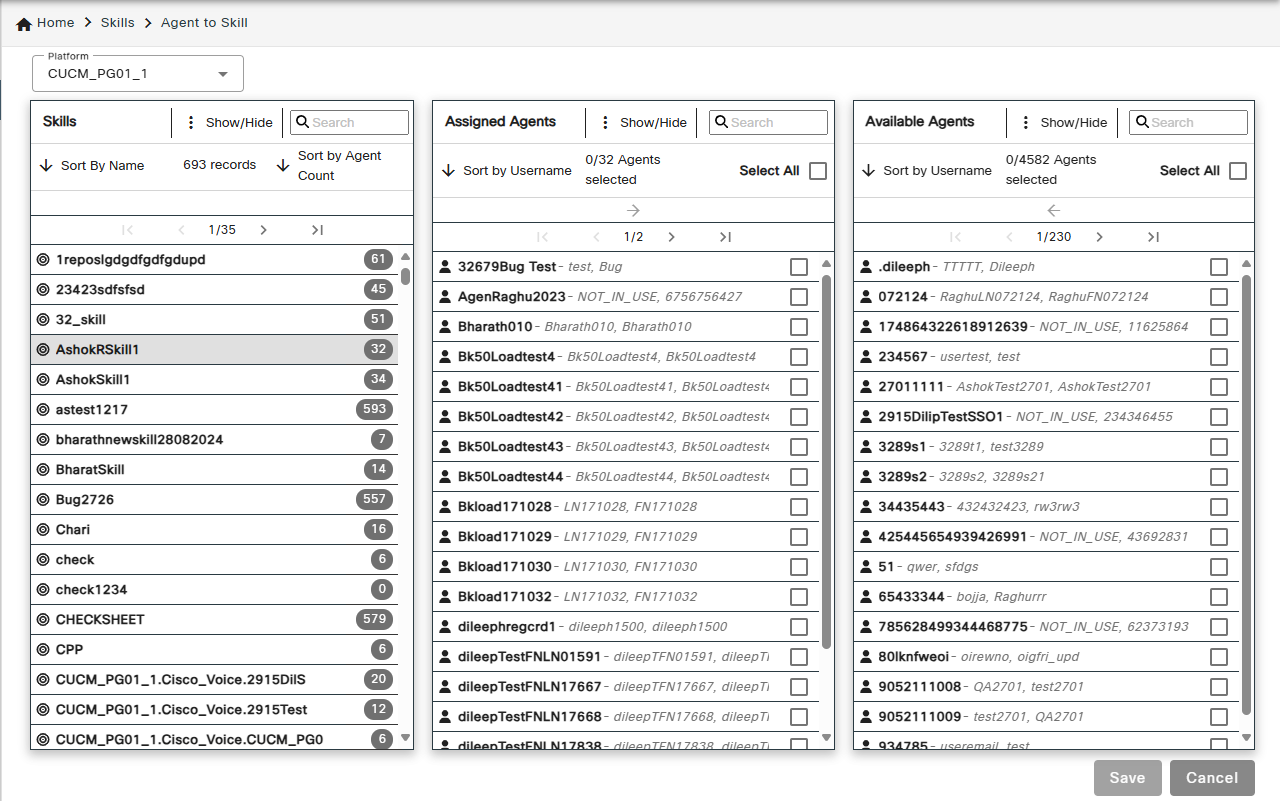
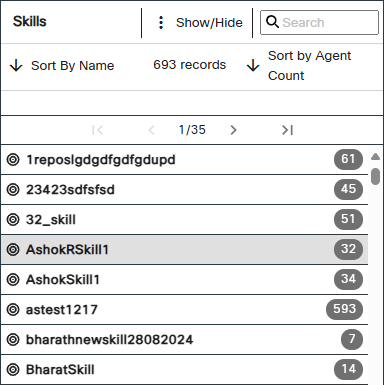
- Skills Pane – Displays a list of available selectable skills.
- Assigned Agents Pane – Lists all agents currently assigned to the selected skill.
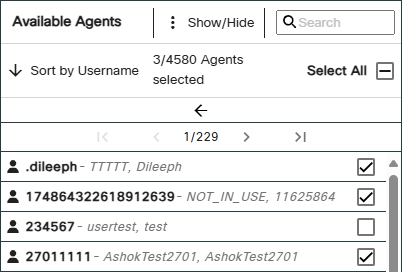
- Available Agents Pane – Lists all agents currently available for assigning to the selected skill.
To learn more about using the Agent to Skill assignment panes, see Assignment Panes Interface.
- Platform – Drop-down that allows you to filter and manage agent-skill assignments based on the selected platform.
- Show/Hide – Allows you to filter the assignment panes by the following options:
- Show All – Select this filter to show all skills, assigned agents, and/or available agents.
- Hide Disabled – Select this filter to hide disabled skills, assigned agents, and/or available agents.
- Show Selected Only – Select this filter to show only selected assigned or available agents.
- Show Unselected Only – Select this filter to show only unselected assigned or available agents.
Assigning Agents to a Skill
To assign agents to a skill:
A maximum of 50 skills can be assigned to each agent.
- Locate and select the skill needing agent(s) assigned from the Skills pane.
- Place a check next to each agent to assign to the skill in the Available Agents pane.
- Click the Assign button to move selected agent(s) to the Assigned Agents pane.
The selected agents now display at the top of the Assigned Agents pane. The green highlighting indicates any agents recently assigned, but not yet saved.
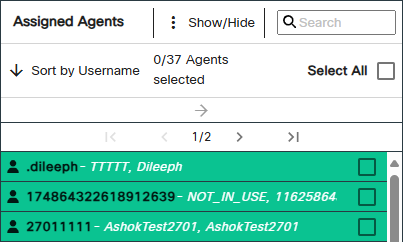
Newly assigned agents automatically display at the top of the Assigned Agents pane on page 1. If there is more than one page of assigned agents, use the paging controls directly above the list to return the first page. For assistance with using paging controls, see Assignment Panes Interface.
- Click the Save button to save the newly assigned agents, or click the Cancel button to cancel the operation.

Un-Assigning Agents from a Skill
To un-assign agents from a skill:
- Locate and select the skill needing agent(s) un-assigned from the Skills pane.
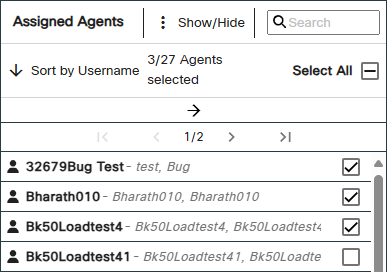
- Place a check next to each agent to select them in the Assigned Agents Pane. To quickly select all assigned agents for removal, click the Select All check box.
- Click the Un-assign button to move selected agents to the Available Agents Pane.
The selected agents now display at the top of the Available Agents Pane. The red highlighting indicates any agents recently un-assigned, but not yet saved.
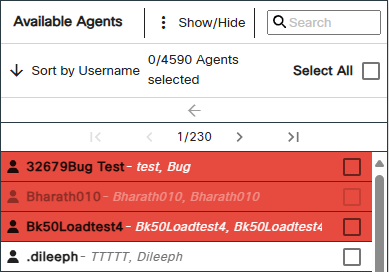
Newly unassigned agents automatically display at the top of the Available Agents Pane on page 1. If there is more than one page of available agents, use the paging controls directly above the list to return the first page. For assistance with using paging controls, see Assignment Panes Interface.
- Click the Save button to save the newly un-assigned agents, or click the Cancel button to cancel the operation.
See Also
Please let us know how we can improve this topic by clicking the link below:
© TTEC Digital 2025
![]()
![]()
![]()