Topic Updated: April 01, 2025
Assign or Remove Precision Queue Attributes for Agents
By using the Precision Queues Attributes Assignment tool, users can quickly assign agents to specific attributes for better incoming call direction.
Assigning Attributes to Agents
To assign attributes to agents:
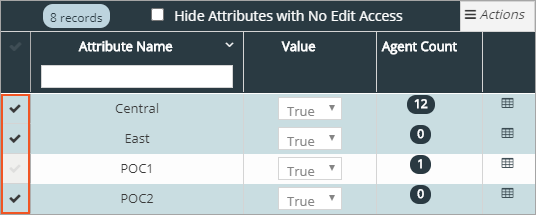
- Select one or more attributes in the Attributes pane.
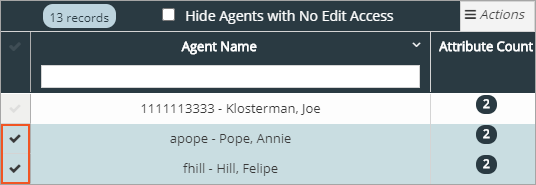
- Select the agent or agents for which the attributes need assignment in the Agents pane.
NOTE:
Agents display from all platforms. You do not have to change platforms to see certain agents.
- Click the Save button to assign the selected attributes to the selected agents.
- Click the Cancel button to remove any attributes assignment changes and cancel the operation.

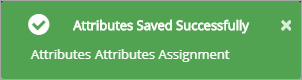
An Attributes Saved Successfully notification displays at the upper right side of the screen.
Removing Attributes from Agents
To remove attributes assigned to agents:
- Locate the agent to remove attributes from, in the Agents Pane.
- Click the agent's Attribute Count icon located under the Attribute Count Column. The Attributes List dialog box opens displaying a list of all attributes assigned to the agent.
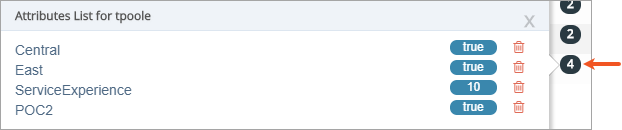
- Click the Delete icon (trashcan) next to the attribute to remove.
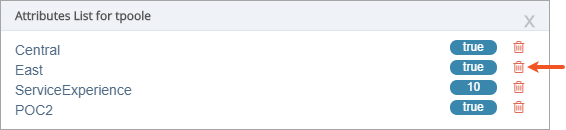
An Attribute deleted from Agent notification displays at the upper right side of the screen after deleting each attribute.

Removing Attributes from Agents
To remove agents assigned to attributes:
- Locate the attribute to remove agents from, in the Attributes Pane.
- Click the attribute's Agent Count icon located under the Agent Count Column. The Agents List dialog box opens displaying a list of all agents assigned to the attribute.
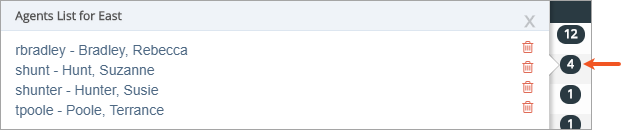
- Click the Delete icon (trashcan) next to the agent to remove.
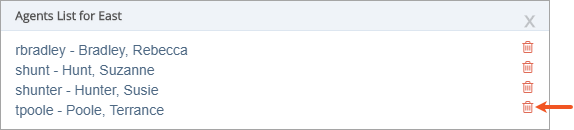
An Attribute deleted from Agent notification displays at the upper right side of the screen after deleting each attribute.

See Also
Please let us know how we can improve this topic by clicking the link below:
© TTEC Digital 2025
![]()
![]()
![]()