Topic Updated: April 01, 2025
Working with Audio Versions
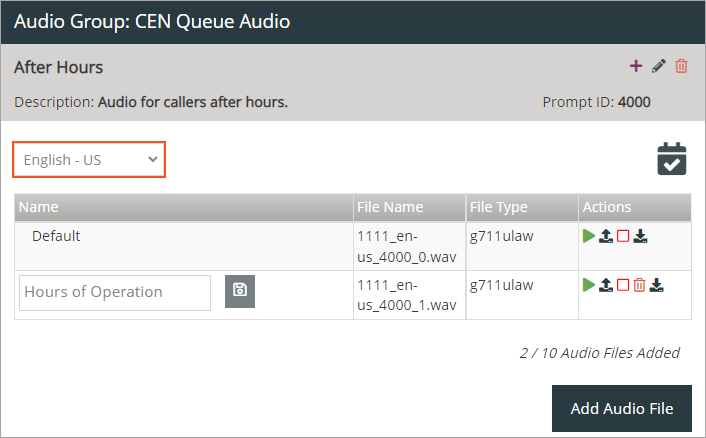
Each Audio Prompt has a placeholder for uploading a default audio file for each available language. When a user uploads audio files to an Audio Prompt, they become audio versions. This allows for assigning each audio file a unique name for easier identification when activating or deactivating them.
Uploading a default audio file ensures audio will play when no other Audio Version is active.
NOTE:
To use an audio file, it must meet the following format requirements:
- File must have the .wav extension
- Format must be Audio Interchange File Format (AIFF)
- Compression type must be μ-law
- Data must be 8 kbps or 64 kbps ITU G.711 μ-law, G.711 A-law, or G.729 and it must be single mono
To upload a default audio file:
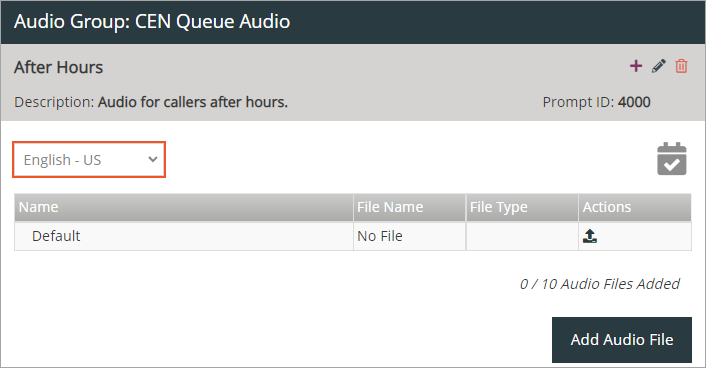
- With the Audio Prompt selected, choose a language, if necessary, for the default audio version.
- To upload the default audio file, click the Upload File icon. This opens the File Upload dialog box, followed by a file explorer window.
NOTE:
The next step may vary depending on the operating system or web browser used.
If the file explorer does not open automatically, click the Upload button found on the File Upload dialog box.
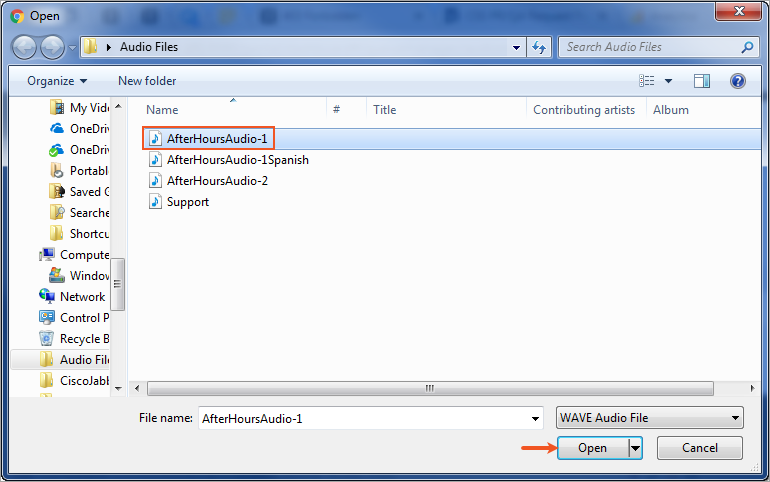
- Locate the audio file to upload.
- Select the file, and then click the Open button.
The selected file displays on the File Upload dialog box.
- Click the Upload button to upload the file to Audio Manager, or remove the audio file by clicking the Delete (trash can) button. Cancel the operation by clicking the Cancel button.
NOTE:
Audio file size typically displays in megabytes (MB) unless the audio file size is under 1 MB. In this case, it displays in kilobytes (KB).
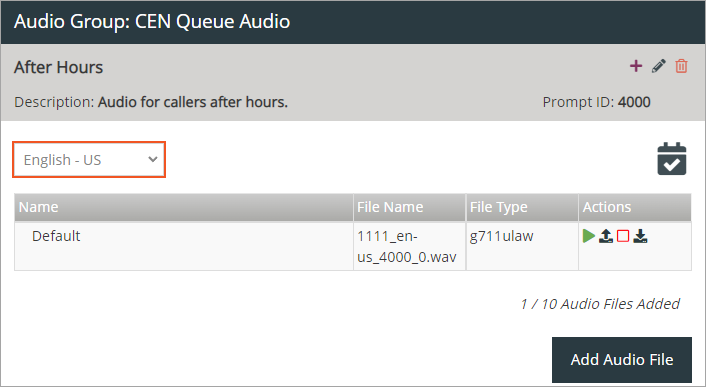
A File uploaded successfully notification displays at the upper right side of the screen.
After adding a default audio file, add additional audio files by doing the following:
NOTE:
Each Audio Prompt can contain a maximum of 10 audio files, including the default audio file.
- Select the Audio Prompt that needs an additional audio file.
- Choose the language of the audio file version, if necessary.
- Click the Add Audio File button. This opens the File Upload dialog box, followed by a file explorer window.
NOTE:
The next step may vary depending on the operating system or web browser used.
If the file explorer does not open automatically, click the Upload button found on the File Upload dialog box.
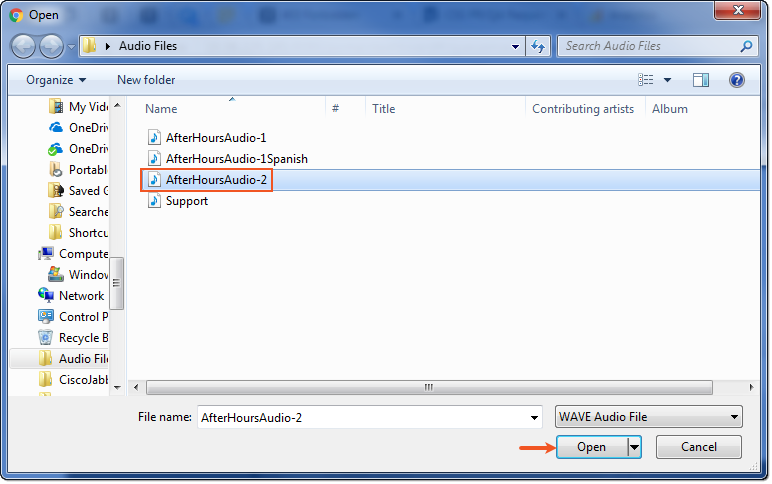
- Locate the audio file to upload.
- Select the file, and then click the Open button.
The selected file displays on the File Upload dialog box.
- Click the Upload button to upload the file to Audio Manager, or remove the audio file by clicking the Delete (trash can) button. Cancel the operation by clicking the Cancel button.
A File uploaded successfully notification displays at the upper right side of the screen.
Adding a name to the audio file version helps to identify its message and purpose. To name an audio file version:
- Select the Audio Prompt that contains the audio file to name.
- Choose the language of the audio file version, if necessary.
- Enter a name into the available field for the audio file version, and then click the Save (disk) button.
A Version Updated Successfully notification displays at the upper right side of the screen.
To delete an audio file version from and Audio Prompt:
NOTE:
A user can only remove deactivated audio file versions.
- Select the Audio Prompt containing an audio file to delete.
- Choose the language of the audio file version, if necessary.
- Locate the audio version to delete, and then click the Remove File task icon.
A Version Status Updated Successfully notification displays at the upper right side of the screen.
To set an audio file version as active:
NOTE:
Audio Prompts require at least one audio file version to be active at all times.
- Select the Audio Prompt containing the audio file to activate.
- Choose the language of the audio file version, if necessary.
- Click the Activate Version task icon next to the audio file version to activate.
A Version Updated Successfully notification displays at the upper right side of the screen.
The task icon changes into a green checked box, indicating the audio file version is now activated.
To set an audio file version as deactivated:
NOTE:
Audio Prompts require at least one audio file version to be active at all times.
- Select the Audio Prompt containing the audio file to deactivate.
- Choose the language of the audio file version, if necessary.
- Click the Deactivate Version task icon next to the audio file version to deactivate.
A Version Updated Successfully notification displays at the upper right side of the screen.
The task icon changes into a red empty checkbox, indicating the audio file version is now deactivated.
To listen to an audio file:
- Select the Audio Prompt containing the audio file to play.
- Choose the language of the audio file version, if necessary.
- Locate the audio file version to hear, and then click the Play Audio task icon. The audio will begin playing.
- Click the Pause task icon to pause the audio playback.
To download an audio file for use in another audio version:
- Select the Audio Prompt containing the audio file to download.
- Choose the language of the audio file version, if necessary.
- Locate the audio file version to download, and then click the Download Audio File task icon.
- Follow the on-screen dialog to download the file to your preferred location.
NOTE:
The download process varies depending on which web browser you are using. Some web browsers may automatically download the file to the default Downloads directory on your operating system.
See Also
Please let us know how we can improve this topic by clicking the link below:
