Topic Updated: April 01, 2025
Create a New Profile
As your needs and requirements change, the profiles that you assign to agents may not cover all eventualities. When that happens, you may need a new profile that is set up to meet those needs.
Creating a new profile from scratch can be a daunting task. To make it easier to set up a new profile, you can clone an existing profile that has most of the settings that you need, and then make changes to the new profile to meet your needs. When you clone a profile, you are actually copying an existing profile into a new profile with a new and unique name. Cloning has the advantage of creating a new profile that has all the same settings as the original (copied) profile. When you clone a profile, the original profile is not changed in any way, meaning that agents to whom that profile is assigned are not affected.
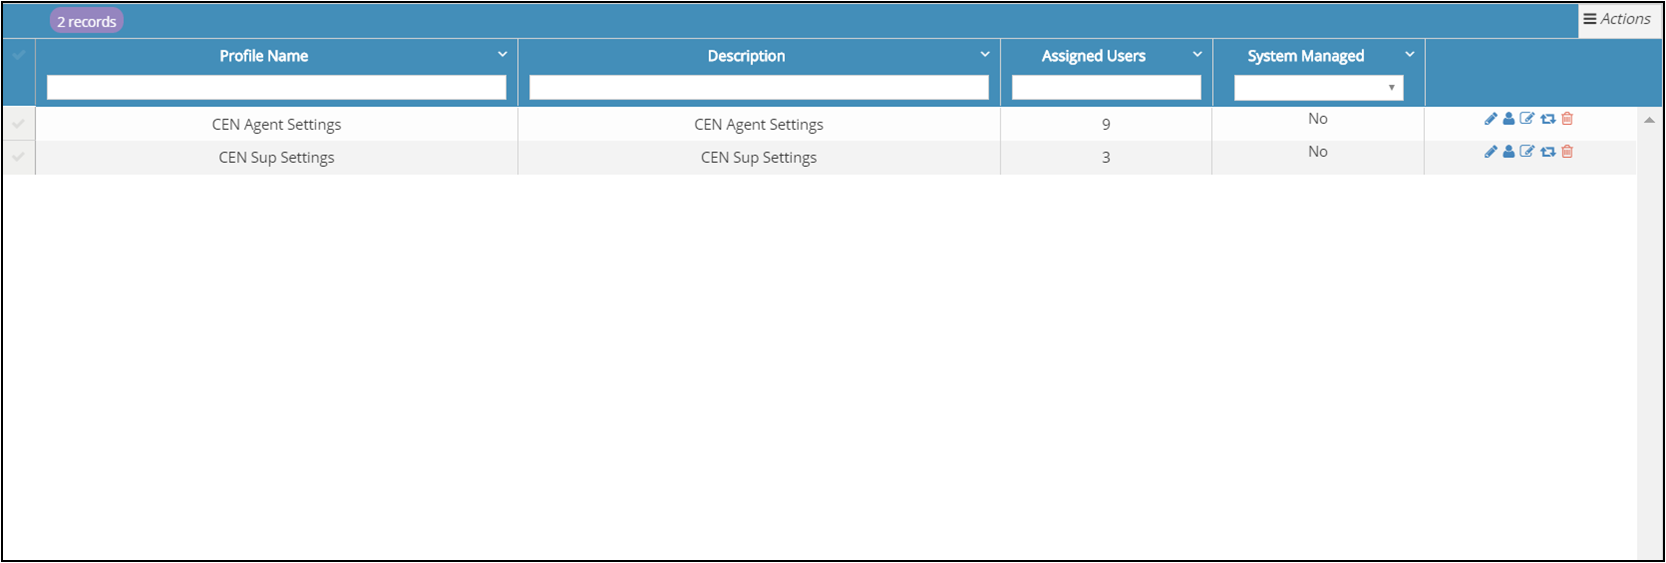
This section assumes that you are currently viewing the Profiles page within the Settings function (see the following screen capture). If you are not viewing the Profiles page, you can refer to Settings for information about how to display the Profiles page.
To create a new profile by cloning an existing profile, perform the following steps:
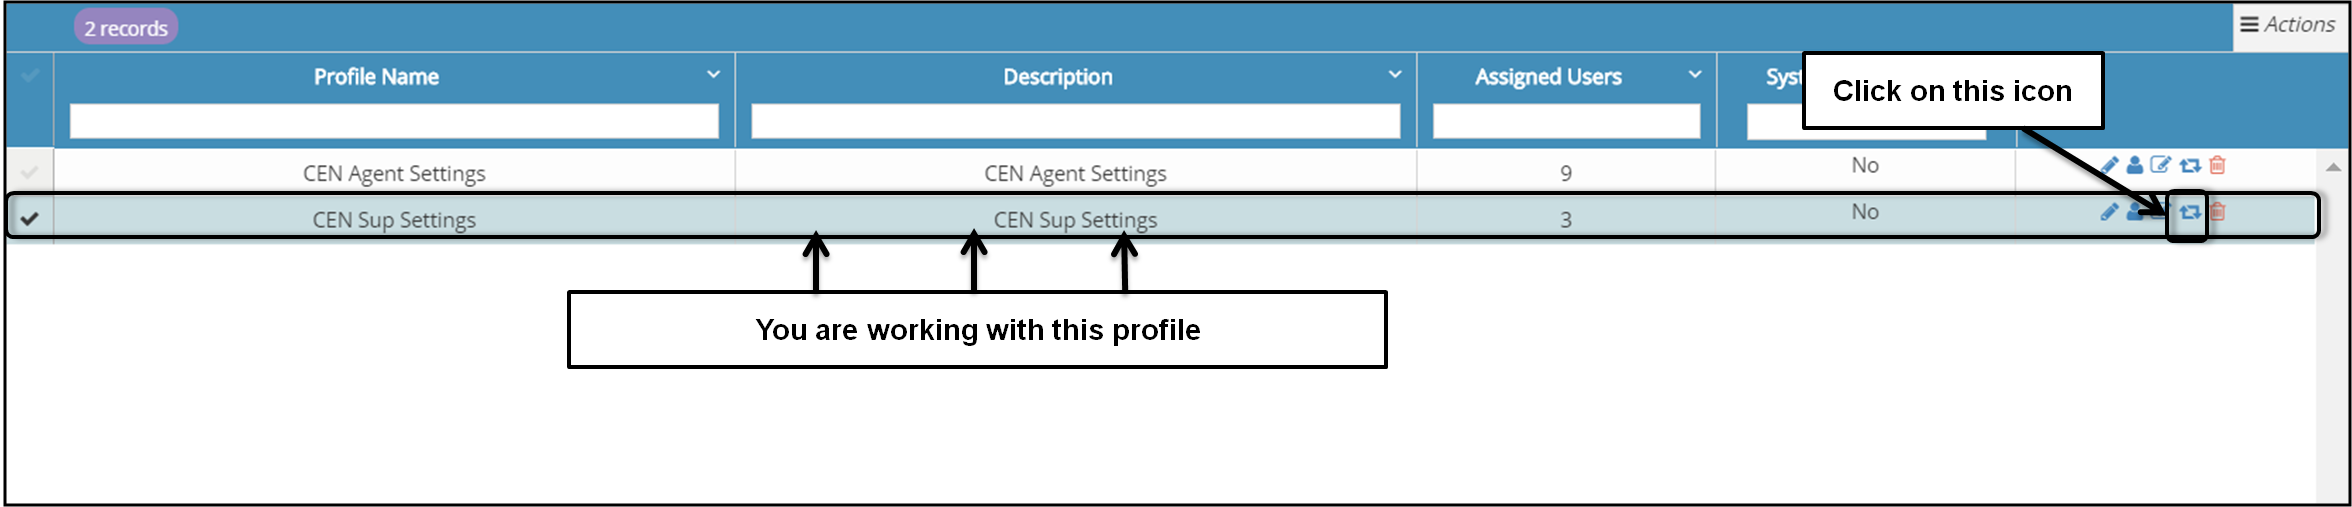
In the Profiles page, locate the profile that you want to clone to a new profile. To locate the profile, you can perform one or more of the following actions:
If you know all or part of the name of the profile, you can search for the profile using the Search function.
Click on a column header label to sort the contents of the column (and therefore the profiles page) either in ascending order or in descending order.
You can locate the profile by using the paging controls to move between pages.
Note: For more information about using the features included in the profiles page to locate a profile, Features of the Profiles Page .
After locating the profile that you want to clone, click on the Clone Profile icon (
 ).
). 
The Cloning Profile_Name pop-up window opens.
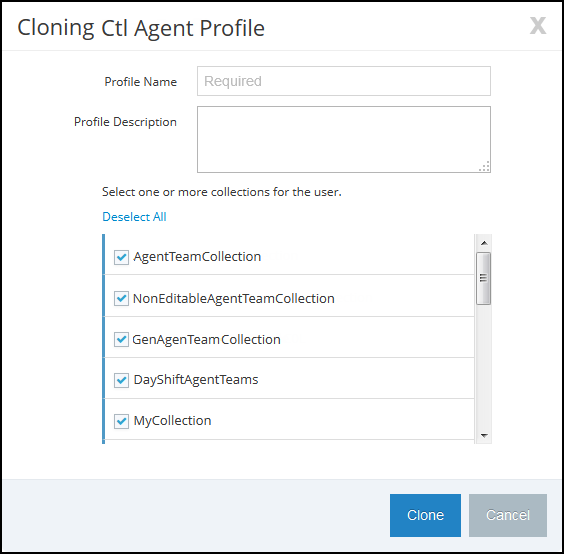


In the Cloning Profile_Name pop-up window, enter the following information:
Profile Name - A descriptive name for the new (cloned) profile. You can enter up to 50 characters.
Profile Description - A short description of the new profile. You can enter up to 250 characters.
Select one or more Setting Profile collections for the Profile - Select or deselect one or more collections in the list to which to add the cloned profile. The collections in the list are collections with the “Profile Objects” object type to which the current user has manage access. By default, all collections in the list of profile collections are selected (that is, there is a check mark in each check box), meaning that the new profile will be added to all collections in the list. You can perform one or more of the following actions:
The cloned profile will be added to each collection with a check mark in the check box; the cloned profile will not be added to collections without a check mark in the check box. Scroll up or down in the list of collections and perform one or both of the following actions where necessary:
If an individual collection is not selected (that is, the check box does not have a check mark), you can select the collection by clicking on the check box to put a check mark into the check box.
If an individual collection is selected (that is, the check box contains a check mark), you can deselect the collection by clicking on the check box to remove the check mark from the check box.
You can select or deselect all collections in a single operation:
Click on the Deselect All command to remove all check marks from all collections in the list. When you click on the Deselect All command the command is updated to the Select All command. When all collections are deselected, no collections will be assigned to the cloned profile.
Click on the Select All command to add check marks to all collections in the list. When you click on the Select All command the command is updated to the Deselect All command. When all collections are selected, all collections will be assigned to the cloned profile.
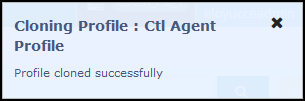
When you have finished entering information into the Cloning Profile_Name pop-up window, you can click on the Clone button to create the new (cloned) profile using the information that you entered and to close the Cloning Profile_Name pop-up window. The new profile is created and is added to the Profiles page. When the new profile has been successfully saved, a confirmation pop-up window opens and displays the "Profile cloned successfully" message (similar to the following screen capture).
The confirmation pop-up window closes automatically after a few seconds.
Notes:
After creating a new profile by cloning an existing profile, you should customize the new (cloned) profile by editing the profile settings. For information about editing profile settings, Edit Profile Settings.
If you change your mind about creating a new (cloned) profile, click on the Cancel button to close the Cloning Profile_Name pop-up window without cloning the profile and without saving any information that you entered.

Please let us know how we can improve this topic by clicking the link below:
© TTEC Digital 2025
![]()
![]()
![]()