Topic Updated: April 01, 2025
Clone a Schedule
Cloning an existing schedule is often the preferred method for creating new schedules as it creates the schedule with settings that are known to work. Creating a schedule using this method also saves time as it allows users to clone a schedule with similar settings needed for the new schedule.
Finding a Schedule to Clone
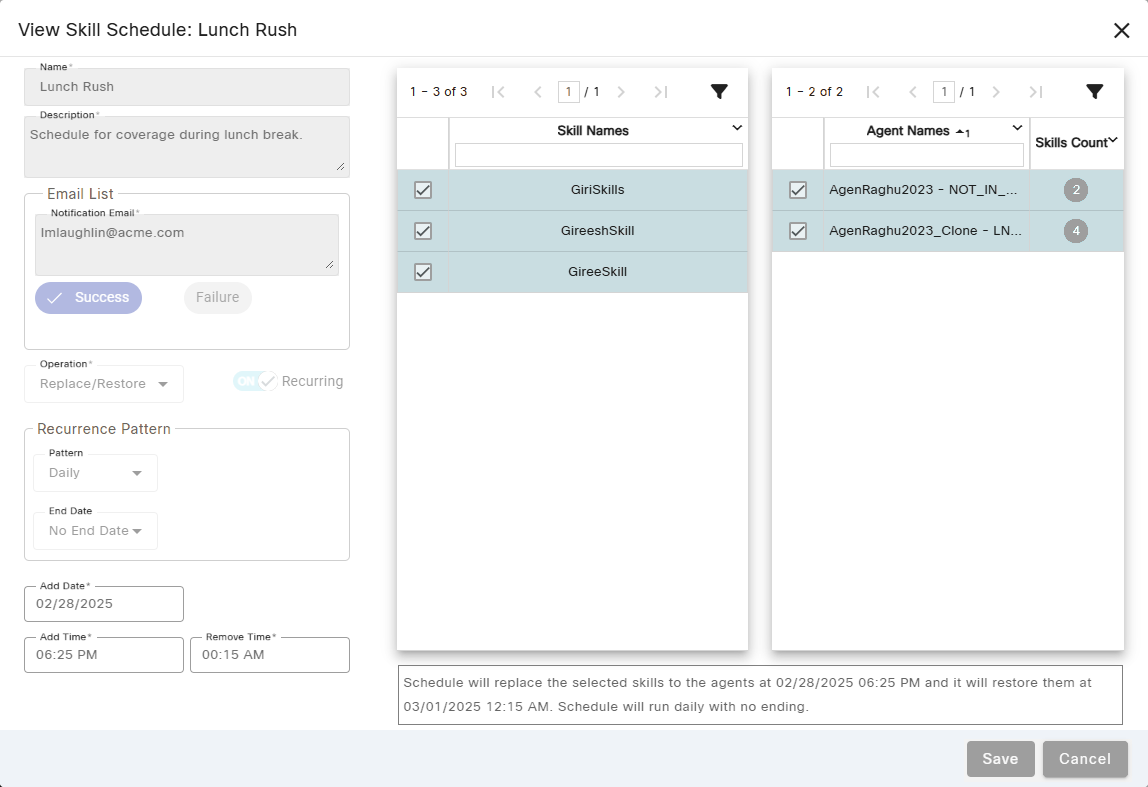
Determine which schedule closely matches your needs by viewing the configuration of similar schedules:
- Click the View Schedule task icon located on the same row of the schedule to view.
- View the selected schedule's configuration on the View Skill Schedule dialog box.
- Click the Cancel button when finished.
NOTES:
Before cloning an assignment schedule, below are a few things to note about skill assignments:
- The default maximum number of skills assigned to an agent at any one time cannot exceed fifteen. If the number of skills selected within the schedule causes any selected agents to exceed the maximum assigned skills, the schedule cannot be saved.
- A message displays when attempting to assign a skill that is already associated with the agent. This helps to allow the remove skill job to execute properly when a schedule ends.
Cloning a Schedule
After choosing the best schedule to clone, clone it by doing the following:
- Locate the schedule to clone.
- Click the Clone Schedule task icon located on the same row of the schedule to be cloned.
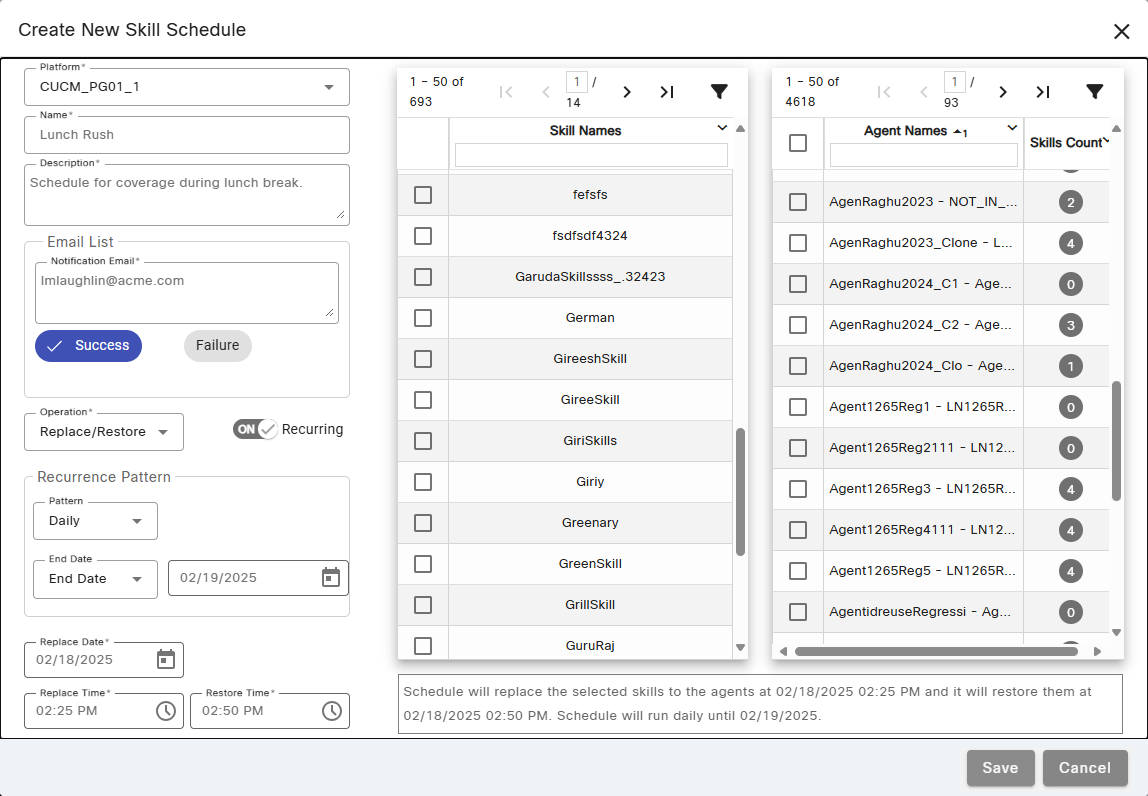
- Enter a name for the cloned schedule into the Name field.
- Change the description of the schedule by entering text into the Description field.
- Enter an email address in the Notification Email field to receive an email when the schedule runs. Place a check next to the Success and/or Failure options to specify which type(s) of notifications to receive in the email message.
- Change how the schedule operates by selecting an operation from the Operation drop-down menu.
- Add – Schedule operation that adds the selected skill(s) or attribute(s) to a selected agent(s) at the selected date/time.
- Remove – Schedule operation that removes the selected skill(s) or attribute(s) from the selected agent(s) at the selected date/time.
- Add/Remove – Schedule operation that adds the selected skill(s) or attribute(s) to a selected agent(s) at the selected date/time, and then removes them at the selected time.
- Replace – Schedule operation that replaces all current skill(s) or attribute(s) assigned to the selected agent(s) with the newly selected skill or skills. After the schedule ends, only the new set of skill(s) or attribute(s) remain assigned to the agent(s).
- Replace/Restore – Schedule operation that replaces all skill(s) or attribute(s) currently assigned to the selected agent(s) with the newly selected skill(s) or attribute(s). At the time set for restore, all new skill(s) or attribute(s) are removed, and prior skill(s) or attribute(s) are restored.
Changing the Schedule Operation
Change the schedule operation to meet your current skill(s) or attribute(s) assignment needs. View the appropriate section below for specific operation instructions based on which type of schedule operation you selected.
The workflow diagram below helps to provide a clearer understanding of how an add skill(s) or attribute(s) schedule operates.
Configure the schedule by doing the following:
- Select Add from the Operation drop-down menu.
- Select a date for the schedule to run under Add Date.
- Enter a time for the schedule to run under Add Time.
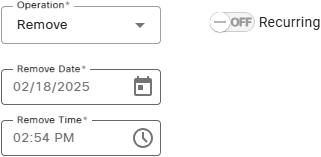
The workflow diagram below helps to provide a clearer understanding of how a remove skill(s) or attribute(s) schedule operates.
Configure the schedule by doing the following:
- Select Remove from the Operation drop-down menu.
- Select a date for the schedule to run under Remove Date.
- Select a time for the schedule to run under Remove Time.
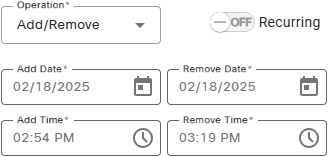
The workflow diagram below helps to provide a clearer understanding of how an add/remove skill(s) or attribute(s) schedule operates.
Configure the schedule by doing the following:
- Select Add/Remove from the Operation drop-down menu.
- Select a date for the schedule to add skills or attributes under Add Date.
- Select a time for the schedule to add skills or attributes under Add Time.
Select a date for the schedule to remove the skills or attributes under Remove Date
- Select a time for the schedule to remove the skills or attributes under Remove Time.
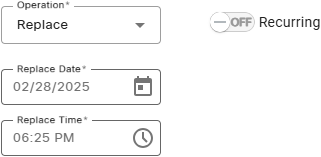
The workflow diagram below helps to provide a clearer understanding of how a replace skill(s) or attribute(s) schedule operates.
Configure the schedule by doing the following:
- Select Replace from the Operation drop-down menu.
- Select a date for the schedule to run under Replace Date.
- Enter a time for the schedule to run under Replace Time.
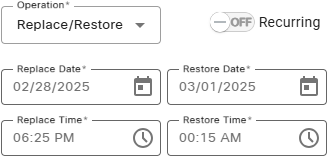
The workflow diagram below helps to provide a clearer understanding of how a replace restore skill(s) or attribute(s) schedule operates.
Configure the schedule by doing the following:
- Select Replace/Restore from the Operation drop-down menu.
- Select a date for the schedule to replace skills or attributes under Replace Date.
- Select a time for the schedule to replace skills or attributes under Replace Time.
- Select a date for the schedule to restore the skills or attributes under Restore Date.
- Select a time for the schedule to restore the skills or attributes under Restore Time.
Enabling a Recurring Schedule
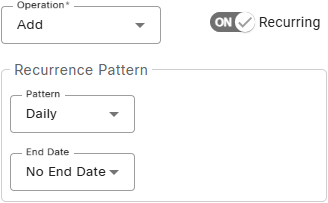
All schedule operations can be configured to recur at daily, weekly, monthly, and yearly intervals. Change, enable, or disable schedule recurring as needed. To enable or disable recurring schedules, toggle the Recurring switch to the ON or OFF position. After switching it on, the Recurrence Pattern section displays allowing you configure how the schedule recurs. If it is switched off, the Recurrence Pattern section no longer displays.
NOTES:
Before enabling a recurring schedule, read the notes below to better understand how each schedule operation handles the next occurrence.
For recurring single operation schedules such as Add, Remove, or Replace:
- The schedule operation repeats at each recurrence even if skill(s) or attribute(s) assignments have not changed. This is useful in situations where skill(s) or attribute(s) assignments are often manually changed, as it provides a way to reset skill(s) or attribute(s) assignments to a default for the selected agent(s).
- The schedule’s next add, remove, or replace date in the recurrence is set automatically after each occurrence, depending on the type of pattern selected.
For recurring multi-operation schedules such as Add Remove or Replace Restore:
- The schedule’s next add or replace date in the recurrence is set automatically when the remove or restore operation occurs.
- For weekly patterns, any days selected between the add and remove or replace and restore dates are skipped.
Continue with the appropriate section below for specific instructions based on which type of schedule recurrence pattern you selected.
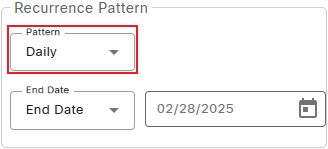
A schedule set to recur daily runs each day starting at the date and time specified. It continues to run at the same time for each following day unless the recurrence pattern is configured to end on a certain date, or after a set number of occurrences has passed. Click the drop-menu next to Pattern and choose Daily.
Configure an End Date for a Daily Recurrence Pattern
Select End Date from the End Date drop-down menu to set a specific date for the schedule to end. Select a date in the End Date field.
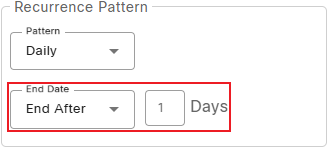
Configure an End After Daily Recurrence Pattern
Select End After to have the schedule end after a set number of days. Specify how many days the schedule should run before ending in the Days field.
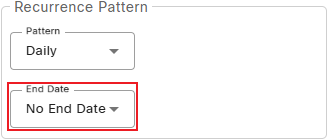
Configure a No End Date Daily Recurrence Pattern
Select No End Date to have the schedule continue each day without an end date.
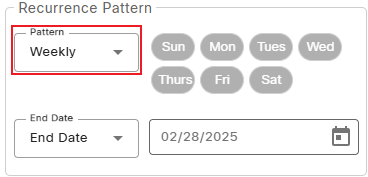
A schedule set to recur weekly runs on the selected day(s) starting at date and time specified. It continues to run on the same day(s) and time for each following week unless the recurrence pattern is configured to end on a certain date, or after a set number of occurrences has passed. Click the drop-menu next to Pattern and choose Weekly.
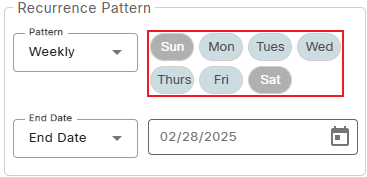
Select Day(s) for the Weekly Recurrence Pattern
Click to select the day or days you want the schedule to run on. At least one day must be selected.
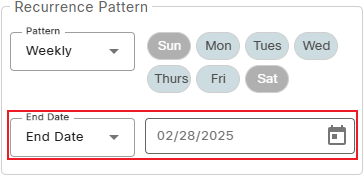
Configure an End Date for a Weekly Recurrence Pattern
Select End Date to set a specific date for the schedule to end. Select a date in the End Date field.
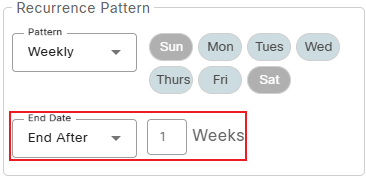
Configure an End After Weekly Recurrence Pattern
Select End After to have the schedule end after a set number of weeks. Specify how many weeks the schedule should run before ending in the Weeks field.
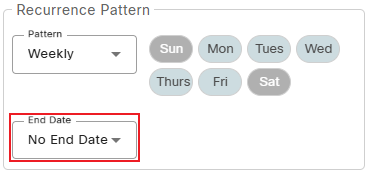
Configure a No End Date Weekly Recurrence Pattern
Select No End Date to have the schedule continue each week without an end date.
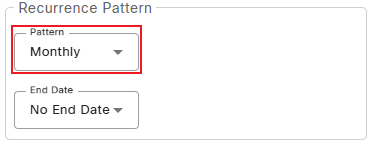
A schedule set to recur monthly runs each month starting at the date and time specified. It continues to run on the same date and time for each following month unless the recurrence pattern is configured to end on a certain date, or after a set number of occurrences has passed. Click the drop-menu next to Pattern and choose Monthly.
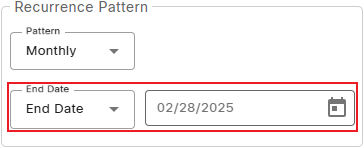
Configure an End Date for a Monthly Recurrence Pattern
Select End Date to set a specific date for the schedule to end. Select a date in the End Date field.
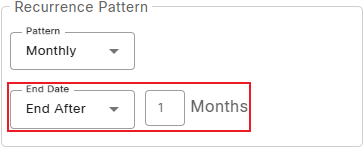
Configure an End After Monthly Recurrence Pattern
Select End After to have the schedule end after a set number of months. Specify how many months the schedule should run before ending in the Months field.
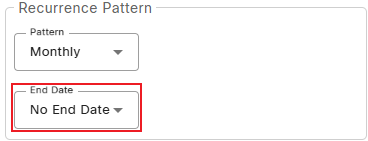
Configure a No End Date Monthly Recurrence Pattern
Select No End Date to have the schedule continue each month without an end date.
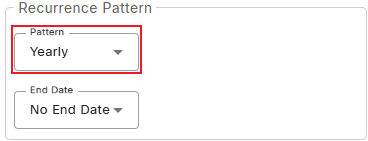
A schedule set to recur yearly runs once each year starting at the date and time specified. It continues to run on the same date and time for each following year unless the recurrence pattern is configured to end on a certain date, or after a set number of occurrences has passed. Click the drop-menu next to Pattern and choose Yearly.
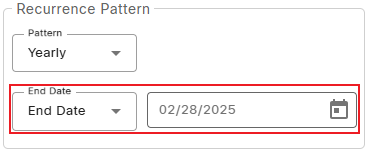
Configure an End Date for a Yearly Recurrence Pattern
Select End Date to set a specific date for the schedule to end. Select a date in the End Date field.
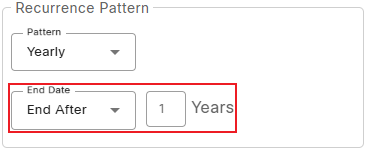
Configure an End After Yearly Recurrence Pattern
Select End After to have the schedule end after a set number of years. Specify how many years the schedule should run before ending in the Years field.
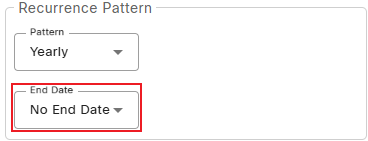
Configure a No End Date Yearly Recurrence Pattern
Select No End Date to have the schedule continue each year without an end date.
Changing Skills or Attributes and Agents
Make any changes necessary to the skill(s) or attribute(s) and agent(s) selections. Select only the skill(s) or attribute(s) and agent(s) to be modified by the schedule, based on the selected operation type, when it runs.
- Select skill(s) or attribute(s) by placing a check next to each one under the Skill Name or Attribute Name column.
- Select agent(s) by placing a check next to each one under the Agent Name column.
NOTE:
The colored and numbered badges displayed next to each agent represents the current status of their skill(s) or attribute(s) assignments.
- Green: Displays the number of skill(s) or attribute(s) to be modified when the schedule runs.
- Red: Displays the number of skill(s) or attribute(s) already assigned to the selected agent(s) before the schedule runs. These do not change when the schedule runs.
- Blue: Displays the number of skill(s) or attribute(s) that were assigned to each manually or by another schedule.
You can click on these badges to see a list of affected skill(s) or attribute(s).
Review Schedule Operation Description
Review the schedule's operation description, found below the agent(s) and skill(s) or attribute(s) selection, to ensure the schedule operates as desired. Make any changes to the schedule if necessary before saving.
Saving the Skill or Attribute Schedule Changes
Save and activate the schedule changes by clicking the Save button.
See Also
