Topic Updated: April 01, 2025
Configure a New Schedule Control
The Schedule control allows a user to define schedules within a route. It is commonly used for the following types of scenarios:
- Set a schedule for normal hours-of-operation
- Set a schedule for holiday hours-of-operation
This topic covers how to configure a new Schedule control after adding.
Adding a Schedule Control
To add a new Schedule control, refer to the Add a New Routing Control topic.
Configuring the New Schedule Control
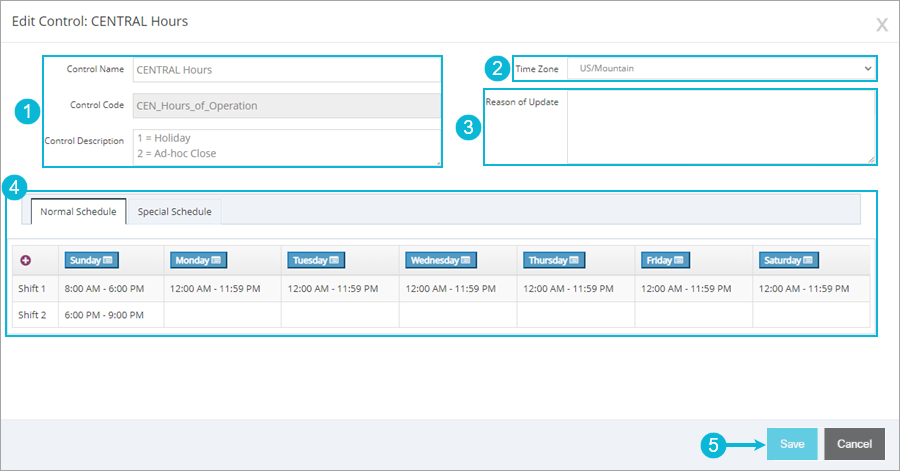
To configure a new Schedule control:
- Edit the Control Name and Control Description fields as needed.
NOTE:
The Control Code field can no longer be edited after initially adding the control.
- Select a time zone by clicking the drop-down menu located under Time Zone.
- Set up the Normal Schedule and/or Special Schedule for this control. Refer to the Set Up a Normal Schedule or Set Up a Special Schedule sections below for additional information.
- Click the Save button to save any changes made to the control or click the Cancel button to cancel the operation.
NOTE:
If canceling the operation, click the Continue button to confirm.

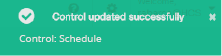
A success confirmation displays in the upper right corner upon successfully creating a new control. The message disappears after a few seconds.
Set Up a Normal Schedule
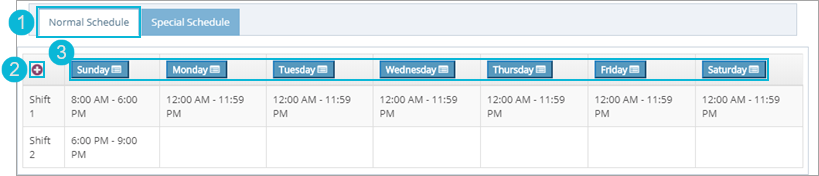
A normal schedule defines the start and end times for shifts throughout each day of the week. To set up a normal schedule:
- Select the Normal Schedule tab.
- Add shifts to the schedule by clicking the Add Shift button.
NOTE:
The normal schedule allows for adding up to four shifts. It is limited to a maximum of four shifts.
- Click on any day to configure the start and end times for each shift during that day.
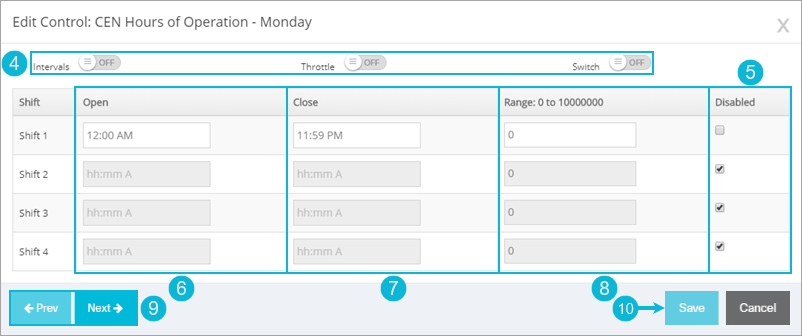
- Enable the Intervals, Throttle, and/or Switch options if needed.
NOTES:
The Intervals, Throttle, and Switch options are only available when creating a new control schedule. Once the schedule is created, they can no longer be modified.
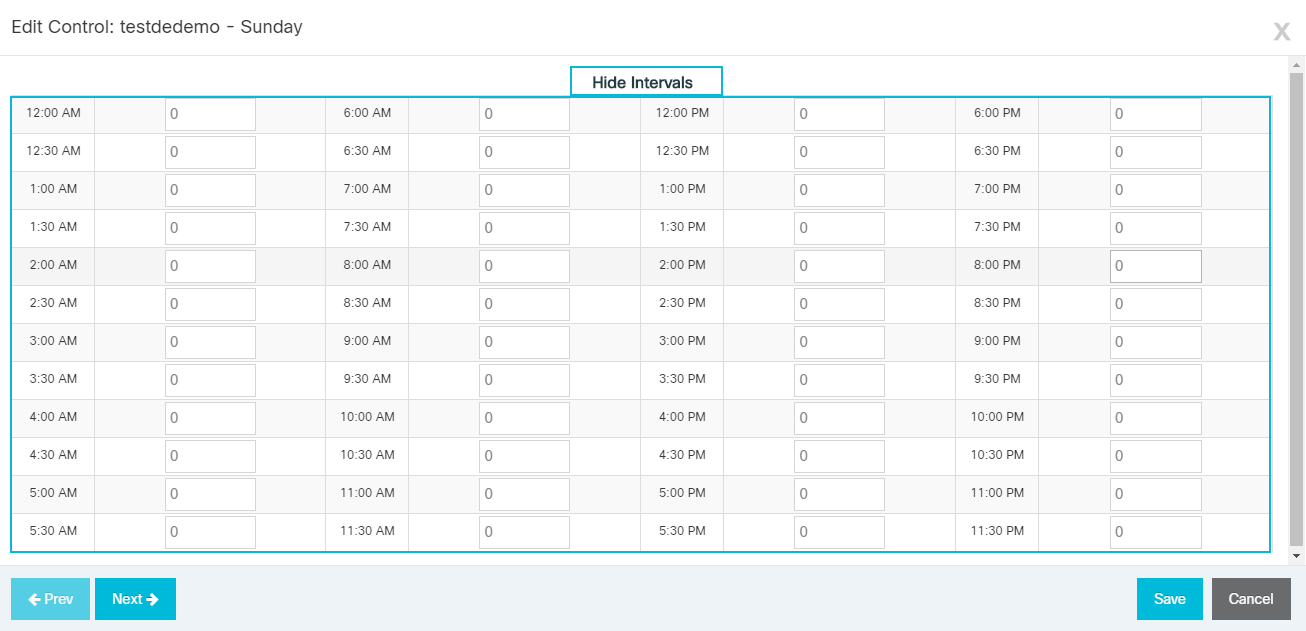
Intervals – The default setting for this option is OFF. Toggle the slider to the ON position to enable it. When enabled, the Show Intervals link displays at the bottom of the Edit Control dialog box.

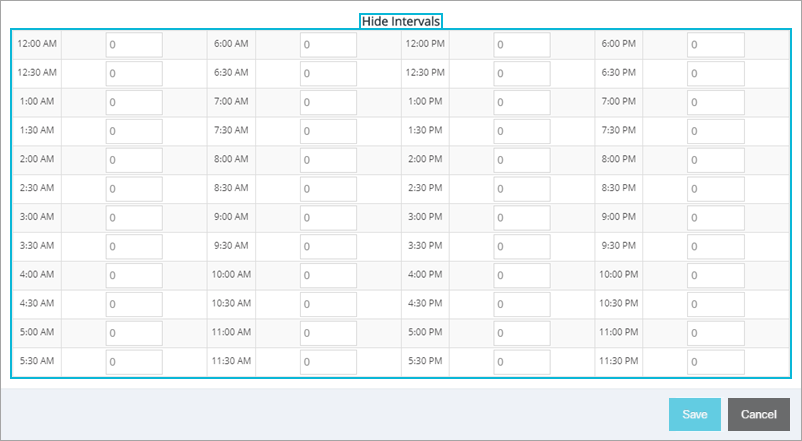
Clicking Show Intervals displays a dialog for entering intervals. Intervals show the entire day, broken down into half-hour increments. By default, each half-hour increment is assigned a "0" which defines it as a non-working half hour. To change an increment into a working half-hour, replace the "0" with any number. When finished with entering intervals, click the Hide Intervals link to return to the previous dialog.
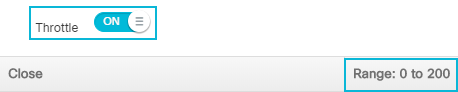
Throttle – If this option is enabled, the Switch option cannot be enabled at the same time. The default setting for this option is OFF. Toggle the slider to the ON position to enable it. When enabled, entries in the Range column are limited to a range of 0 to 200 for each shift.
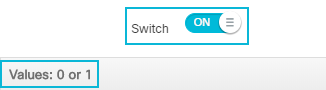
Switch – If this option is enabled, the Throttle option cannot be enabled at the same time. The default setting for this option is OFF. Toggle the slider to the ON position to enable it. When enabled, the Range column changes to Values and allows for the value entry of 0 or 1 for each shift.
- Enable desired shifts by removing the check from each corresponding box under the Disabled column.
- Enter or the open time for each shift under the Open column.
- Enter the close time for each shift under the Close column.
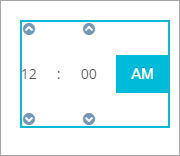
NOTE:
Alternatively, click the arrows to adjust the time open and close times. Click AM or PM to swap between AM or PM.
- Enter the desired number ranging from 0 to 10000000 for each shift in the Range column.
NOTES:
- The range value is used to control many facets within a contact center. Enter the appropriate value for the desired function.
- If the Throttle option is set to ON, enter the desired number ranging from 0 to 200.
- If the Switch option is set to ON, enter a value of either 0 or 1.
- Use the Prev and Next buttons to navigate between the each day of the week for the schedule.
- Click the Save button to save any changes made to the control or click the Cancel button to cancel the operation.
NOTE:
If canceling the operation, click the Continue button to confirm.
Clicking the Save button returns to the first Edit Control dialog. To save all changes made to the schedule control, see Configuring the New Schedule Control, step 4.
Set Up a Special Schedule
A special schedule defines a schedule that occurs outside of normal shifts, such as a holiday. To set up a special schedule:
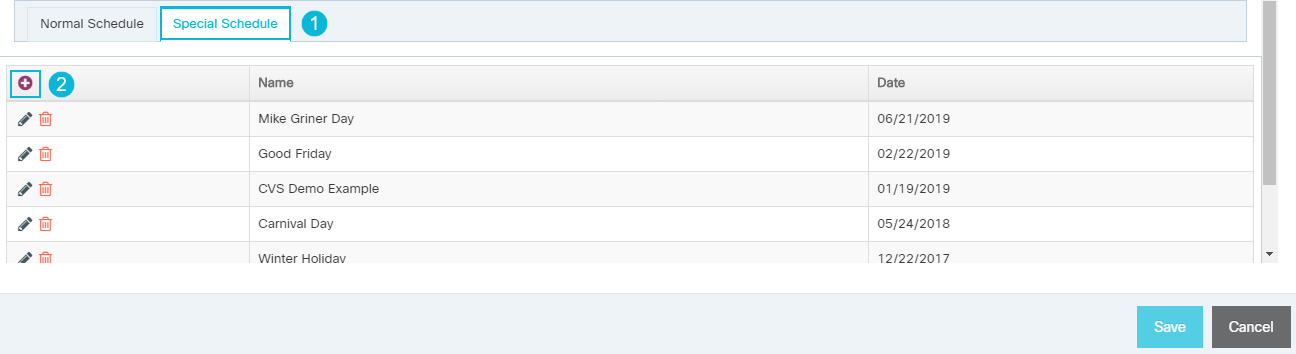
- Select the Special Schedule tab.
- Add a special schedule by clicking the Add Special Schedule button.
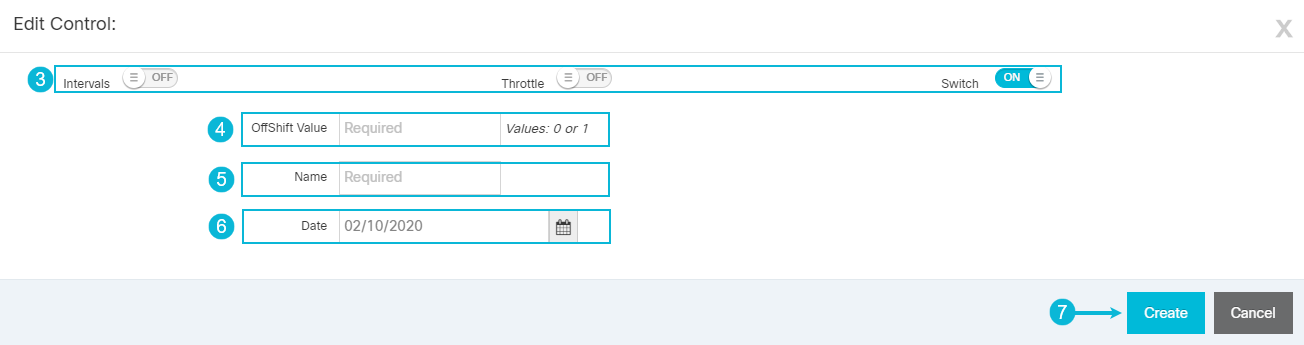
- Enable the Intervals, Throttle, and/or Switch options if needed.
NOTES:
The Intervals, Throttle, and Switch options are only available when creating a new control special schedule. Once the schedule is created, they can no longer be modified.
Intervals – The default setting for this option is OFF. Toggle the slider to the ON position to enable it. When enabled, the Show Intervals link displays at the bottom of the next dialog box after creating the special schedule.
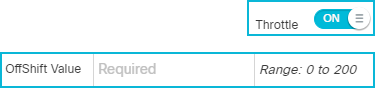
Throttle – If this option is enabled, the Switch option cannot be enabled at the same time. The default setting for this option is OFF. Toggle the slider to the ON position to enable it. When enabled, the OffShift Value field limits the range entry to a value of 0 to 200.
Switch – If this option is enabled, the Throttle option cannot be enabled at the same time. The default setting for this option is OFF. Toggle the slider to the ON position to enable it. When enabled, the Offshift Value field changes to allow for the entry of values 0 or 1.

- Enter the desired number ranging from 0 to 10000000 in the OffShift Value field.
NOTES:
- The OffShift Value is used to control many facets within a contact center. Enter the appropriate value for the desired function.
- If the Throttle option is set to ON, enter the desired number ranging from 0 to 200.
- If the Switch option is set to ON, enter a value of either 0 or 1.
- Enter a descriptive name for the special schedule into the Name field. Use a name that describes the special schedule, such as a holiday name.
- Enter the date for the special schedule to occur in the Date field.
NOTE:
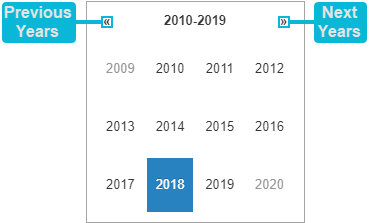
Alternatively, click the Calendar button to reveal a dialog that allows for the selection of the date. Click the arrows to switch the selected month. Clicking the Month/Year at the top of the calendar changes to the month selection view.
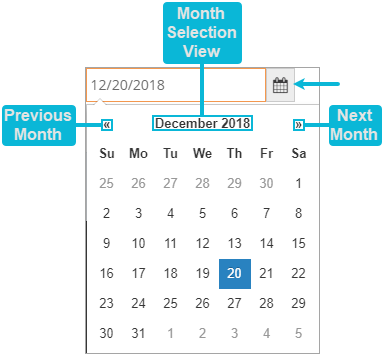
The month selection view allows for quick selection of a month. Use the arrows to navigate through the selected year or click the year to change to the year selection view.
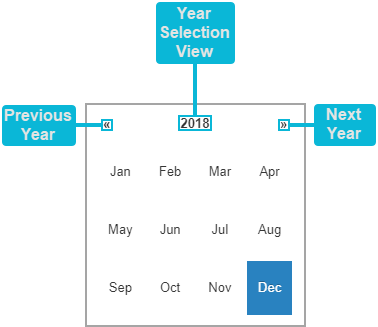
The year selection view allows for the quick selection of a year. Use the arrows to navigate between the years displayed.
- Click the Create button to create the special schedule or click the Cancel button to cancel the operation.
NOTE:
If canceling the operation, click the Continue button to confirm.
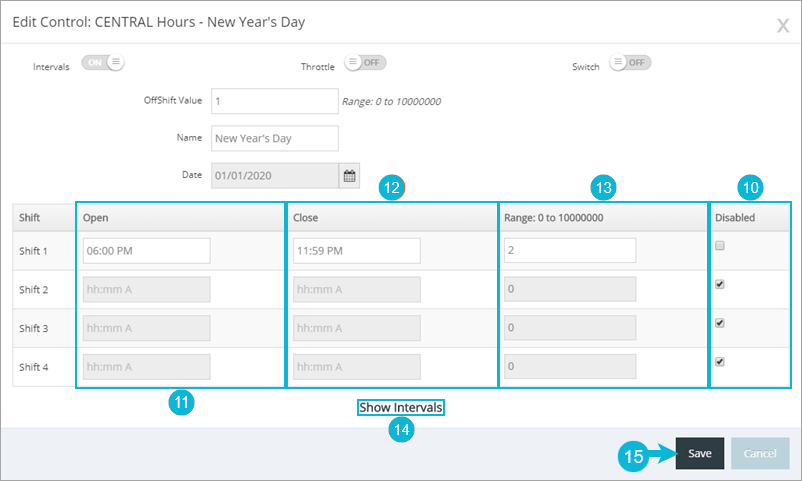
- Enable desired shifts by removing the check from each corresponding box under the Disabled column.
- Enter or the open time for each shift under the Open column.
- Enter or the close time for each shift under the Close column.
NOTE:
Alternatively, click the arrows to adjust the time open and close times. Click AM or PM to swap between AM or PM.
- Enter the desired number ranging from 0 to 10000000 for each shift in the Range column.
NOTES:
- The range value is used to control many facets within a contact center. Enter the appropriate value for the desired function.
- If the Throttle option is set to ON, enter the desired number ranging from 0 to 200.
- If the Switch option is set to ON, enter a value of either 0 or 1.
- Click the Show Intervals link to configure intervals, if the Intervals option is enabled. Otherwise, skip this step.
NOTES:
Clicking Show Intervals displays a dialog for entering intervals. Intervals show the entire day, broken down into half-hour increments. By default, each half-hour increment is assigned a "0" which defines it as a non-working half hour. To change an increment into a working half-hour, replace the "0" with any number. When finished with entering intervals, click the Hide Intervals link to return to the previous dialog.
- Click the Save button to save any changes made to the control or click the Cancel button to cancel the operation.
NOTE:
If canceling the operation, click the Continue button to confirm.
Clicking the Save button returns to the first Edit Control dialog. To save all changes made to the schedule control, see Configuring the New Schedule Control, step 4.
See Also
Copyright © 2025 Cisco. All rights reserved.
![]()
![]()
![]()