Topic Updated: April 01, 2025
Create Callbacks Campaigns Using Bulk Upload
The Callbacks' Bulk Upload feature allows for the mass import of callbacks to create a campaign. This topic covers how to use this feature.
REQUIREMENT:
This feature is only available to users assigned to the Callback Administrator Role.
Accessing Callbacks Bulk Upload
Access Callbacks Bulk Upload by doing the following:
- Access the Callbacks Admin page.
- Select the Bulk Upload tab.
Downloading the Callback Sample File
A template file is available for download and requires an spreadsheet editing application, such as Microsoft Excel, to add the callbacks details. With it you can do the following:
- Add details to create an immediate callback
- Add details to create multiple scheduled callbacks
- Click the Generate Sample File button.
- If prompted, choose a location to save the file.
NOTE:
This step may vary depending on the web browser used, as each have a different download interface. Some web browsers may save the file directly to the default Downloads folder, or the most recently selected download location.
Understanding the Sample File
The template file contains several columns for adding the details for the callbacks you want to import. Red columns are required, and yellow columns are not required. See the descriptions for the columns below:
DialedNumber – Dialed telephone number used for the callback. (Required.)
PhoneNum – Customer telephone number for the callback. (Required.)
messageFileName – Name of the voice message file to use for the callback.
callVariable1-9 – Allows for the entry of up to nine call variables to use for the callback.
callbackTime – Indicates the date/time for the callback to occur. Complete this column using the 'mm/dd/yyyy HH:MM' format.
customerTime – Indicates the customer's current date/time. Complete this column using the 'mm/dd/yyyy HH:MM' format.
Importing Callbacks
Follow the steps below to import callbacks.
- Download the sample file and add the callback details.
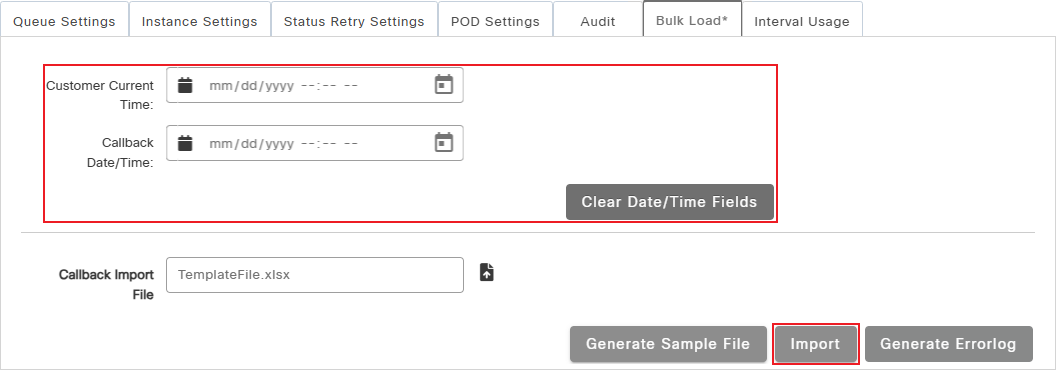
- Click the Upload File icon located by the Callback Import File field.
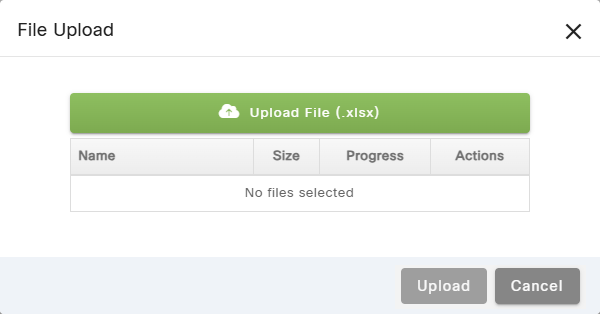
- Click the Upload File button located on the File Upload dialog.
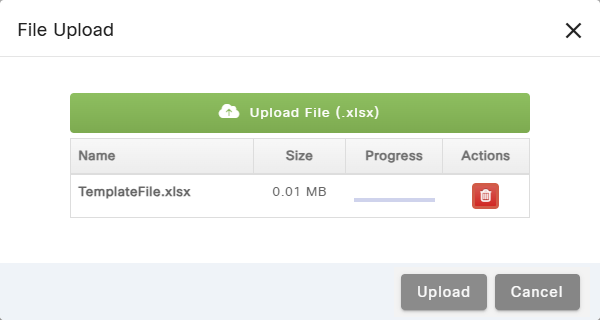
- Locate and select the file.
NOTE:
This step may vary depending on which operating system and/or web browser you are using to access Portal.
- With the file selected, click the Upload button to proceed with uploading the file, or click the Cancel button to cancel the operation.
- Complete the callbacks import by doing the following:
- If one or more of the callbacks added to the template file do not include the
callbackTimeorcustomerTime, enter or select the date and time in the Customer Current Time and Callback Date/Time fields. - If you need to clear the Customer Current Time and Callback Date/Time fields, click the Clear Date/Time Fields button.
- Click the Import button to import the callbacks included in the spreadsheet file.
A message displays in the upper right corner of Portal informing you if the import was successful or failed.
Viewing the Error Log
After completing the import, you can view the error log to help determine why an callback may have failed to import. To view the log, do the following:
- Click the Generate Errorlog button.
- If prompted, save the log to a location of your choice.
NOTE:
Depending on your web browser, the log may automatically download to the default download location on your computer.
- Open the file to view the log.
The error log appears very similar to the completed template file. However, it includes an additional column at the end labeled Error Log. If errors occurred, that are listed in this column for any affected callbacks.
See Also


