Topic Updated: April 01, 2025
Create a New Department
To create a new department, you must be viewing the Locations page. If you are not viewing the Locations page, Working with Locations for information about displaying the Locations page.
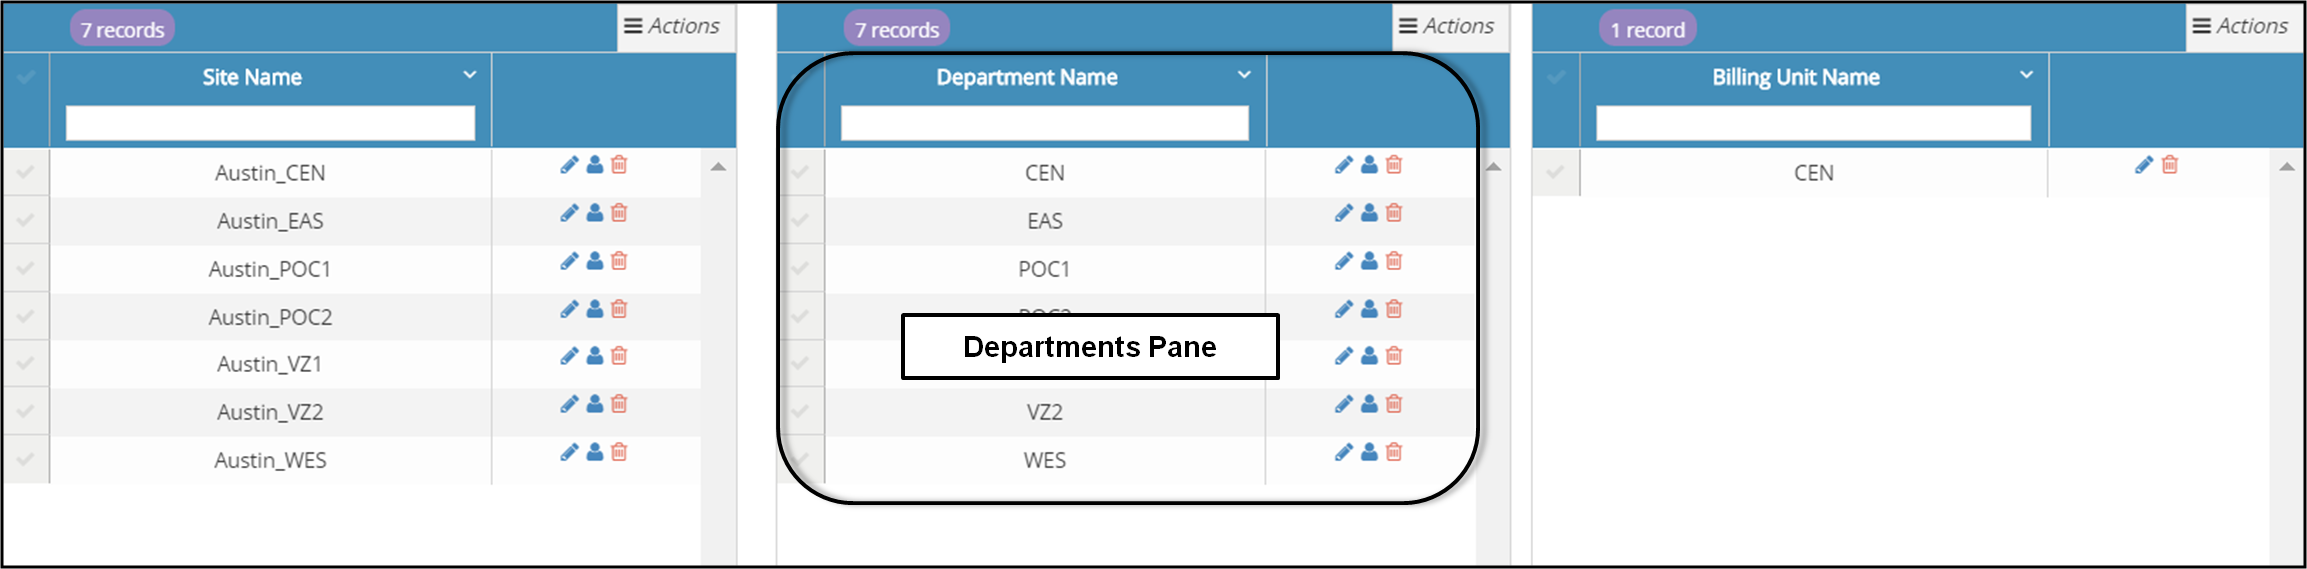
To create a new department, you will be working in the Departments pane (see the following screen capture).
To create a new department, perform the following steps:
In the Locations page, locate and click on the Add New Department button (see the following screen capture).
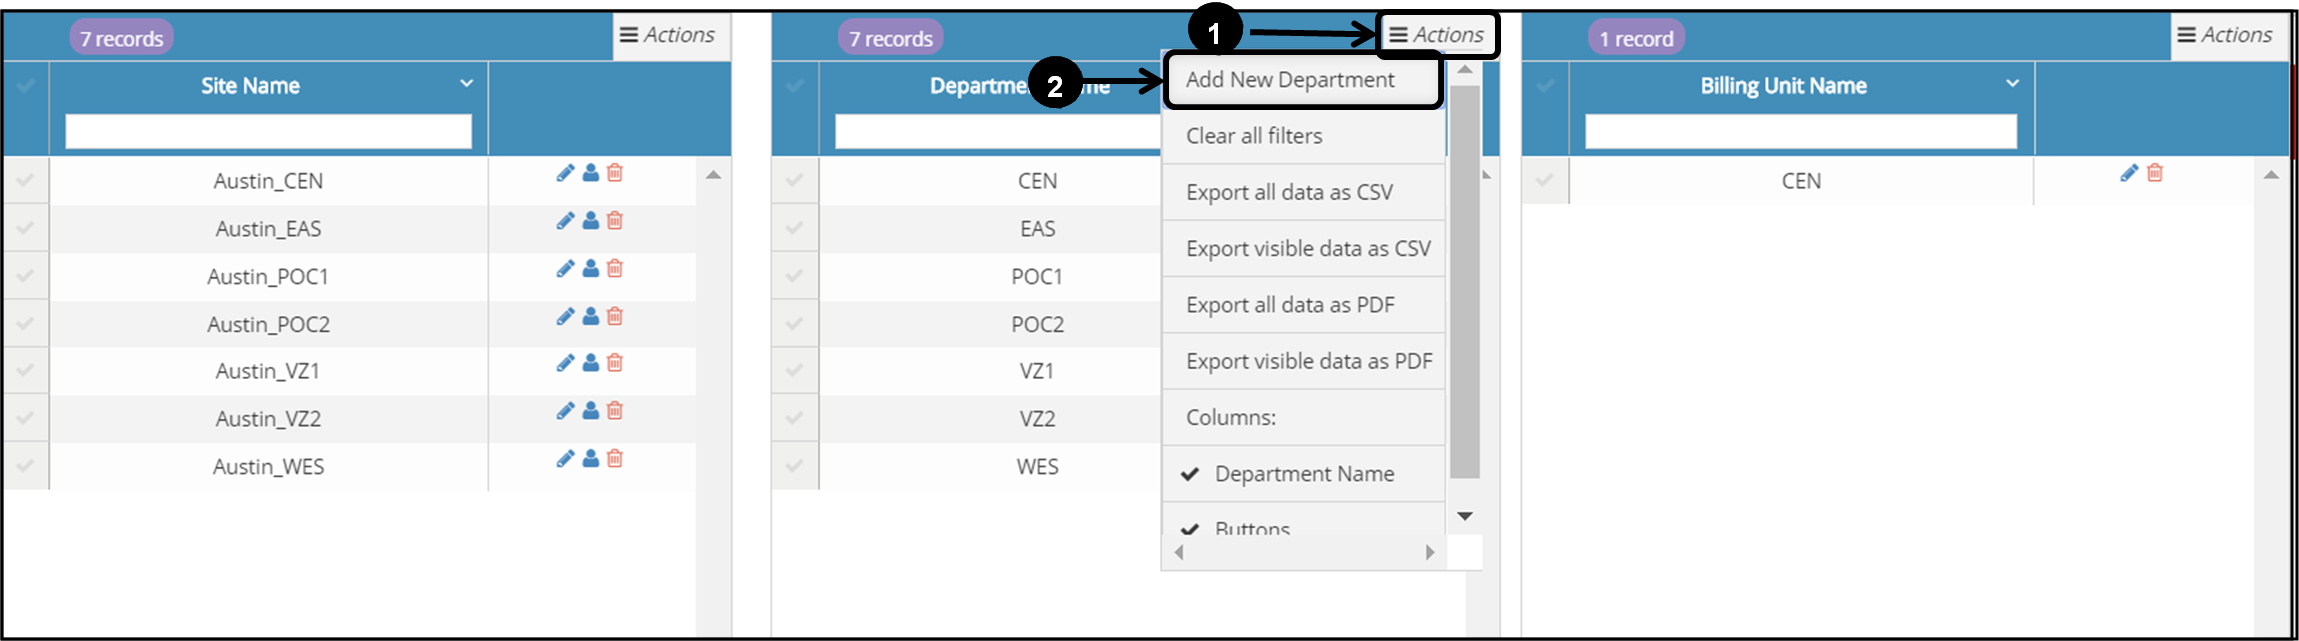
The Create Department pop-up window is displayed.


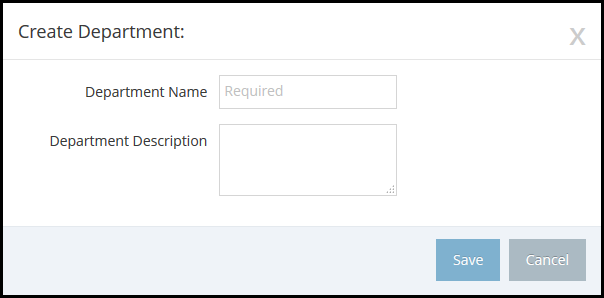
In the Create Department pop-up window, enter the following information:
Department Name - Required. Enter a name for the new department. Each department that you create for the selected site must have a unique name.
Department Description - Provide a short description of the department.
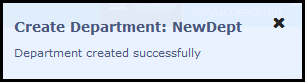
After providing all required information in the Create Department pop-up window, click on the Save button to save the information and to create the new department. A confirmation message pop-up opens in the upper right corner of the page to confirm that you have successfully created the new department. See the following screen capture.

The confirmation pop-up window closes automatically after a few seconds.
Note: If you change your mind about creating the new department, and if you have not yet saved the information, you can close the Create Department pop-up window without saving your changes by clicking on the Cancel button.

When you click on the Cancel button, the Save button changes to the Continue button and a warning message is displayed to confirm your intentions to cancel the department creation. Click on the Continue button to close the Create Department pop-up window without saving the information and without creating the department. See the following screen capture.


Please let us know how we can improve this topic by clicking the link below:
© TTEC Digital 2025
![]()
![]()
![]()