Topic Updated: April 01, 2025
Update Information for an Existing Site
To update the information for an existing site, you must be viewing the Locations page. If you are not viewing the Locations page, Working with Locations for information about displaying the Locations page.
If the
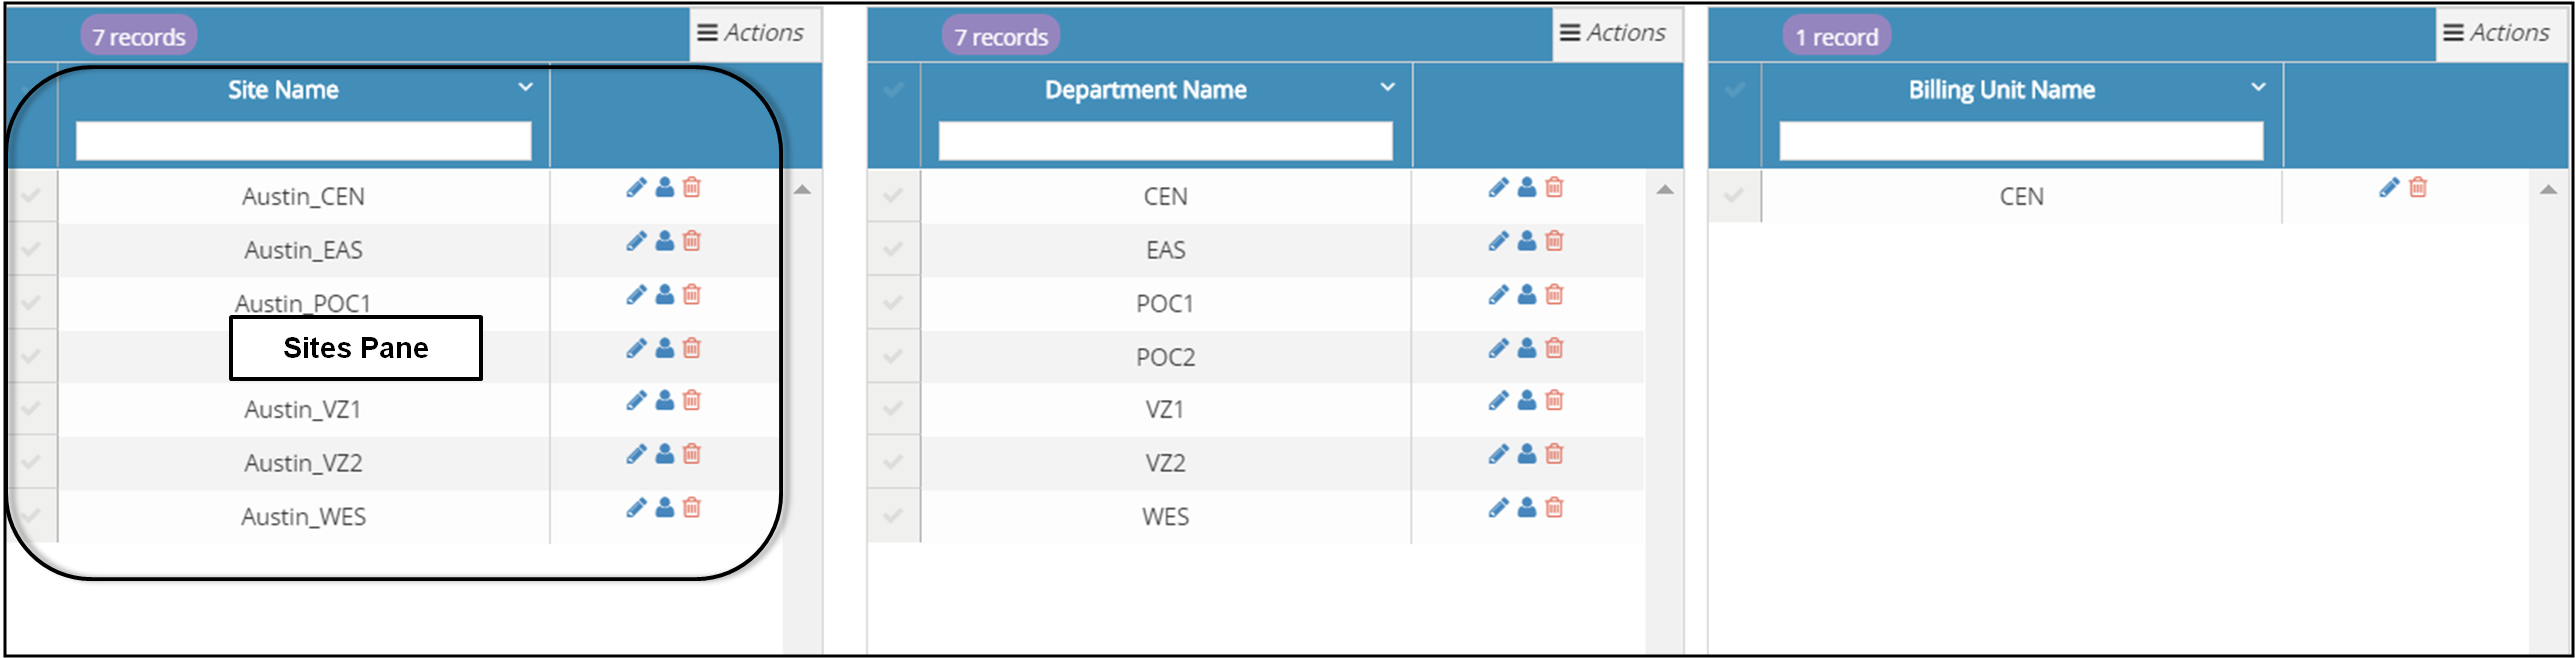
To update an existing site, you will be working in the Sites pane (see the following screen capture).
To edit the information for an existing site, perform the following steps:
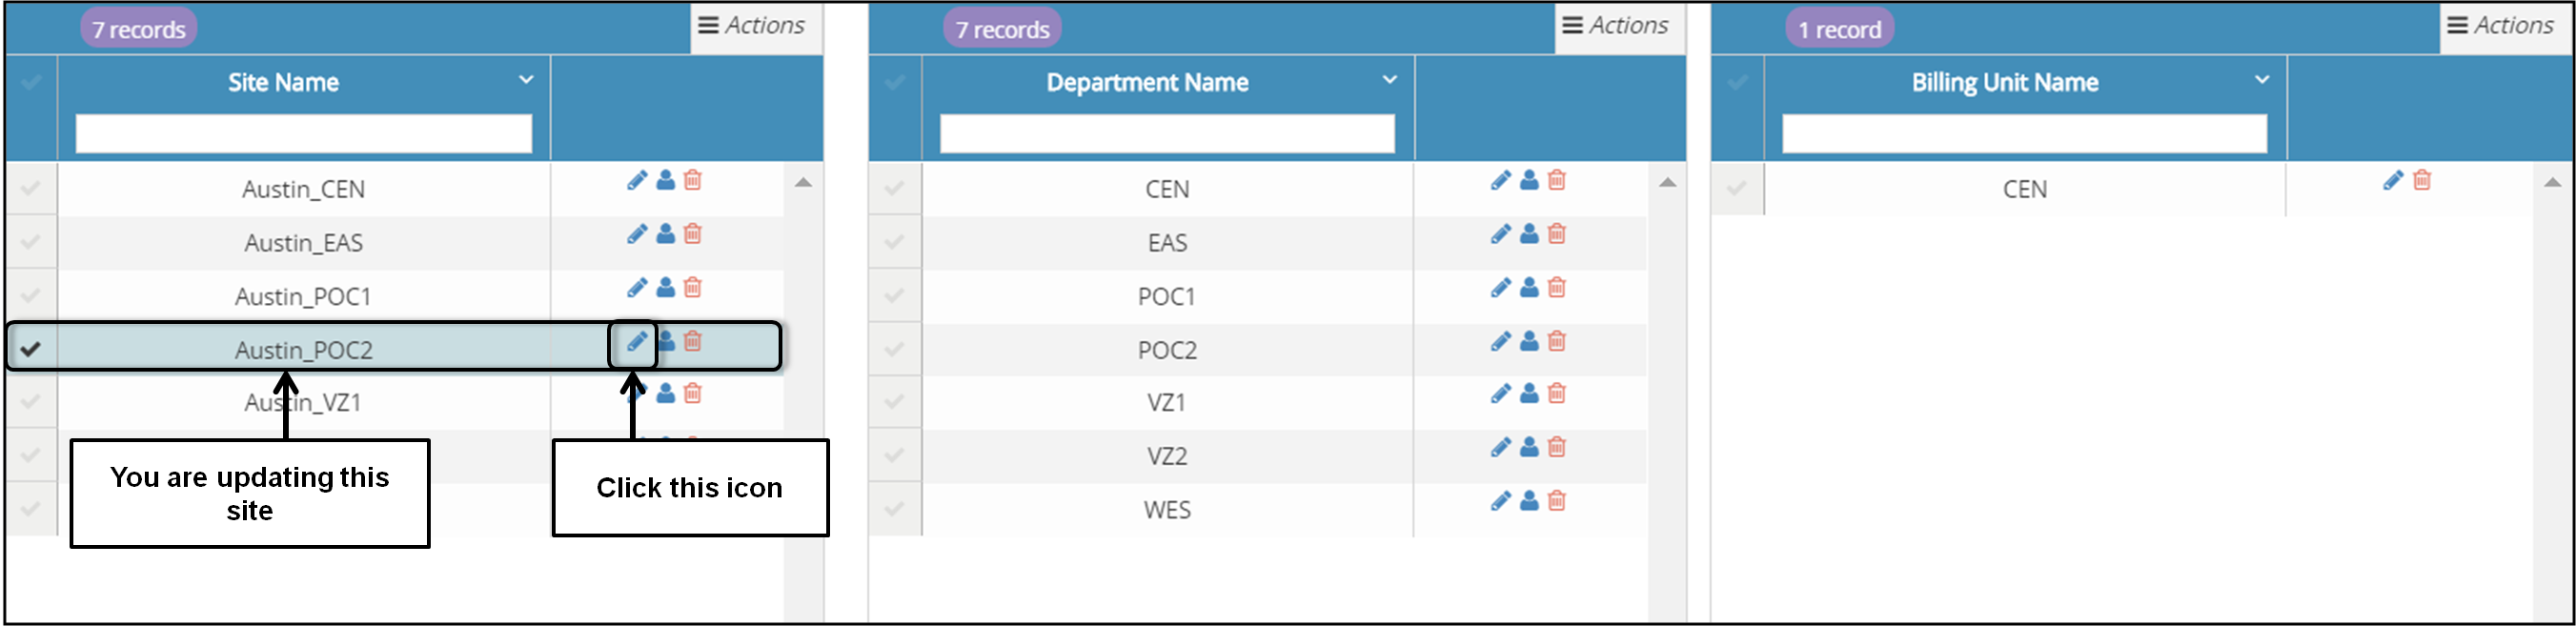
In the Locations page, locate the site that needs to be updated and click on the associated Edit Site icon (see the following screen capture).
Note: When you click anywhere on the row in which the site is located, the entire row changes to a light green color to indicate that it is the selected site.

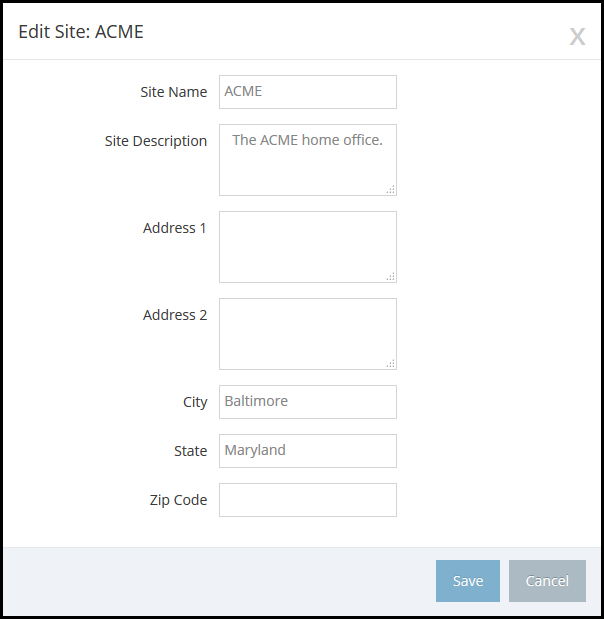
The Edit Site pop-up window opens and displays the existing information for the selected site.

In the Edit Site pop-up window, add or update one or more of the following pieces of information that you feel needs either to be added or to be updated:
Site Name - Required. If appropriate, you can update the site name. Remember that the site name must be unique.
Site Description - Enter or update the description of the site. There is no rule for what you should enter into this box. Enter information that you feel is appropriate or is needed to describe the site.
Address 1 - Enter or update the street address where the new site is located.
Address 2 - Enter or update the additional address information. This information should supplement the information in the Address 1 box.
City - Enter or update the name of the city in which the site is located.
State - Enter or update the name of the state in which the site is located.
Zip Code - Enter or update the zip code in which the site is located.
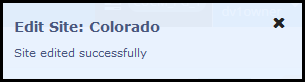
After entering or updating the information for the site, click on the Save button to save your changes. A confirmation window opens in the upper right corner of the page to confirm that you have successfully updated the site information. See the following screen capture.

The confirmation pop-up window closes automatically after a few seconds.
Note: If you change your mind about the information that you have updated, and if you have not yet saved your changes, you can close the Edit Site pop-up window without saving your changes by clicking on the Cancel button.

When you click on the Cancel button, the Save button changes to the Continue button and a warning message is displayed to confirm your intentions to cancel the changes. Click on the Continue button to close the Edit Site pop-up window without saving your changes. See the following screen capture.


Please let us know how we can improve this topic by clicking the link below:
© TTEC Digital 2025
![]()
![]()
![]()