Manage Interactions
InteractionSync integrates the Amazon Connect Contact Control Panel (CCP) within the Dynamics 365 CRM interface, allowing you to manage all customer interactions with the following added features:
- Screen pops
- View contact attributes
- Customer follow-ups
- Queued callbacks
- Wrap up
- Automatic activity records
- Click to dial
- AI transcripts
Accessing Amazon Connect and Dynamics 365 Documentation
AWS and Microsoft both offer great documentation for learning how to use the many features of Amazon Connect and Dynamics 365. Access the links below to find support and learn the basics for using these services:
Microsoft Dynamics 365 Documentation
Using Screen Pops
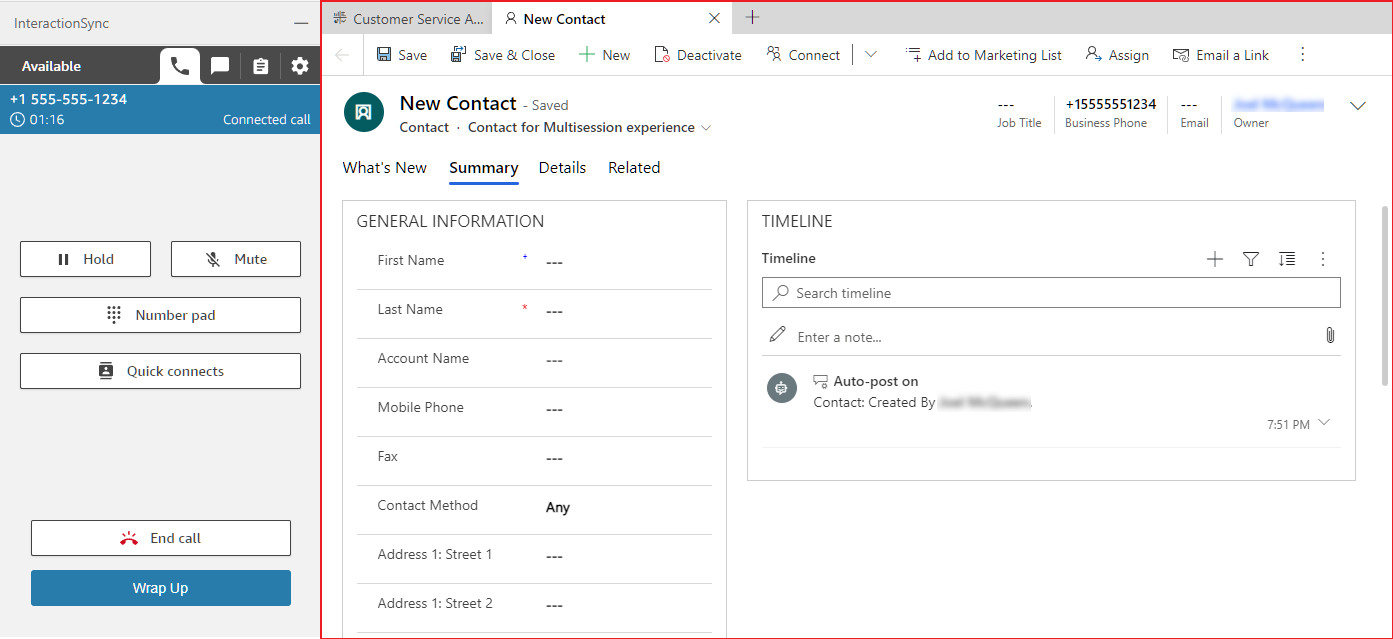
InteractionSync displays screen pops (entities) based on your organization’s queue configuration. Dynamics 365 may show the matched entity when the interaction arrives or when you accept it. These entities allow you to view, update, or capture information related to the call or contact. For details about how screen pops work, see the Using Screen Pops topic.
Managing Interactions
Chat
Agents manage chat interactions in InteractionSync in the same way they manage phone calls. Agents receive incoming chats, view screen pops based on configuration, and log activity records.
- Inbound Chat Handling: Agents can accept incoming chats from a configured chat test page.
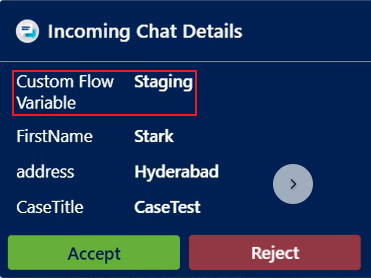
- Screen Pop Support: When a chat is received, a screen pop appears based on the configured entity (e.g., Lead, Opportunity, Case, Contact, Account).
- Activity Record Creation: Each chat results in an activity record that includes fields defined in the configuration page.
- Queue Scope Configuration: If a Queue Scope configuration matches the name of the chat queue, it overrides the default configuration for that interaction.
- Contact Attributes: If your contact center administrator has enabled this feature, contact attributes display key customer details directly within the chat notification or interaction panel. This allows you to quickly understand who you are speaking with without needing to search or open additional records. Common contact attributes may include:
- Name
- Account type
- Status
Agents can receive, respond to, and manage email interactions directly within the InteractionSync interface. This feature includes:
- Email Routing and Screen Pop: When an email is routed to an agent, a screen pop displays the email content and sender details, based on the configured screen pop settings.
- Email Activity Records: Each inbound email interaction creates an Email Activity record, similar to voice or chat interactions. This record is associated with the interaction and stores the email details.
- Reply Handling: Agents can respond directly to inbound email interactions. Replies are associated with the same Activity record and do not create duplicate records or trigger additional screen pops.
- Interaction Transfer: Agents can transfer email interactions to another agent. The receiving agent continues working from the same Activity record.
- Wrap Up Support: Agents can apply wrap-up codes and notes after completing an email interaction. For more information about the wrap up process, see Manage Interactions.
Viewing Contact Attributes
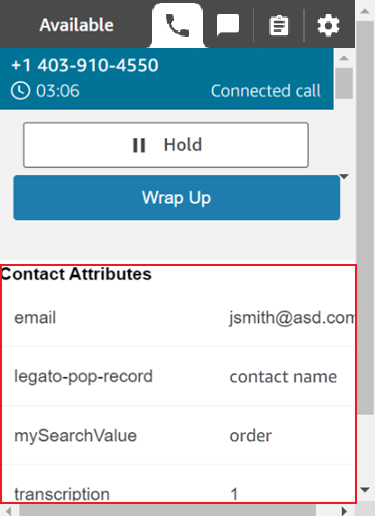
Contact attributes are configured and defined by the administrator and provide important information about the incoming contact. They are displayed in the Amazon Connect Contact Control Panel (CCP) when a call is received. Contact attributes allow you to quickly view contextual details, such as caller information or interaction metadata, and use that information to guide the conversation, update records, or complete required workflows during the interaction.
Wrap Up an Interaction
To ensure interaction details are properly recorded in Dynamics 365, use the Wrap Up feature during or after a call.
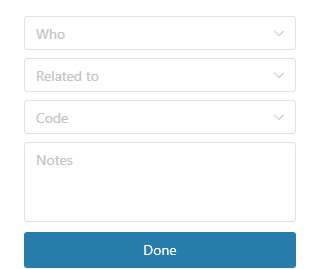
After selecting Wrap Up, you can complete the following fields:
- Who – Select the related Contact, Lead, or User
- Related To – Associate the interaction with a specific record
- Code – Select a wrap-up code
- Notes – Enter additional details (saved to the Activity record)
Activity records may still be created even when Wrap Up is disabled. If no screen pop occurs during the interaction, the Activity record is created without Regarding or Who associations.
Wrap Up Availability
The availability of the Wrap Up feature depends on administrator configuration.
- If Wrap Up is enabled, the Wrap Up option is available during and after the interaction.
- If Wrap Up is disabled, the Wrap Up button and dialog do not appear, and the interaction ends without requiring additional input.
Wrap Up During an Interaction
Agents can begin the wrap-up process during an active interaction by selecting the Wrap Up option. This allows agents to enter notes and select a wrap up code before the interaction ends, helping reduce after-call work and ensuring details are captured in real time.
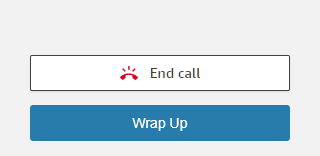
Select the Wrap Up button to enter wrap-up details during an interaction:
Wrap Up After an Interaction Has Ended
When Wrap Up is enabled, agents are prompted to complete wrap-up after the interaction ends. The Wrap Up dialog allows agents to enter notes and select a wrap-up code to document the outcome of the interaction before moving on to the next task.
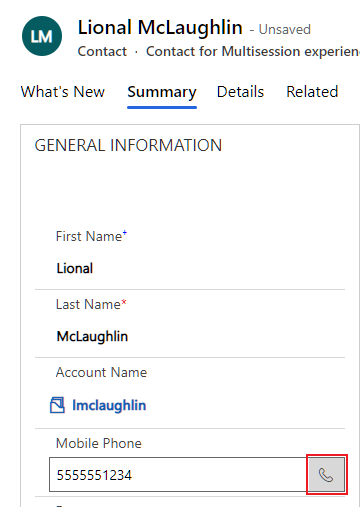
Using the Click to Dial Feature
InteractionSync adds another useful feature with its integration into Dynamics 365 by letting you click to dial a contact's telephone number from within a displayed entity. When you see a telephone number, click the Click To Dial icon located beside it to automatically call the contact using Amazon Connect.
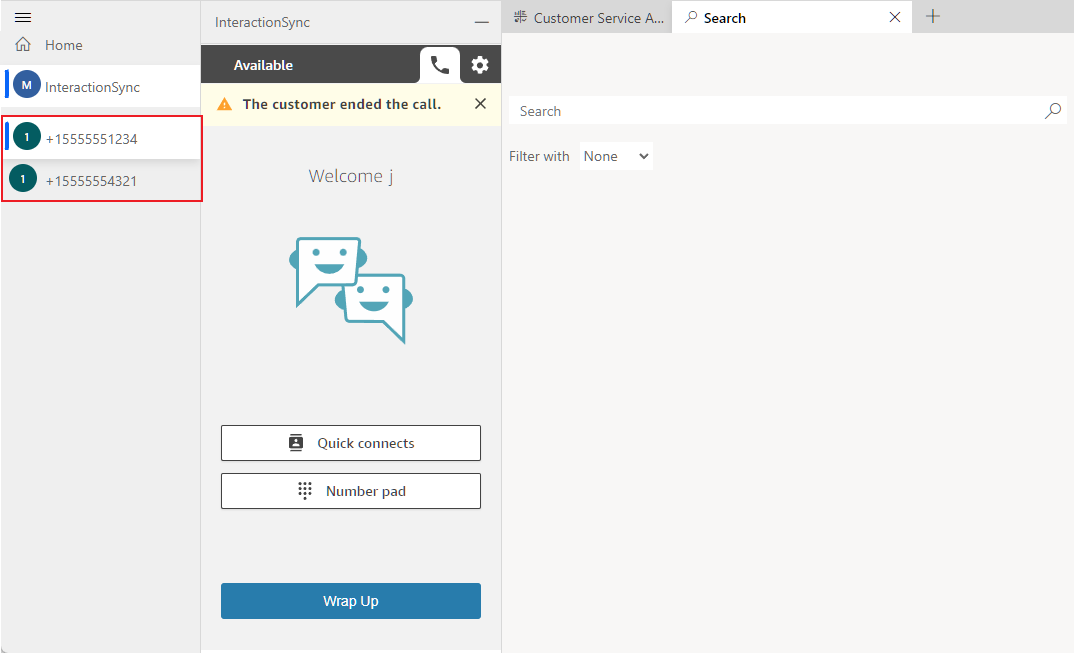
Managing Contact Sessions
Each accepted or rejected call creates a new session in which an agent can access using the tabs displayed on the left side.
Viewing Contact Sessions
Click on a tab to select and view that specific contact session.
Close a Session
When hovering over a session tab, an X displays on the right side. Click the X to close the session.

AI Transcript Summaries
When enabled, InteractionSync provides an AI-generated summary of the interaction based on the call transcript. This summary helps agents quickly understand key points from the conversation without reviewing the full transcript.
How It Works
- The summary is generated automatically after the interaction ends.
- It is based on the conversation between the agent and the customer.
- The summary highlights key discussion points and outcomes.
![]()
- Availability of this feature depends on administrator configuration.
- The summary is generated automatically and cannot be manually edited.