Profile Configuration
Profiles are used to group and control the configuration applied to InteractionSync for Cisco Webex Contact Center and how it functions for agents within the Dynamics 365 interface.
Refer to the InteractionSync Configuration topic for assistance with accessing the InteractionSync configuration.
Selecting a Profile to Configure
Available profiles are displayed under the Profile section of the configuration menu. Click on the Profile menu option to show or hide the list of profiles.
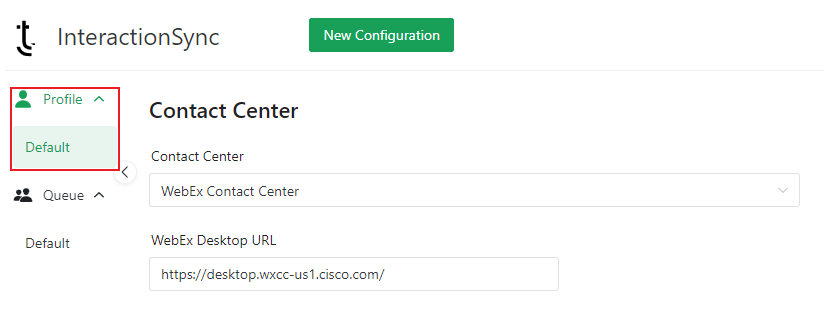
Adding a New Profile
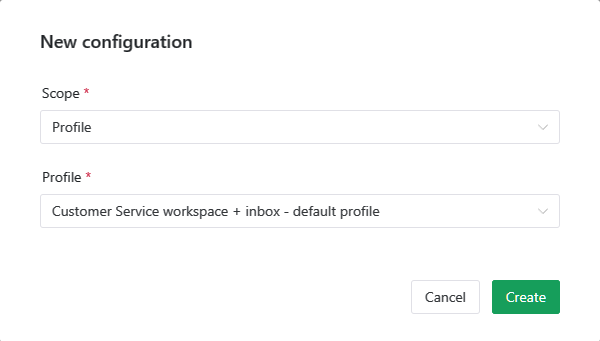
Add a new profile by doing the following:
This is only necessary if different agent profiles need different Webex desktop URLs, such as region-specific URLs.
- Click the New Configuration button located at the top of the InteractionSync configuration.
- Select Profile from the Scope drop-down menu, found on the New configuration dialog.
- Select the profile you want to associate from the list of available Dynamics application profiles.
- Click the Create button.
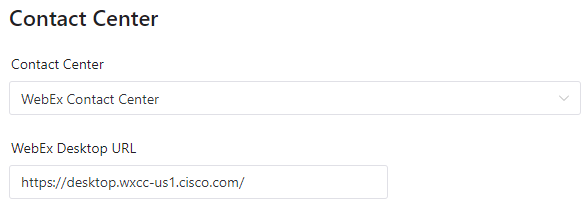
Configuring the Contact Center
InteractionSync enables the addition of the Cisco Webex panel within the Dynamics 365 interface. It is used by agents to manage calls and interactions, and can be added and configured within the InteractionSync Profile configuration. To enable the Cisco Webex integration, do the following:
- Select the contact center platform from the Contact Center drop-down menu.
- Enter the URL for the used for contact center into the Webex Desktop URL field.
- Click the Save button to save the changes.
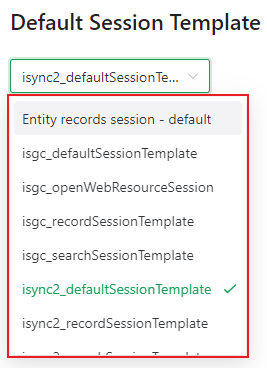
Selecting a Default Session Template
Session templates are used to change how a session is displayed to an agent upon login. Administrators can change the default session template within the selected profile configuration, by doing the following:
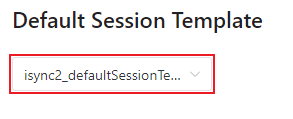
- Click on the Default Session Template drop-menu to reveal a list of available session templates.
- Select the session template you would like to assign to the profile.
- Click the Save button to save and begin using the selected default session template.
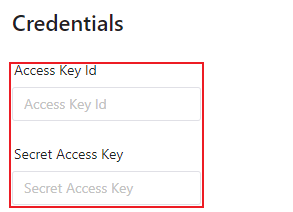
Entering Credentials
Associate the profile to an Identity and Access Management (IAM) user by entering the Access Key Id and Secret Access Key.
Modifying the credentials is rarely necessary, and is only recommended if requested by TTEC Digital Support.
Custom Tracking Tag Code
The Custom Tracking Tag Code setting allows administrators to add custom HTML or JavaScript tracking scripts to the InteractionSync sidebar.
When configured:
- The script is loaded within the InteractionSync sidebar iframe.
- This enables integration with third-party analytics and tracking tools.
Usage Considerations
- Ensure that any custom scripts comply with your organization’s security and data policies.
- Improperly configured scripts may impact sidebar performance or behavior
![]()
This feature is intended for advanced use cases and may require coordination with development or analytics teams.
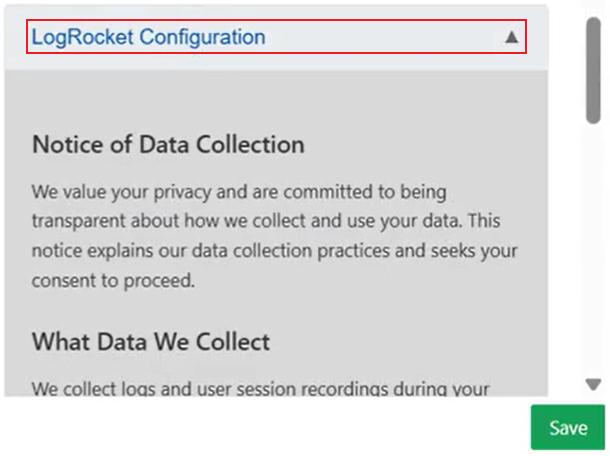
Configuring LogRocket (Session Monitoring)
InteractionSync includes support for session monitoring to assist with diagnostics and troubleshooting. Administrators can control whether session monitoring is enabled using the available configuration settings.
Click to expand the LogRocket Configuration drop-down.
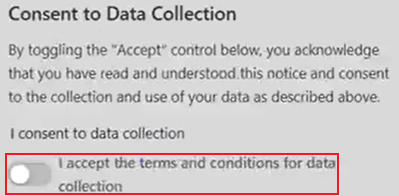
Consent Configuration
A Consent to Data Collection option is available to control whether session monitoring is initialized. Toggle the I accept the terms and conditions for data collection option to enable LogRocket.
When enabled:
- Session monitoring tools are initialized.
- InteractionSync may capture session data to assist with troubleshooting and support.
When disabled:
- Session monitoring tools are not initialized.
- No session data is captured.
When session monitoring is enabled, a disclosure message is displayed to inform users that session activity may be recorded for support and diagnostic purposes.
- Ensure that session monitoring aligns with your organization’s privacy and compliance requirements.
- Review internal policies before enabling this feature.
Saving the Profile Confguration
Save any changes made to the profile by clicking the Save button located at the bottom of the page.
