Configure an Outdial Queue in Webex Contact Center
To set up a unique configuration for outbound calls, the administrator must create a dedicated Outdial Queue in the Webex Contact Center settings. Once the Outdial Queue is created, you can then select it when adding a new queue within the InteractionSync Queue Configuration.
Skipping this process results in outbound calls automatically defaulting to the system’s general configuration.
Accessing the Outdial Queue Configuration
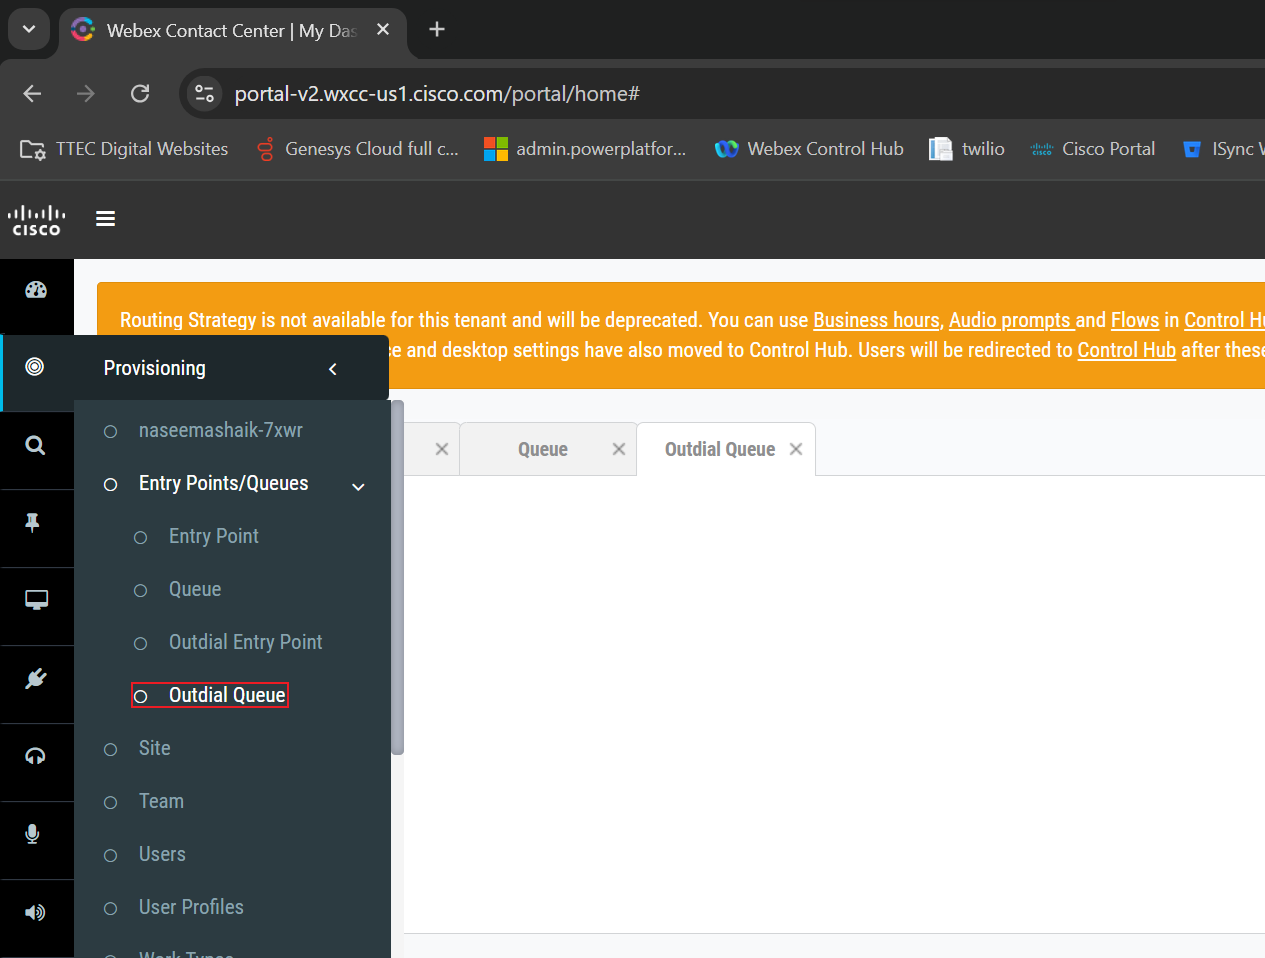
Log into Webex Contact Center Management Portal and access the Outdial Queue Configuration by doing the following:
- Access Provisioning from the side navigation menu.
- Select to expand the Entry Point/Queue sub-menu option.
- Select Outdial Queue.
Creating an Outdial Entry Point
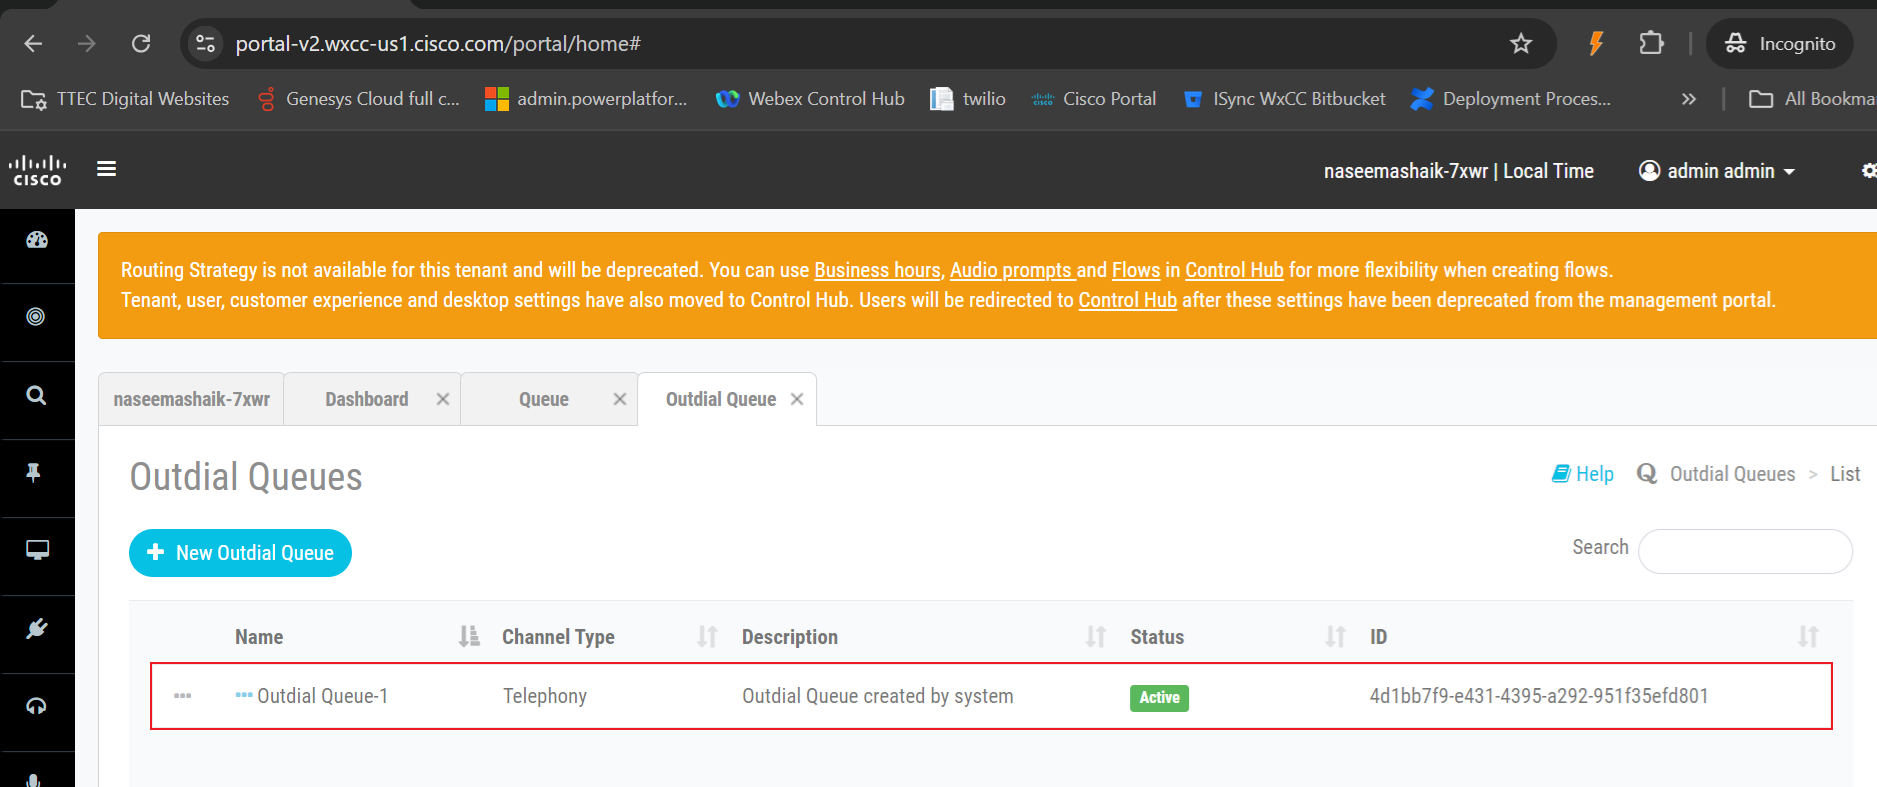
Visit the Webex Contact Center Setup and Administration Guide and scroll to the topic labeled Create an Outdial Entry Point found under the Entry Points and Queues section. Here, you can view detailed steps for setting up the Outdial Queue and associating it with outbound campaigns. Create and configure the Outdial Queue based on your organization's needs, and then record the name of the Outdial Queue you want to use for configuring InteractionSync.
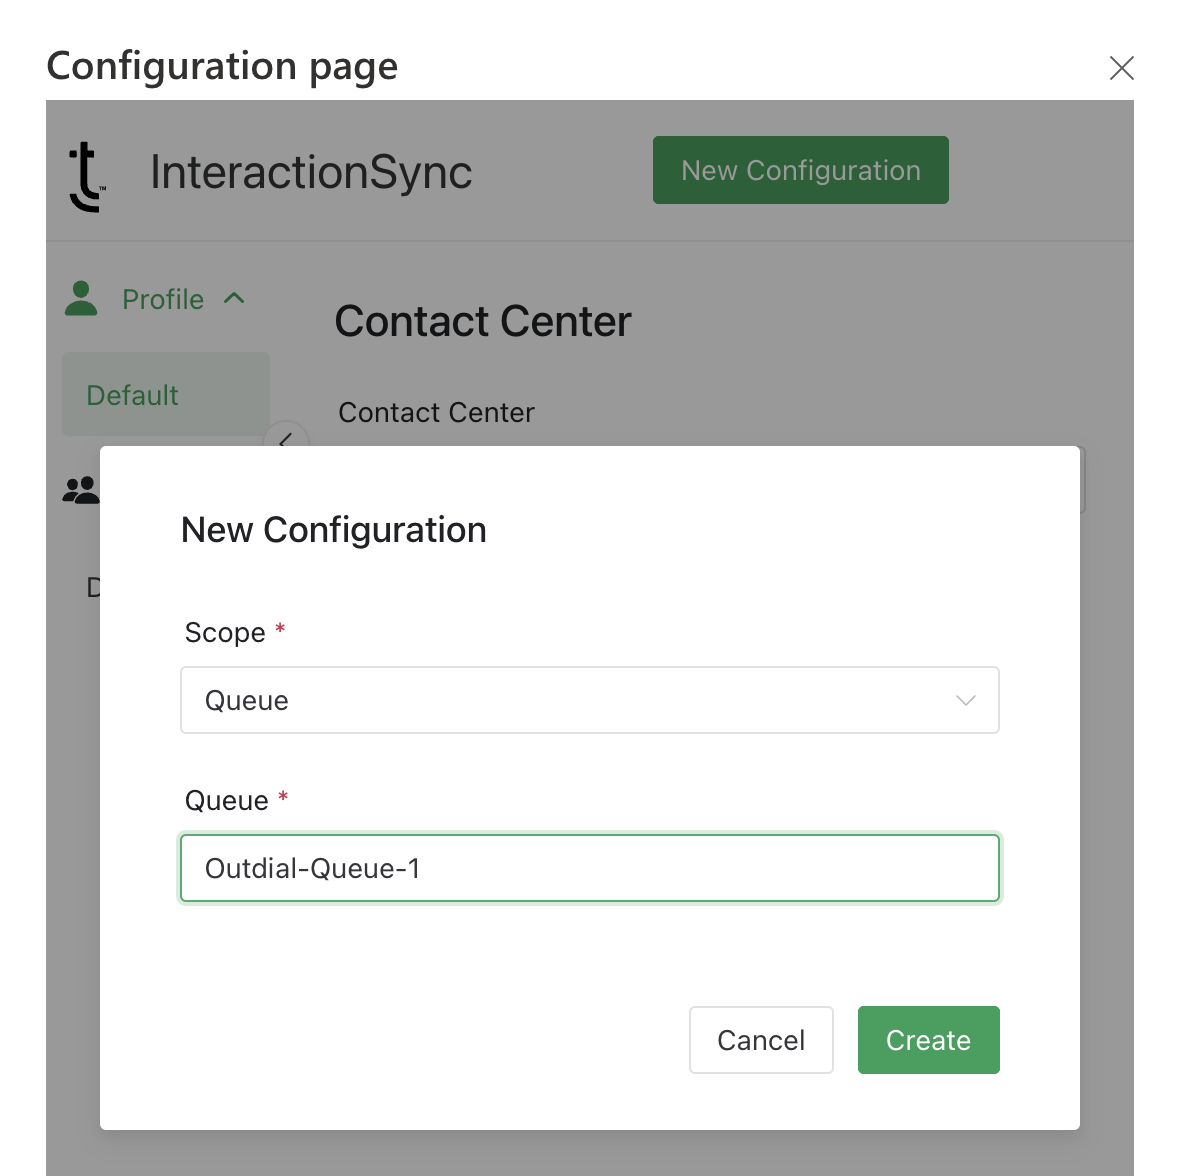
Adding an Outdial Queue in InteractionSync
See Adding a New Queue for assistance with adding a new queue for InteractionSync. If the queue is named Outdial Queue-1, as shown in the example above, ensure you use this exact name when creating the new Queue Scope Configuration on the Queue Configuration page.