Profile Configuration
Profiles are used to group and control the configuration applied to InteractionSync for Amazon Connect and how it functions for agents within the Dynamics 365 interface.
Refer to the InteractionSync Configuration topic for assistance with accessing the InteractionSync configuration.
Selecting a Profile to Configure
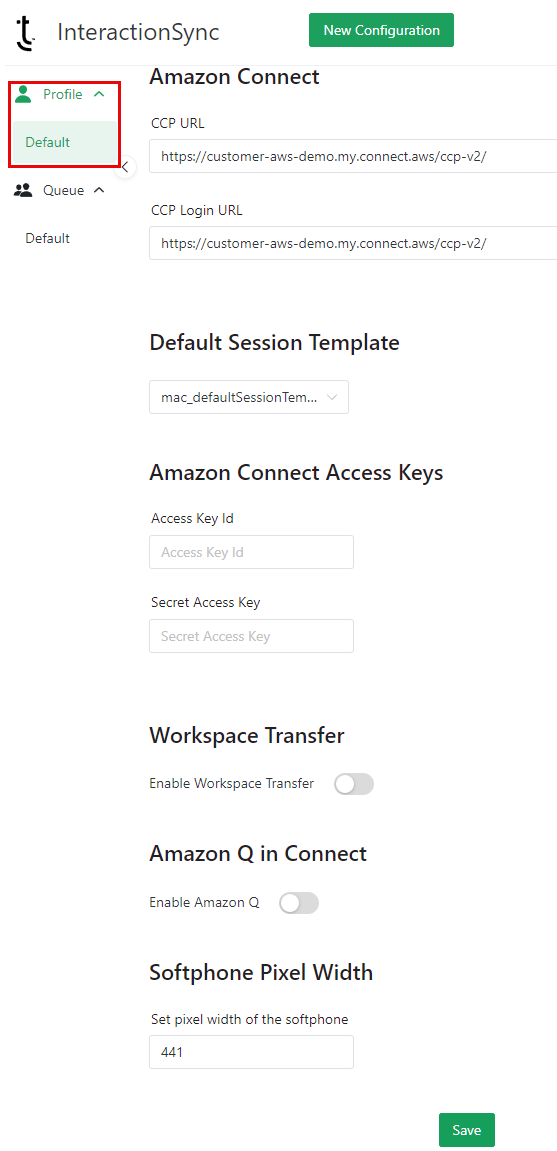
Available profiles are displayed under the Profile section of the configuration menu. Click on the Profile menu option to show or hide the list of profiles.
Adding a New Profile
Add a new profile by doing the following:
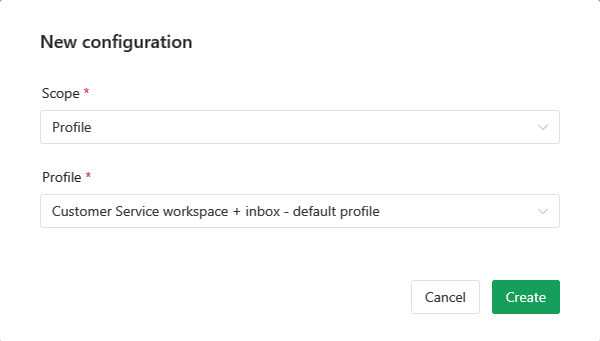
- Click the New Configuration button located at the top of the InteractionSync configuration.
- Select Profile from the Scope drop-down menu, found on the New configuration dialog.
- Select the profile you want to associate from the list of available Dynamics application profiles.
- Click the Create button.
Configuring the Amazon Connect
InteractionSync enables the addition of the Amazon Connect panel within the Dynamics 365 interface. It is used by agents to manage calls and interactions, and can be added and configured within the InteractionSync Profile configuration. To enable the Amazon Connect integration, do the following:
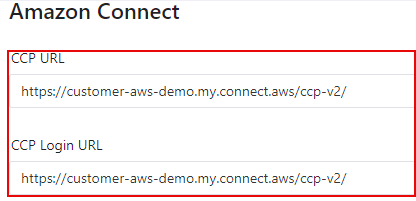
- Enter the URL for the Amazon Connect CCP into the CCP URL field.
- Enter the URL for the Amazon Connect CCP login into the CCP Login URL field.
The CCP URLs used for connecting with Amazon Connect should be entered in the following format:
https://<instance-alias>.awsapps.com/connect/ccp-v2/
Replace the <instance-alias> with the instance alias found in the Amazon Connect instance listing in AWS.
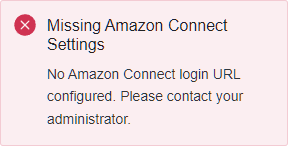
Ensure the CCP URLs are entered correctly. If they are not entered correctly, the following error message displays in Dynamics 365:
- Click the Save button to save the changes.
Allowing Dynamics 365 in Amazon Connect
Administrators must also list their organization's Dynamics 365 URL in their Amazon Connect approved origins to allow the integration to work.
- Determine your organization’s Dynamics 365 URL. It is similar to the example below:
https://XXXXXXX.crm.dynamics.com/
The URL can be found in the address bar of your browser when accessing the Customer Service Workspace.
- Click the link below to access the "Use an allow list for integrated applications" topic found in the Amazon Connect Administrator Guide.
Use an allow list for integrated applications (Amazon Connect Administrator Guide)
- Follow the steps on that page to complete the process.
Selecting a Default Session Template
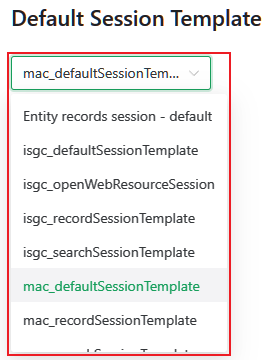
Session templates are used to change how a session is displayed to an agent upon login. Administrators can change the default session template within the selected profile configuration, by doing the following:
- Click on the Default Session Template drop-menu to reveal a list of available session templates.
- Select the session template you would like to assign to the profile.
- Click the Save button to save and begin using the selected default session template.
Entering Amazon Connect Access Keys
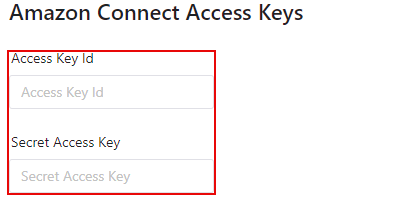
Associate the profile to an AWS Identity and Access Management (IAM) user by entering the Access Key Id and Secret Access Key that is generated in AWS.
Enable or Disable Workspace Transfer
When enabled, the Workspace Transfer feature allows agents to receive a workspace along with a call as it is transferred to them. Enable/disable the Workspace Transfer feature by toggling the Enable Workspace Transfer option.
Enable or Disable Amazon Q in Connect
Amazon Q is a generative artificial intelligence (AI) used to generate suggested responses and actions for agents to use based on real-time customer questions. Enable/disable Amazon Q by toggling the Enable Amazon Q option.
Configuring Softphone Pixel Width
Using Softphone Pixel Width, administrators can customize the size of the softphone window based on their preference. Enter the desired value into the field below Set pixel width of the softphone.
Saving the Profile Confguration
Save any changes made to the profile by clicking the Save button located at the bottom of the page.
